Temple of the Cat - Level Start and Secret #1
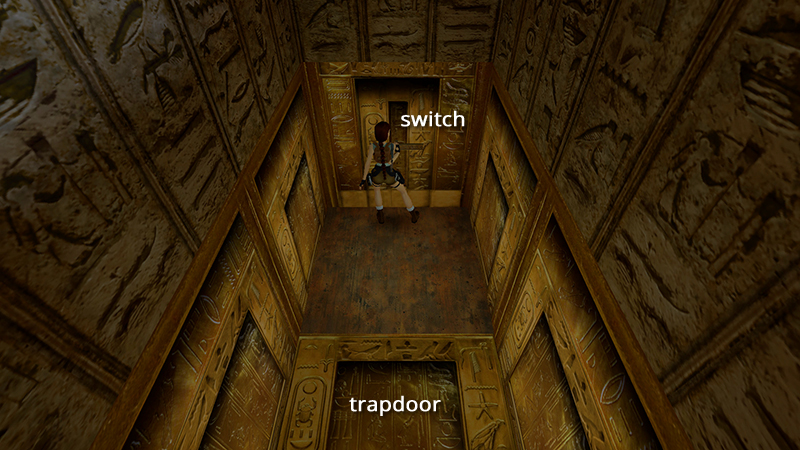
Turn around and use the switch to open the trapdoor.
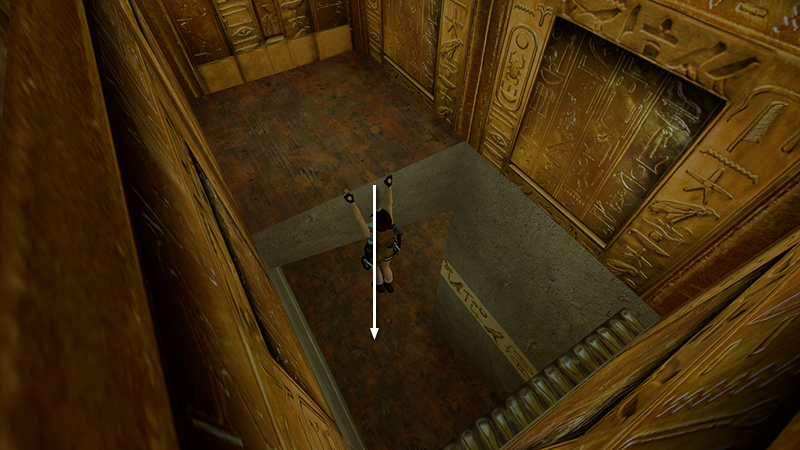
Drop down...
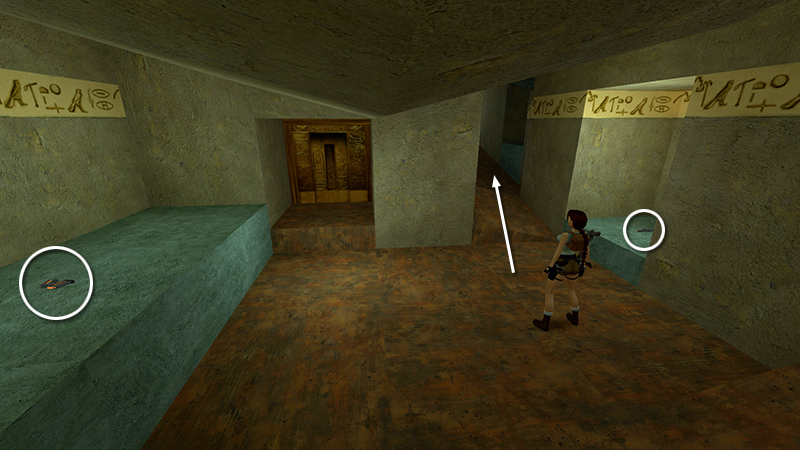
...and retrieve the 2 sets of magnum clips (1-2) from the alcoves. The gold door doesn't open yet, so proceed up the ramp.
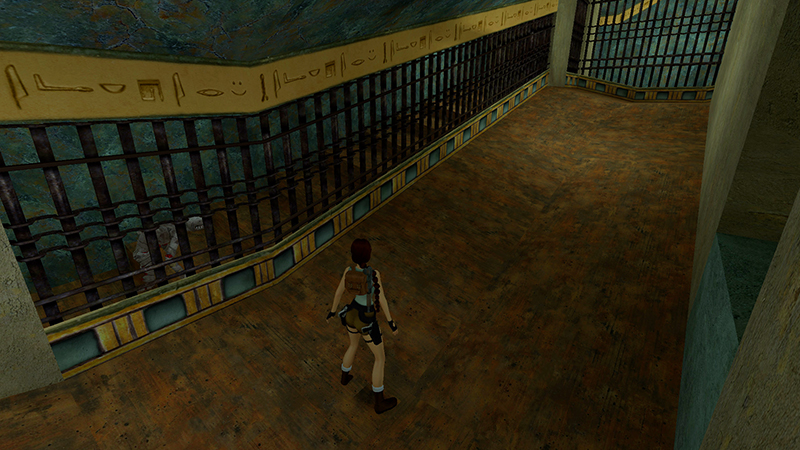
There's a mummy (2, below) on the stairway behind the fence on the left. It can't reach you yet.
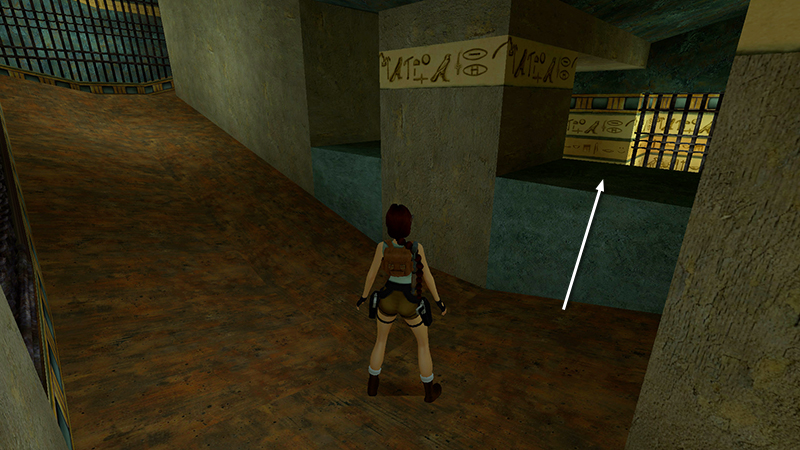
Climb into either of the openings on the right.
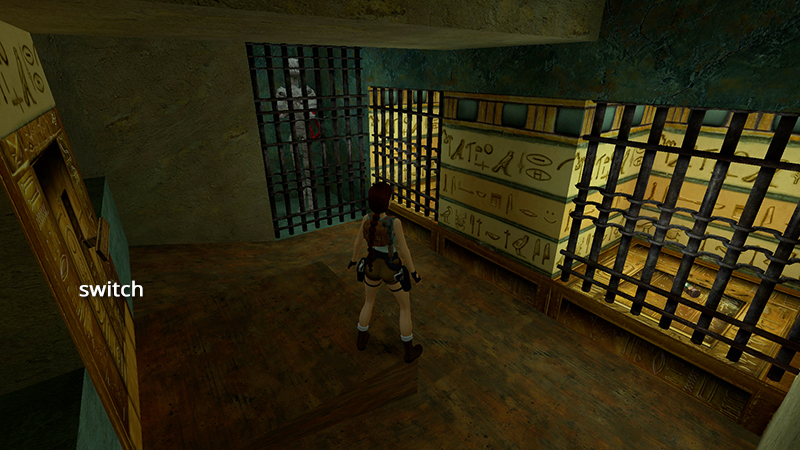
Inside are three small cages containing a mummy (1) and 2 small medi packs (3-4). The switch opens all three cages.
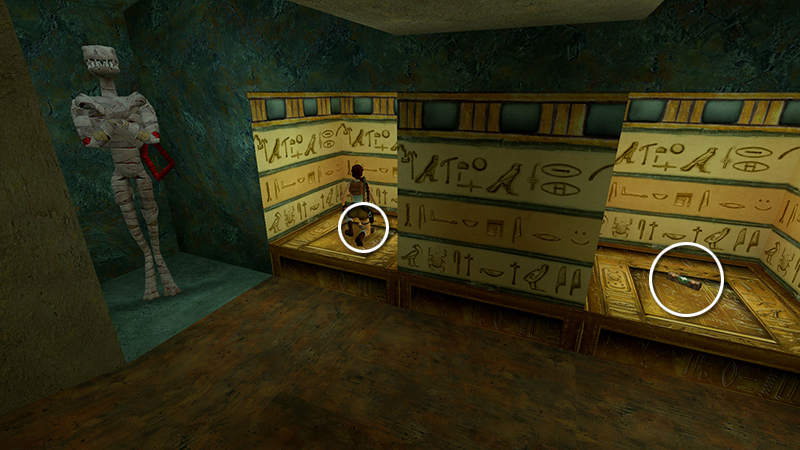
When you pick up the second medi pack (in either order) the mummy awakens, so take the one closest to the mummy first.
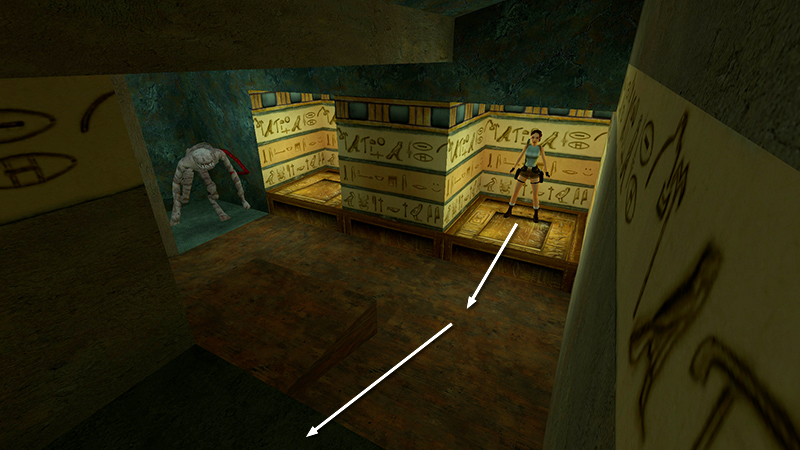
Stand over the second medi pack and turn to face the opening on the opposite wall. Pick up the heath and immediately take a running jump into the opening as the mummy attacks.
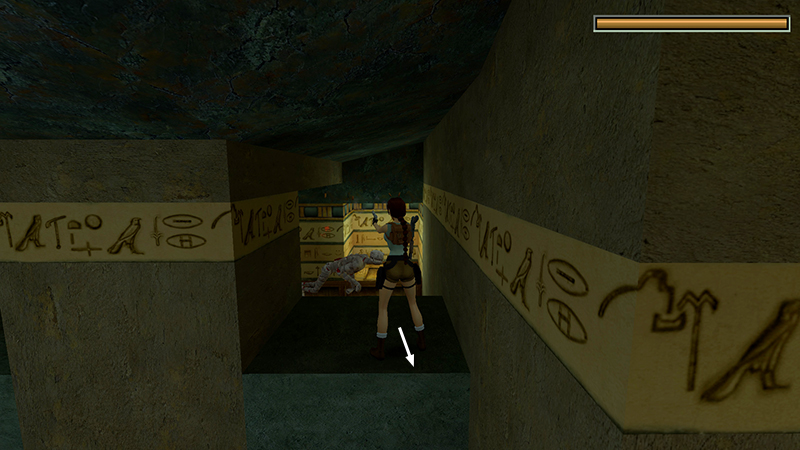
Turn around, step back from the edge, and shoot the mummy from safety.
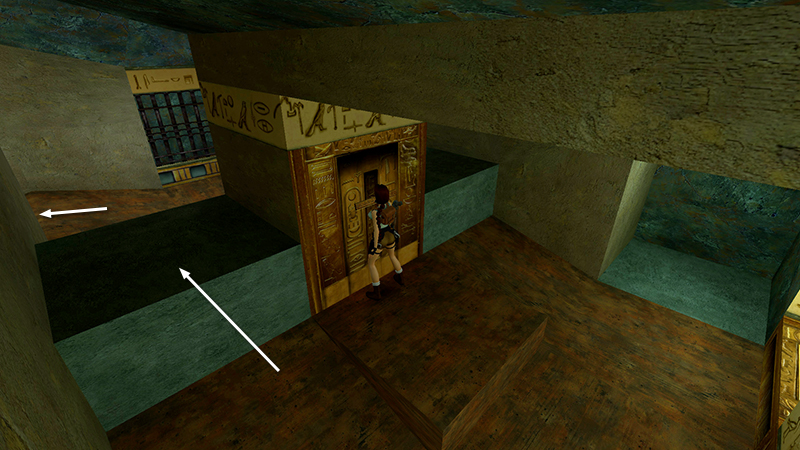
When it is dead, flip the switch back to its up position to open the gold door you passed earlier (i.e., outside to the left when facing the switch).
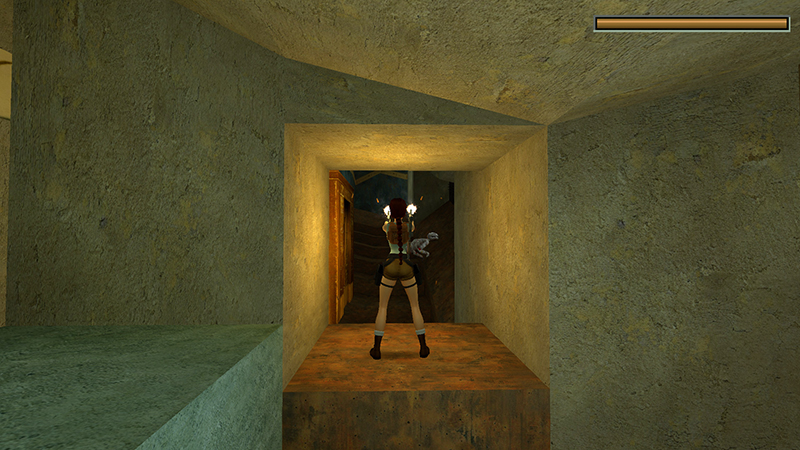
Another mummy (2) lurks inside. Kill it from the raised doorway then hop down into the passageway. This is SECRET #1.
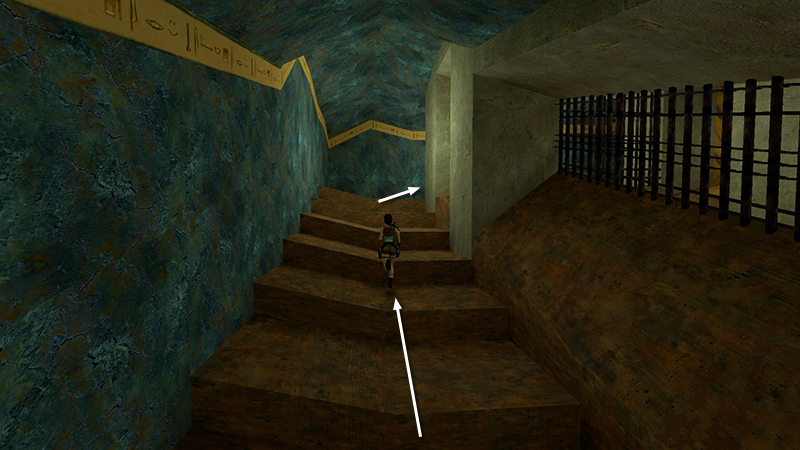
Continue to the top of the stairs but watch your back.
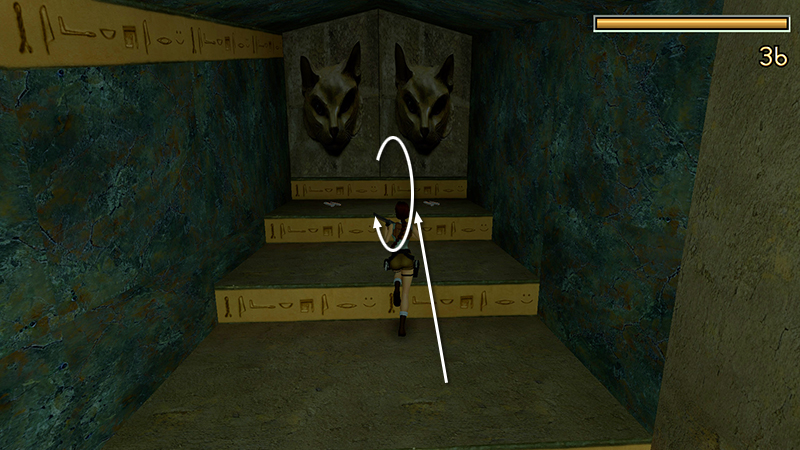
Two panthers (3-4) attack from behind when you reach the goodies. Here, I like the shotgun. Draw it as you approach the ammo, roll...
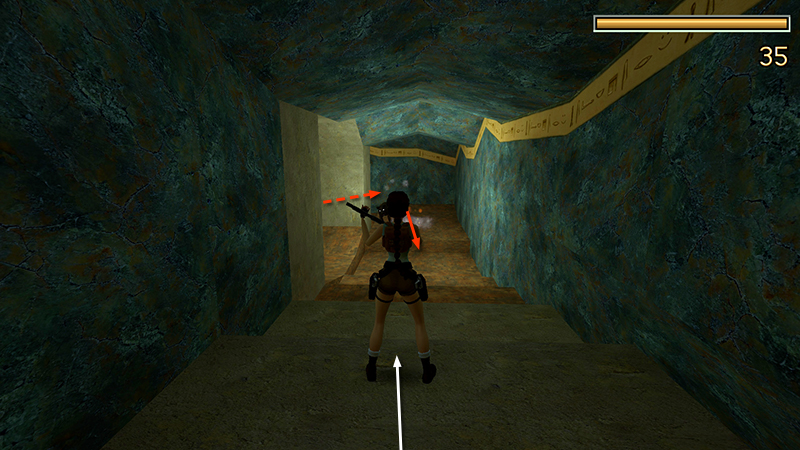
...and run down the stairs a little, so you can see the as they cats approach. Shoot one panther as soon as Lara locks on.
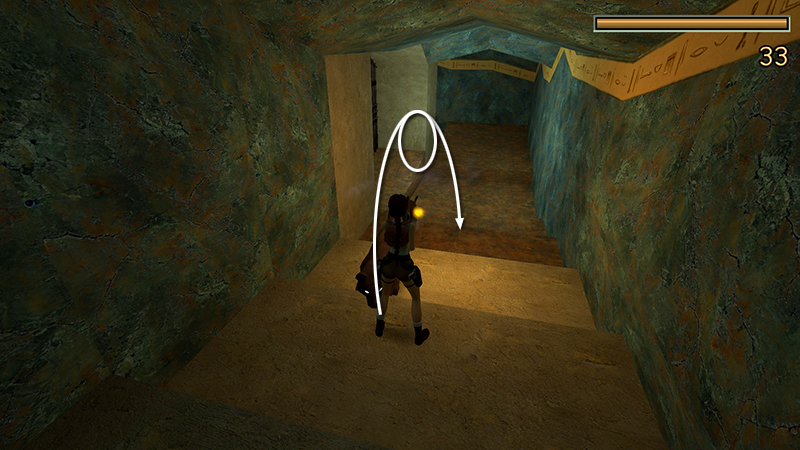
Then jump and roll over the second panther...
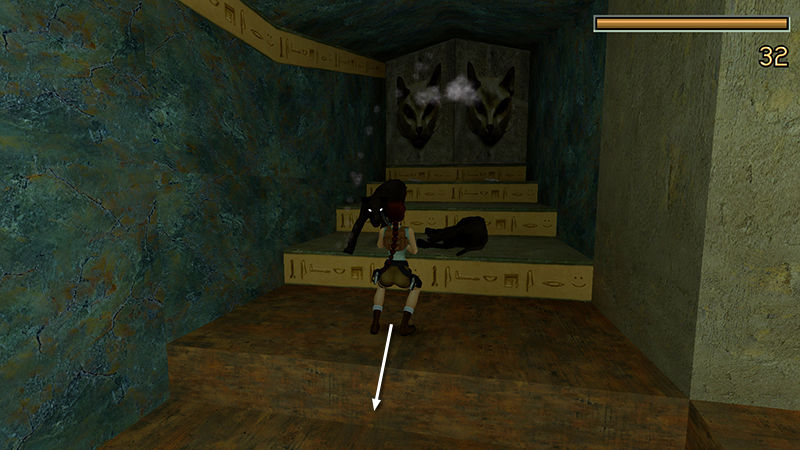
...and hop back while continuing to fire.
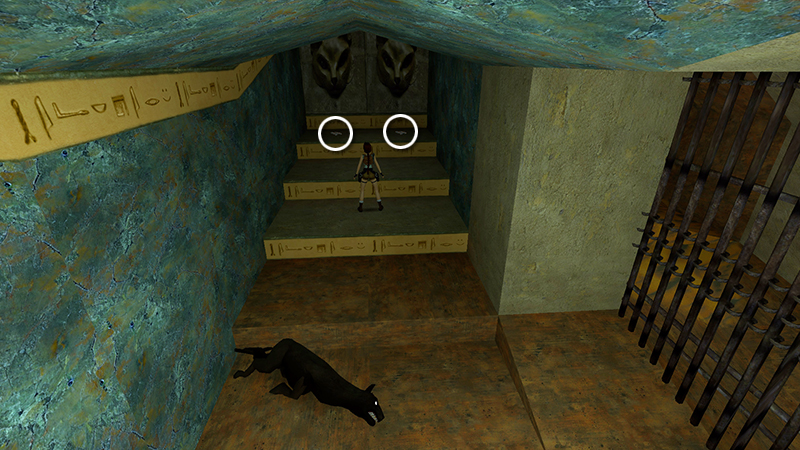
Pick up 4 sets of magnum clips (5-8) in two piles. (One of these will be the MAGNUMS if you don't already have them.)
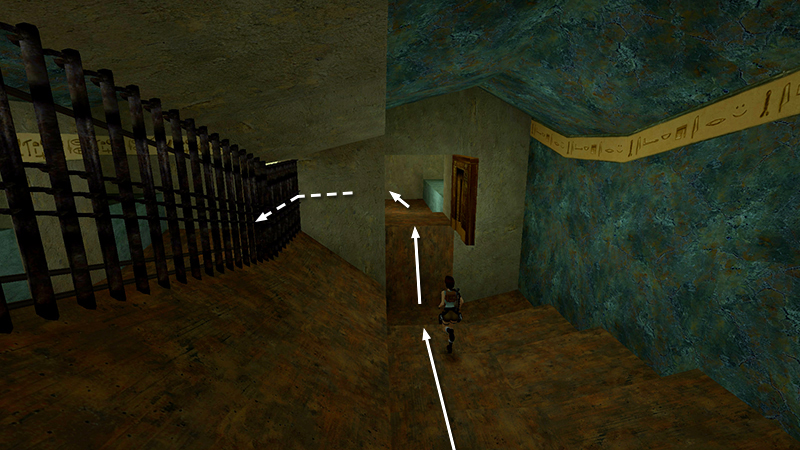
Return down the stairs and through the gold door. Make a U-turn to the left...
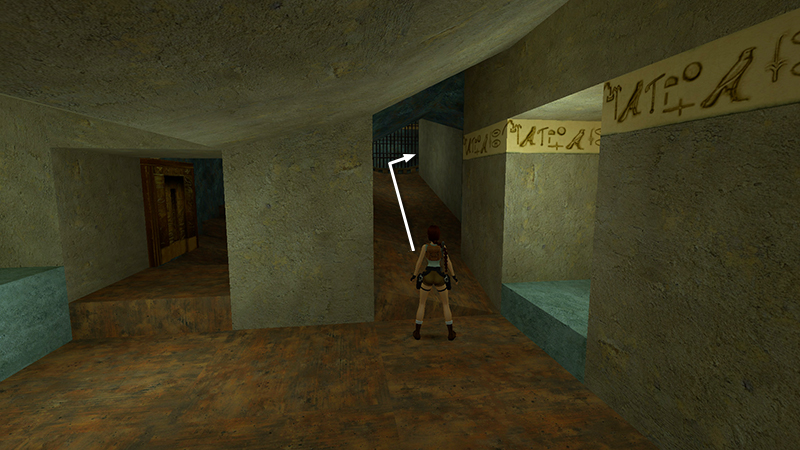
...and go back up the first ramp, this time all the way to the top.
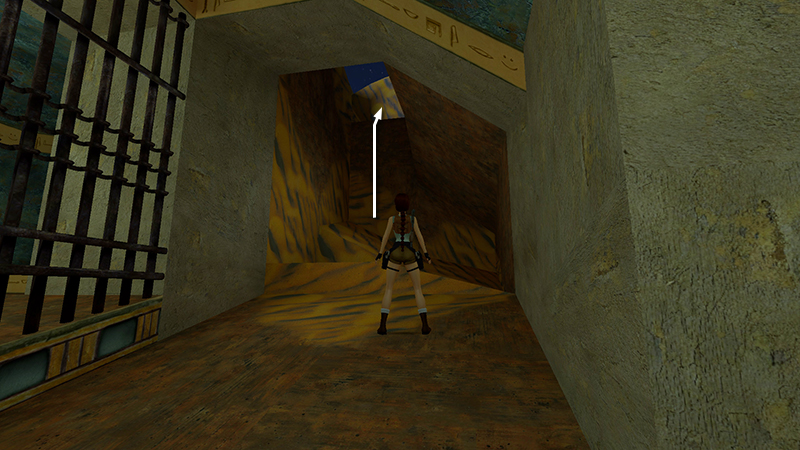
Climb through the opening in the sandy colored rocks to the desert above.
DARK MODE: I plan to add optional dark mode for these pages, but my current priority is updating the walkthroughs. Meanwhile, may I suggest a reputable dark mode browser extension, such as Dark Reader? (Download only from trusted sites, like darkreader.org or your browser's official add-on/extension site.)
Walkthrough text and diagrams copyright © Stellalune (email ). Feel free to copy or print this walkthrough for personal use. By all means, share it with friends, but please include this credit line so people can send me their feedback. No part of this walkthrough may be reproduced on another site without permission.