The Hive - Mutant Hatchery - Upper Level
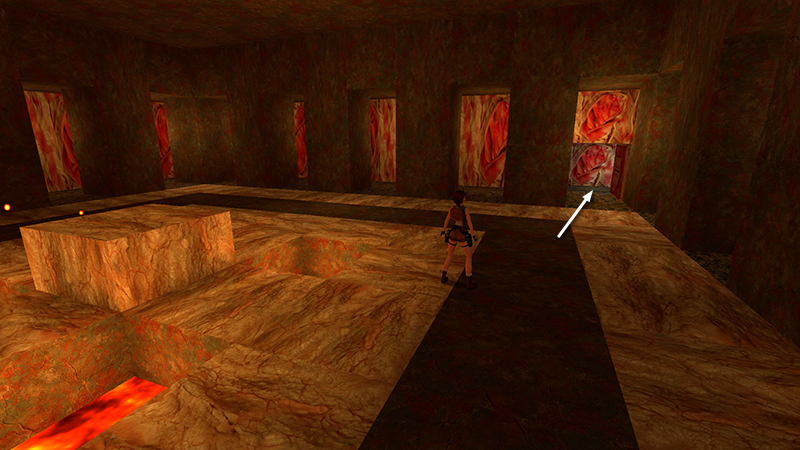
After picking up all the shotgun ammo and destroying the 8 mutants in the large, square room, as shown in the previous section, exit the way you came in, through the door in the northeast corner.
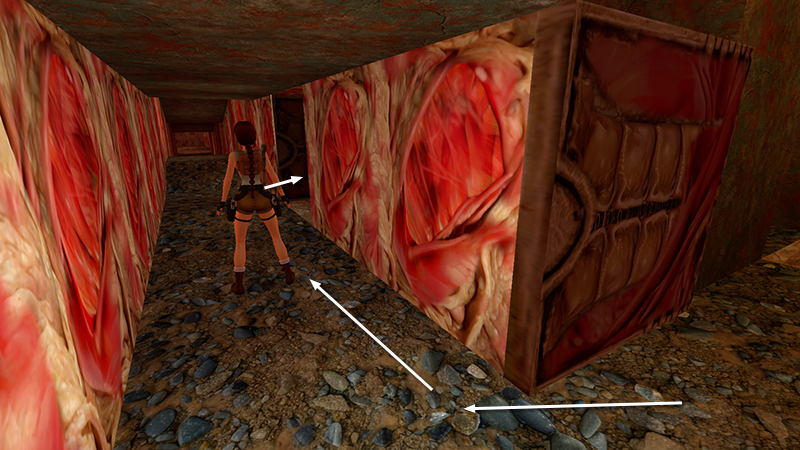
Turn right and continue to the next small door, which is now open.
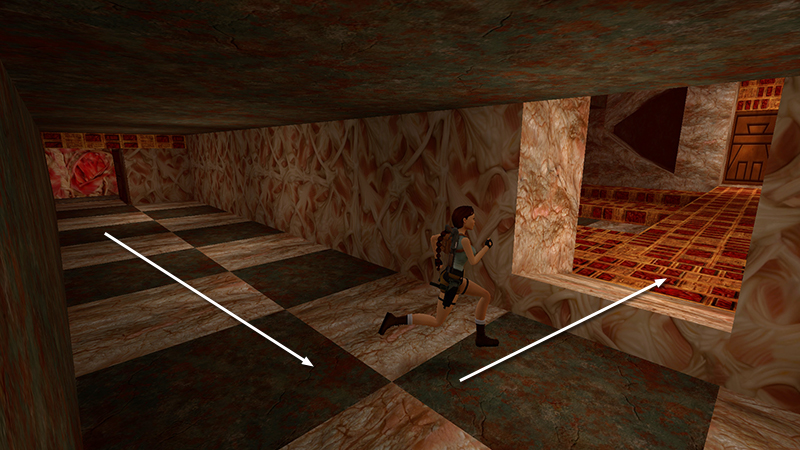
This leads into a room with a checkerboard floor, beyond which is a hatchery with a red-and-gold floor and a gold door at the far end.
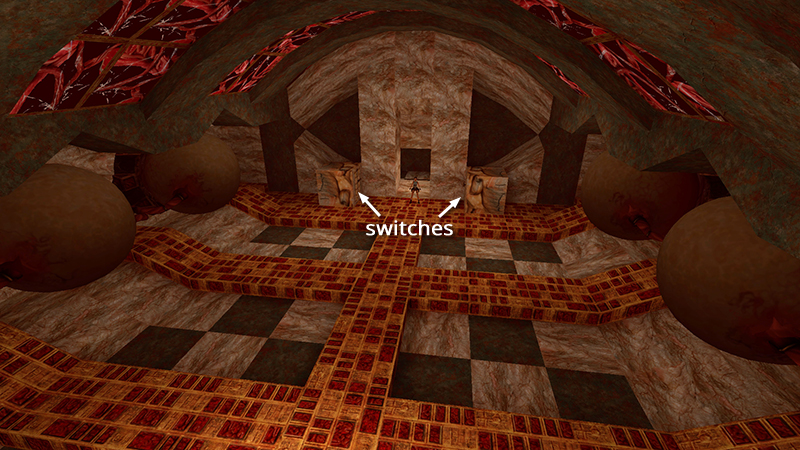
Along the side walls are 4 incubators, each with a flying mutant (33-36) inside. The 2 switches near the entrance open the gold door at the far end. This door is timed to close after about 16 seconds.
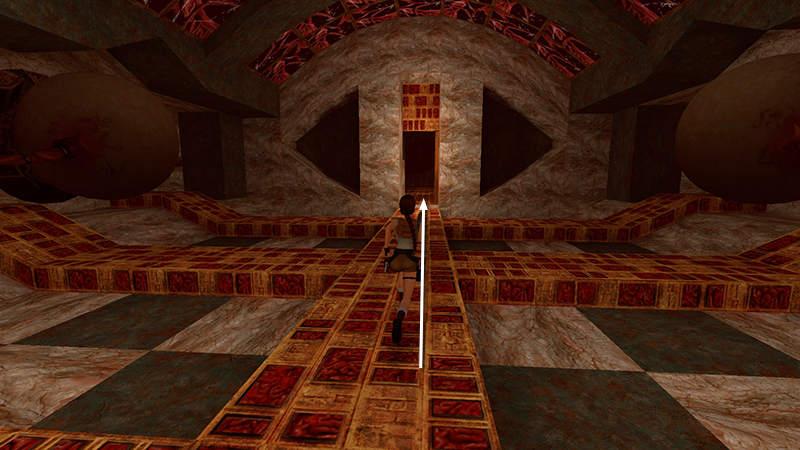
Again, if you don't care about defeating all the enemies, you can throw the switches, then run straight along the middle of the room and through the gold door. None of the eggs will hatch. (Skip down to the room with the centaur, below.)
- OR -
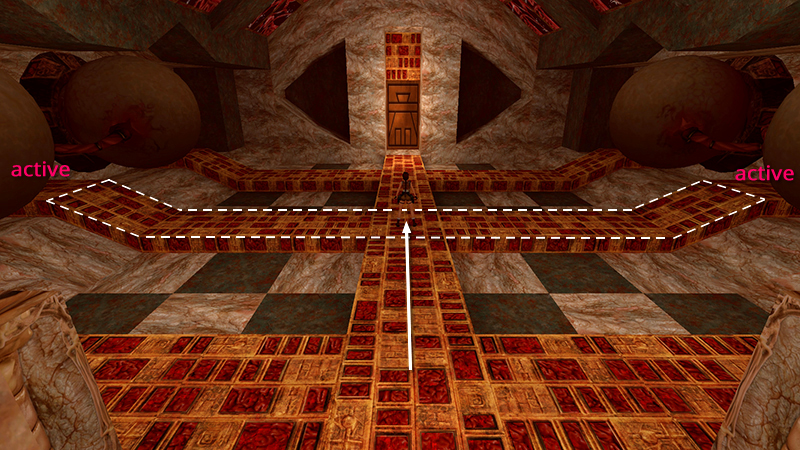
Alternatively, for all kills with minimal mayhem, hatch the eggs one at a time. Start by advancing along the middle of the room to the first intersection of red-and-gold walkways. This activates the first 2 incubators.
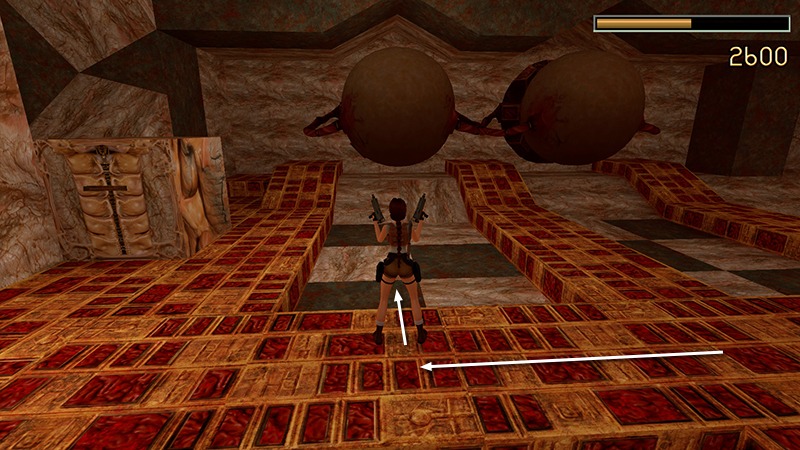
There are only a few more enemies left in the level, so unless you're attempting a pistols-only run, go ahead and bust out the heavy weapons. Move back toward the entrance a little, face one of the eggs, and step forward to hatch it.
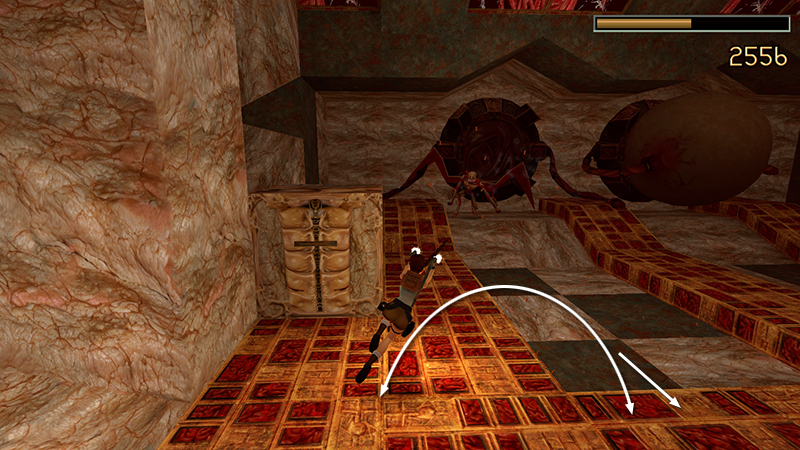
Quickly take out the flying mutant (33) that emerges. You can hop back while firing and then flip side to side if you like. Just don't jump back too far or you'll risk hatching the egg behind you.
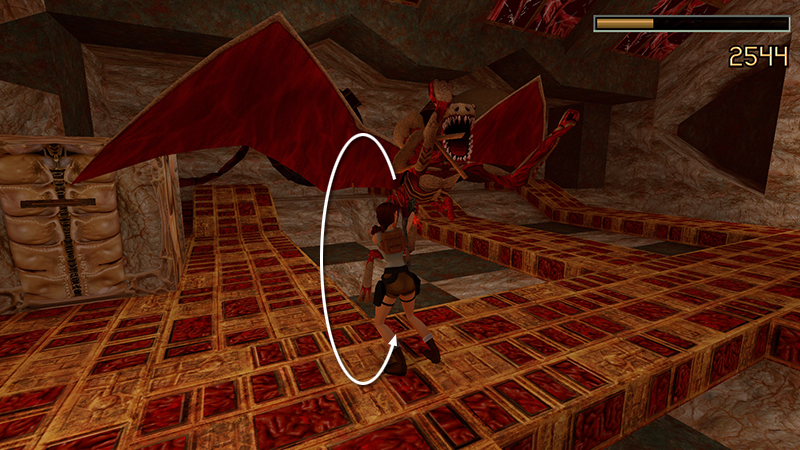
If the mutant rushes Lara, roll to get behind it...
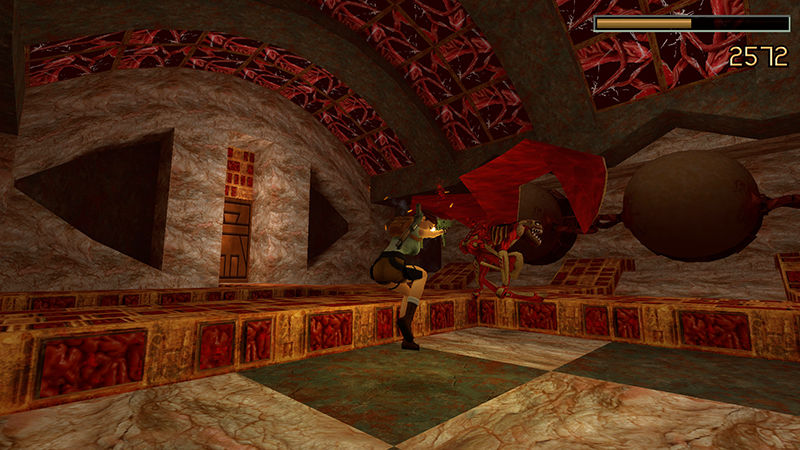
...and continue firing.
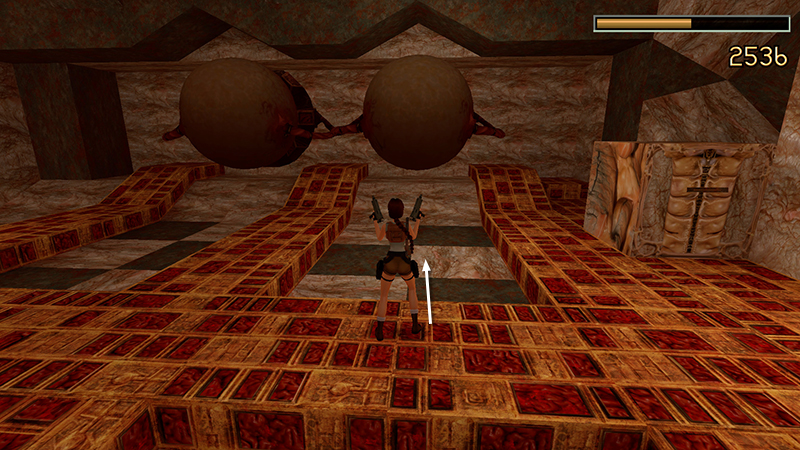
After you've dealt with the first mutant, turn around, face the other active incubator, and repeat the process: Advance to hatch the egg.
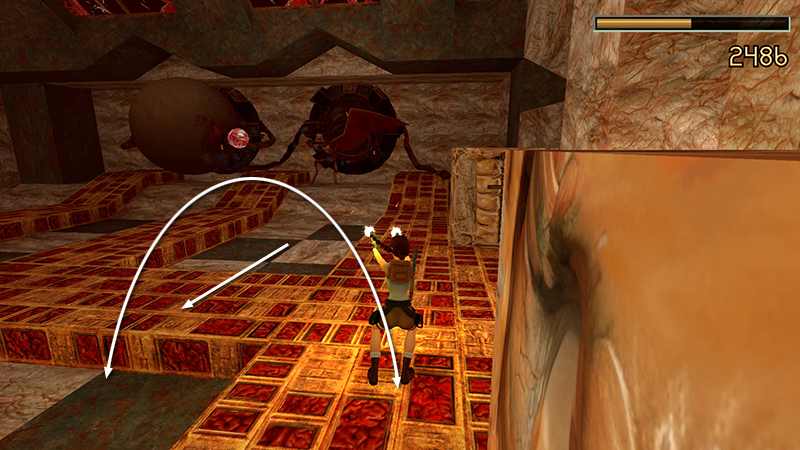
Hop back firing, and flip side to side until the second flying mutant (34) explodes.
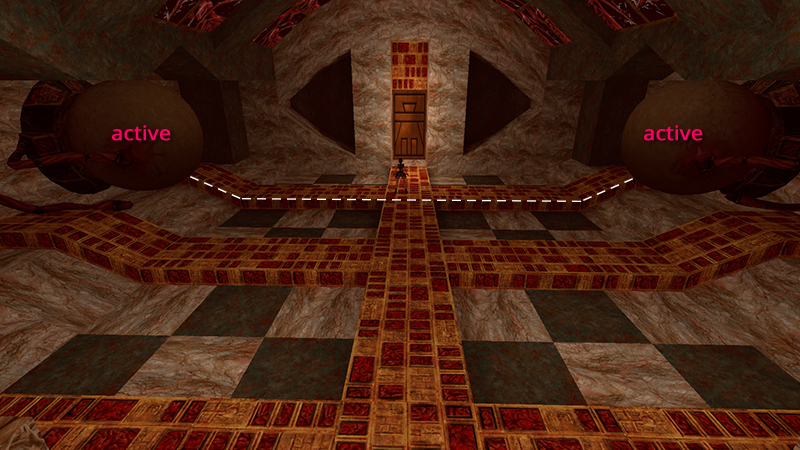
Now, advance to the second intersection of red-and-gold walkways to activate the remaining incubators. Repeat the same steps to destroy the third and fourth flying mutants (35-36).
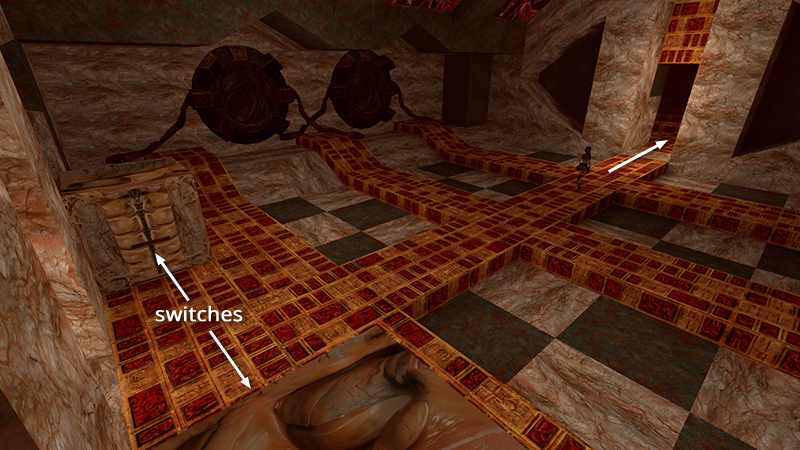
When the coast is clear, use the switches and run through the exit.
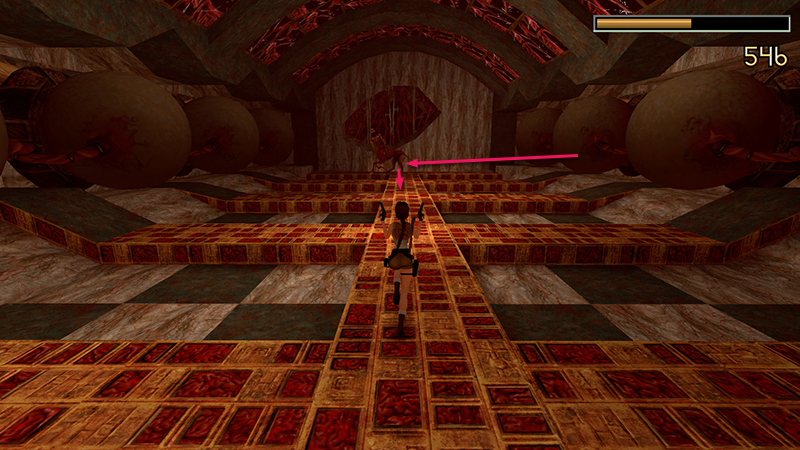
As you enter the next room, the gold door closes behind you and the centaur (37) playing nanny starts shooting fireballs.
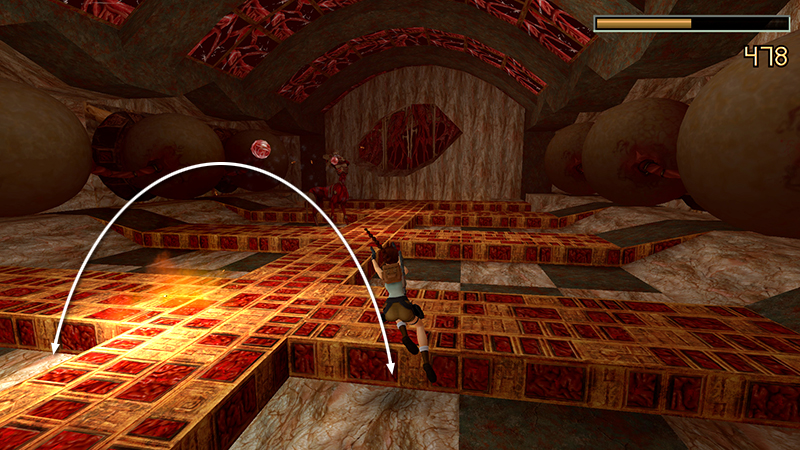
Jump from side to side while firing to quickly dispatch the centaur. All the eggs in this room are "blanks," so there's no need to worry about hatching more enemies.
[Previous | Next | Hive Walkthrough]
DARK MODE: I plan to add optional dark mode for these pages, but my current priority is updating the walkthroughs. Meanwhile, may I suggest a reputable dark mode browser extension, such as Dark Reader? (Download only from trusted sites, like darkreader.org or your browser's official add-on/extension site.)
Walkthrough text and diagrams copyright © Stellalune (email ). Feel free to copy or print this walkthrough for personal use. By all means, share it with friends, but please include this credit line so people can send me their feedback. No part of this walkthrough may be reproduced on another site without permission.