Return to Egypt - Sandy Cave with Spikes and Movable Block
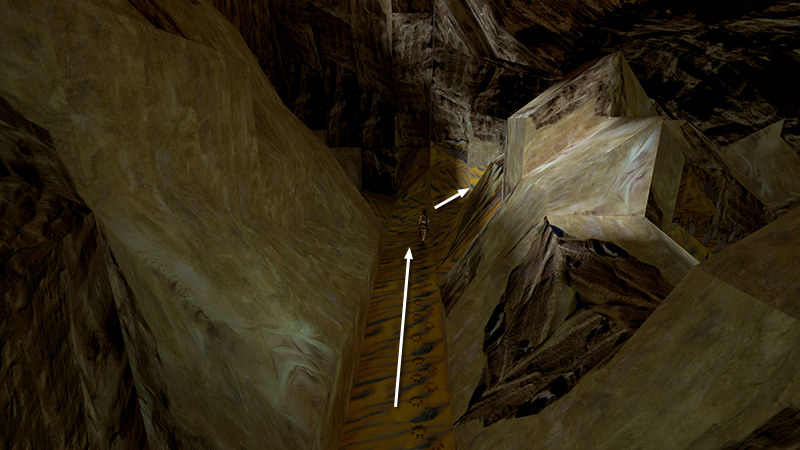
After obtaining secret #3, as shown in the previous section, return along the sandy path leading away from the ledge with the carved pillar. At the T, turn right and go over the low sand hill to the far right (southeast) corner of the cave.
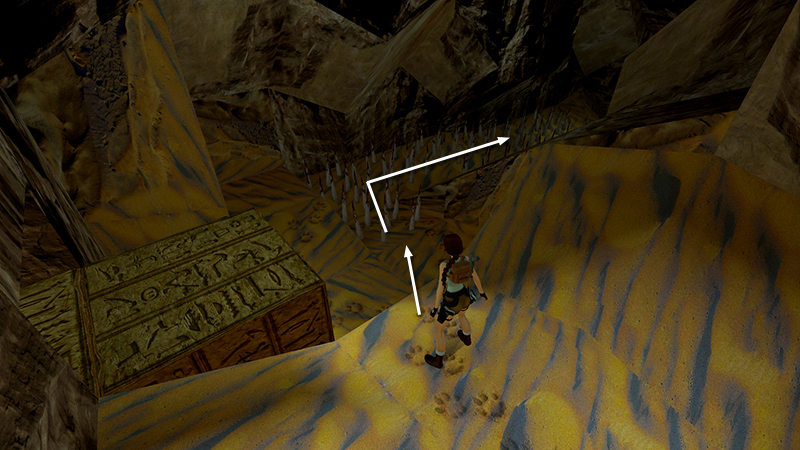
Here you'll find 2 carved stone blocks (leave them alone for now) and a field of spikes. Pull out your shotgun and walk carefully through the spikes.
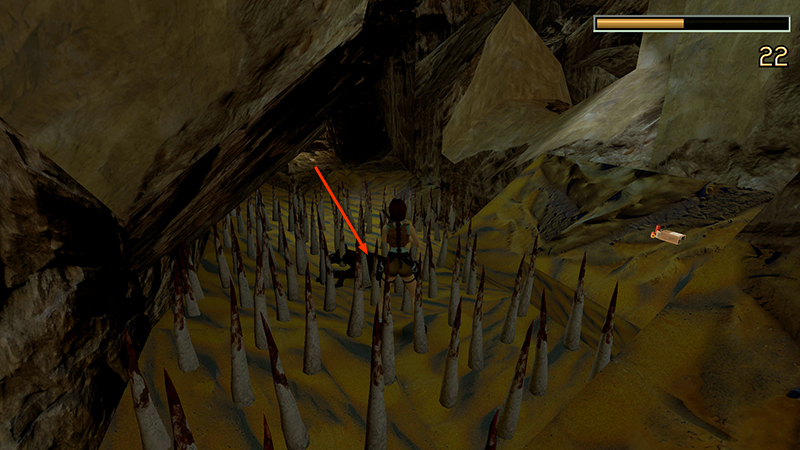
A panther (13 or 8)* emerges from the doorway ahead as you approach. Kill it without jumping around so Lara doesn't get impaled. Pick up some shotgun shells (23) on the flat spot to the right.
- OR -
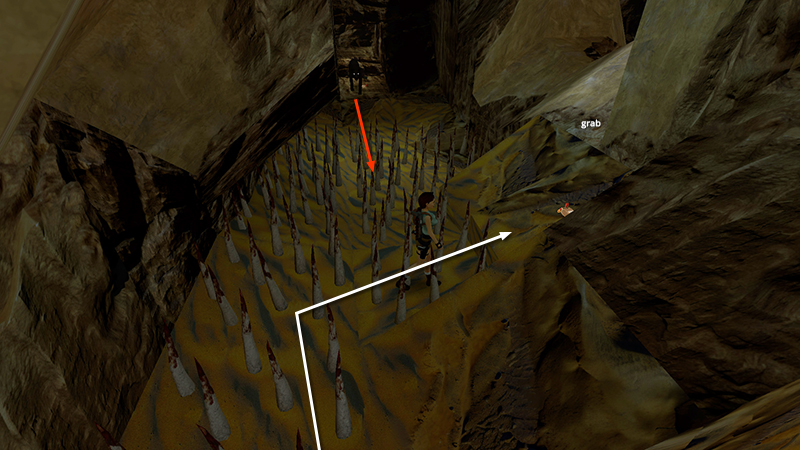
Alternatively, walk through the spikes, step up on the low block with the shotgun shells...
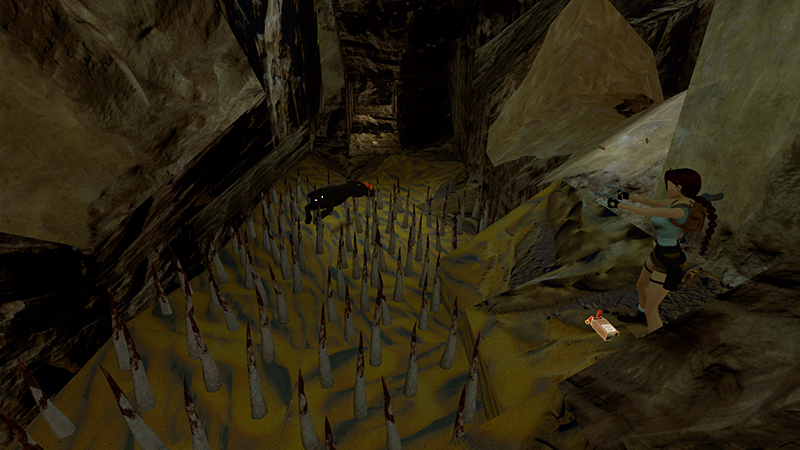
...and shoot the panther with pistols from there.
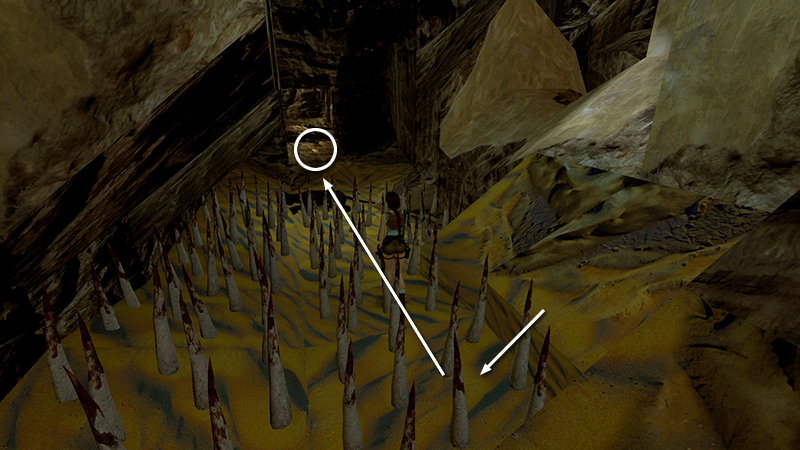
Then walk carefully back into the spikes. Continue through the spikes to the far end of the cave. Grab another box of shells (24) on the ground near where the panther emerged.
NOTE: The dark passageway behind the second box of shells leads to secret #3, which you should already have if you followed this walkthrough. If not, avoid that area. The boulder trap inside is easier to bypass from the other side. To get there, return through the spikes, turn left at the movable blocks, then left again. Follow the main walkthrough to trip the boulder and get the secret.
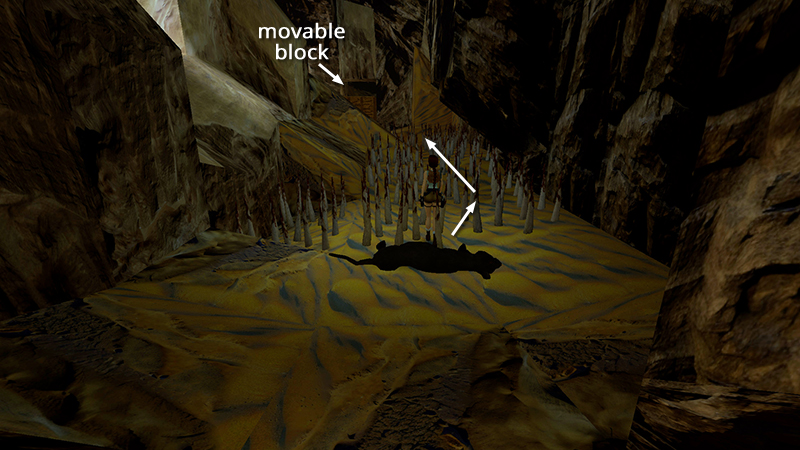
Return through the field of spikes to the other side of the cave.
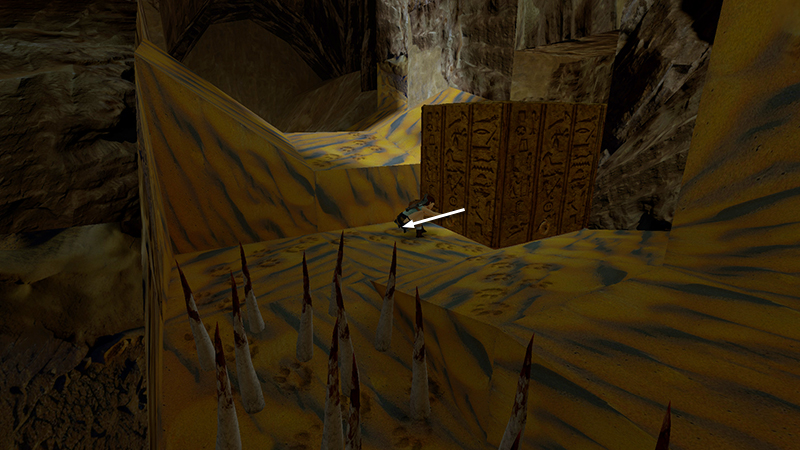
Pull the carved stone block out of the way to reveal a second block.
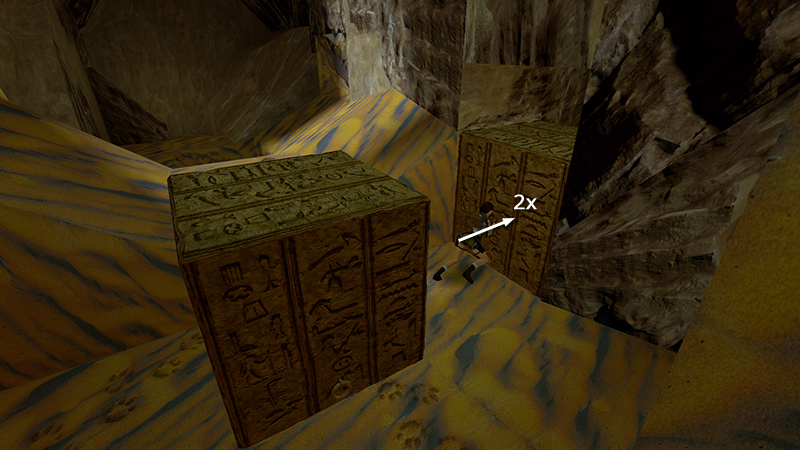
Go over/around the first block and push the second block twice to proceed.
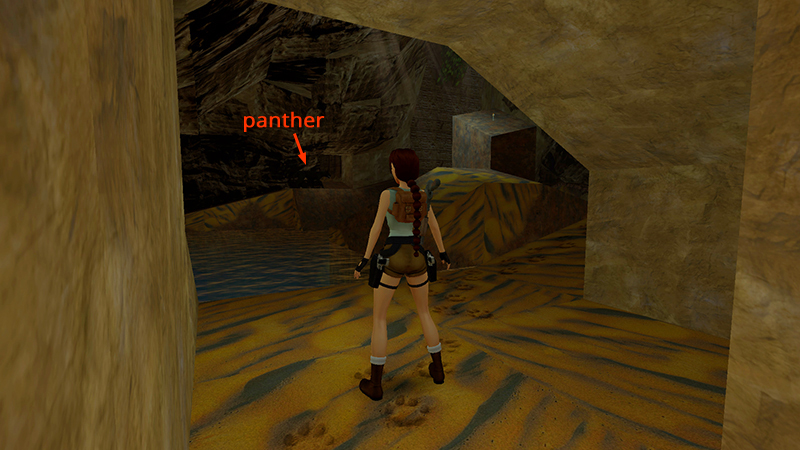
Follow the tunnel to a pool.
*NOTE: The running kill counts track the total with or without crocodiles. You'll need to avoid harming any crocs for the "Crocodile Rock" achievement/trophy.
DARK MODE: I plan to add optional dark mode for these pages, but my current priority is updating the walkthroughs. Meanwhile, may I suggest a reputable dark mode browser extension, such as Dark Reader? (Download only from trusted sites, like darkreader.org or your browser's official add-on/extension site.)
Walkthrough text and diagrams copyright © Stellalune (email ). Feel free to copy or print this walkthrough for personal use. By all means, share it with friends, but please include this credit line so people can send me their feedback. No part of this walkthrough may be reproduced on another site without permission.