It's a Madhouse! - Hedge Maze and Secret #1 (part 2)
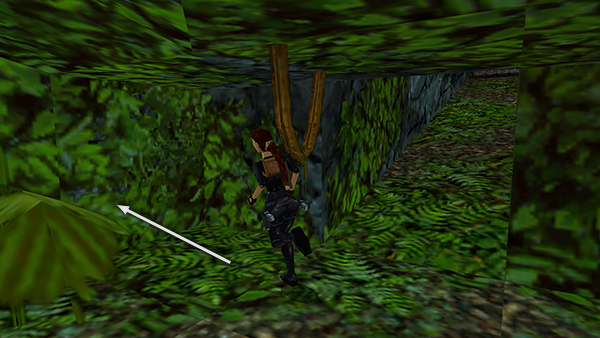
Just to the left of the ramp and the thick, dangling vine is an opening concealed by leaves. Walk through the foliage and the chime sounds for SECRET #1.
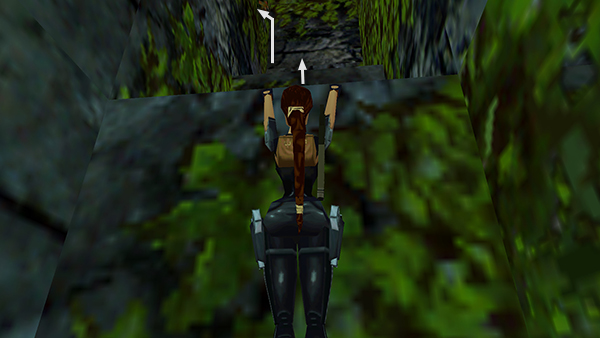
Turn right, climb up two ledges, then climb up again on the left...
...to emerge on a ledge above the street. A cutscene shows another red car speeding down the hill.
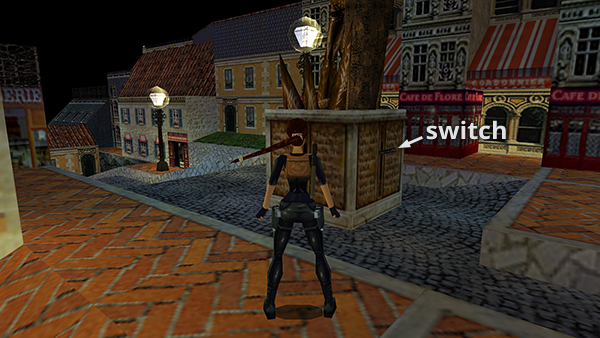
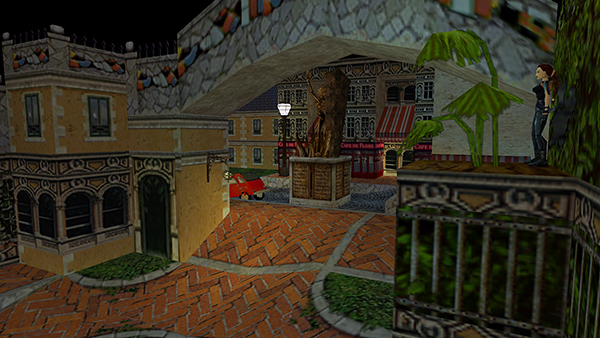
Hop down into the street and pull the switch on the back of the GOLDEN STATUE.
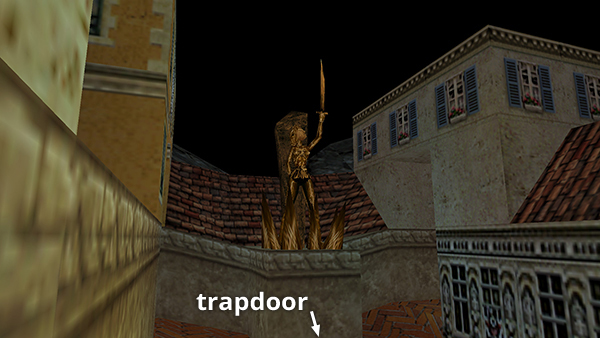
This opens the trapdoor at the lower end of the street near the SECOND GOLDEN STATUE. You won't be able to reach this area yet, but you must do this in order to obtain SECRET #3 later.
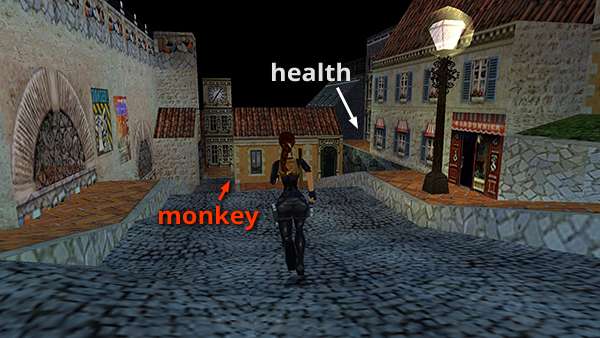
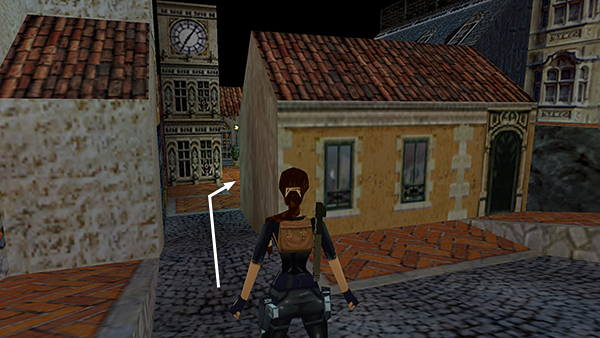
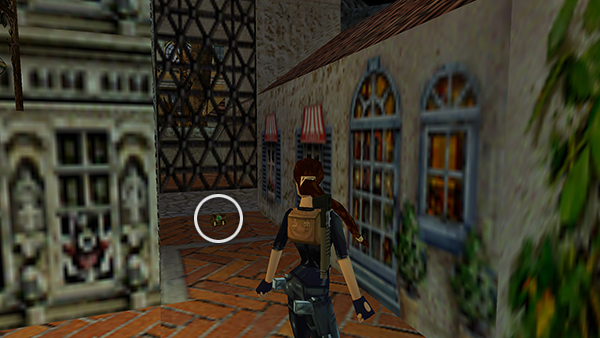
Now head down the street. As you pass the lamppost about halfway down on the right, a monkey appears from behind the peach-colored house ahead. If you don't move fast, the monkey steal the small medi pack sitting on the ledge to the right of the peach house, and you won't be able to get it without cheating. So, try to retrieve the medi pack quickly or shoot the monkey.

If you miss the medi pack, the monkey will carry it up the hill to the small barred ledge with the "Patisserie" signs.
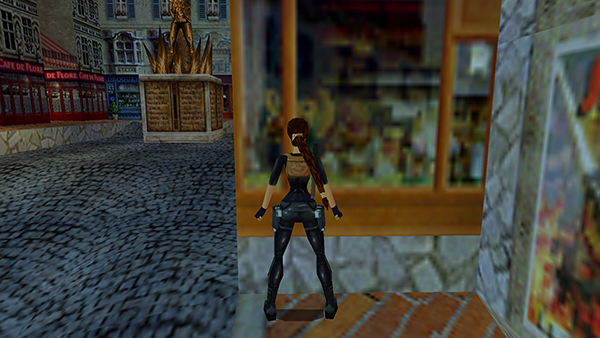
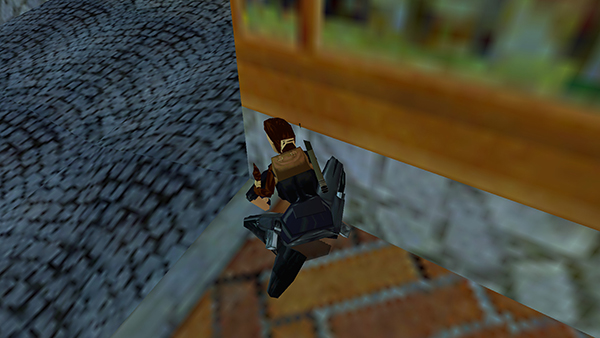
If you like, you can use the crawling corner bug to reach it. Stand facing the left side of the ledge with Lara's left foot at the left edge of the brick path, as shown above.
Pivot about 45 degrees to the left to face the corner.
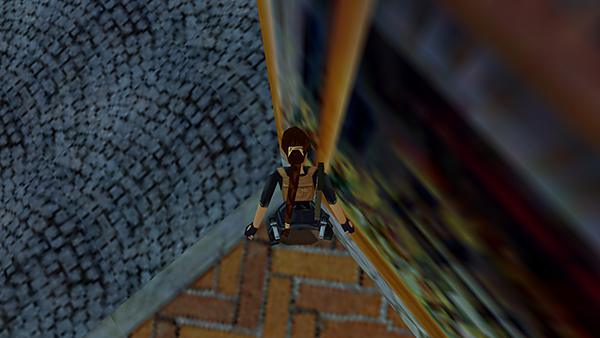
Hold the Duck button to crouch.
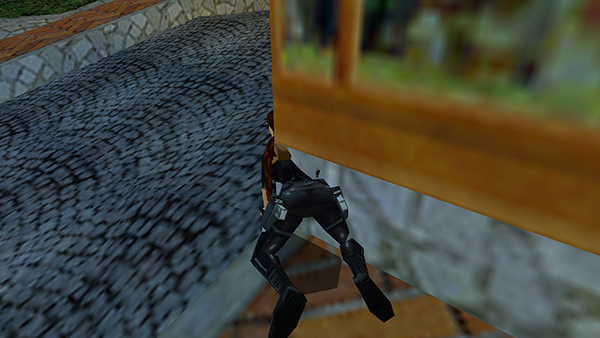
Then tap forward once so Lara moves onto her hands and knees. You'll notice Lara's torso clipping through the outer corner of the block.
Release Duck and she should pop up onto the ledge. You can now retrieve the medi pack and jump back down. (Again, the crawling corner bug is detailed on the Useful Bugs page, where there's also a video showing how to do this maneuver.)
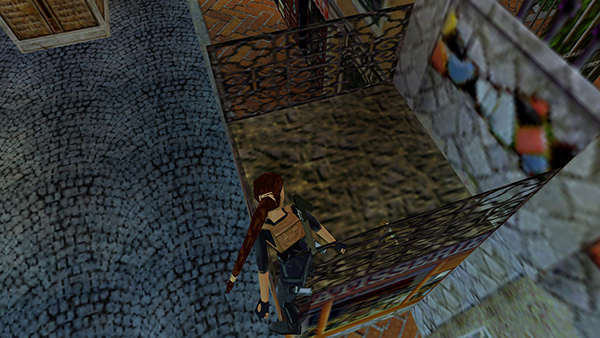
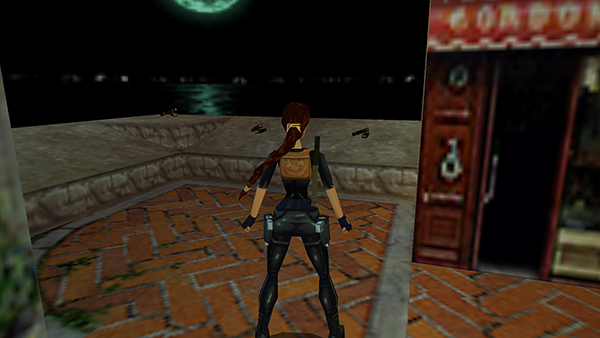
Continue to the end of the street where the red car is parked.
Get the large medi pack in the alcove on the left. On the other side of the bars, you'll notice the SECOND GOLDEN STATUE with the trapdoor below it.
Pick up 3 sets of MP5 clips on the concrete ledge. Be careful; it's a long drop.
NOTE: If you don't yet have the MP5 SUBMACHINE GUN, you'll get it here along with 2 sets of clips.

When you take the clips near the corner, you get a wide-angle view of the area below, where a couple of mutant creatures come down some stairs. You can shoot them from above with the MP5 if you like, but you'll get an easier shot later on.
Copyright © 2000- - Stellalune (
). All rights reserved. Feel free to copy or print this walkthrough for personal use. By all means, share it with friends, but please include this credit line so people can send me their feedback. No part of this walkthrough may be reproduced on another site without permission. Follow this link for details about this site's advertising and privacy policy.