It's a Madhouse! - Hedge Maze and Secret #1 (part 1)
The location and layout of the maze are shown in the main walkthrough.
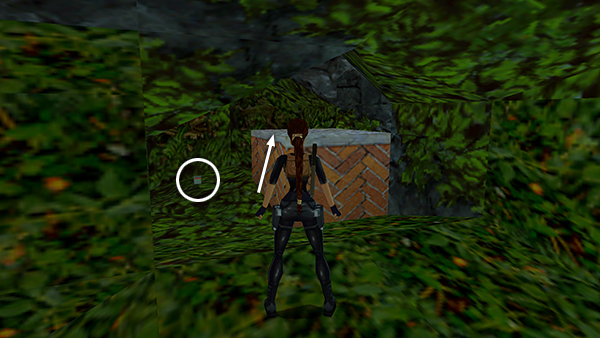
Pick up some flares on the ground near the brick pedestal.
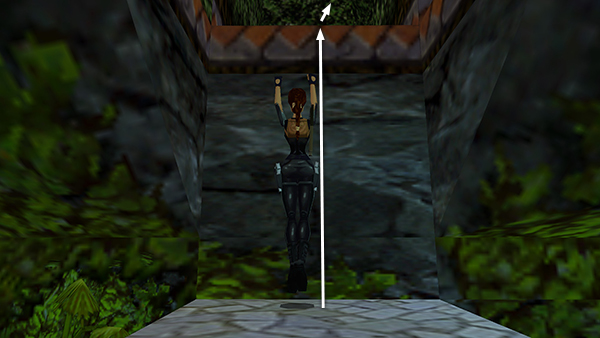
Then climb up through the opening into the maze.

The camera shifts to a view of the moonlit topiary sculptures on top of the maze. Tap Look to get Lara's perspective back.
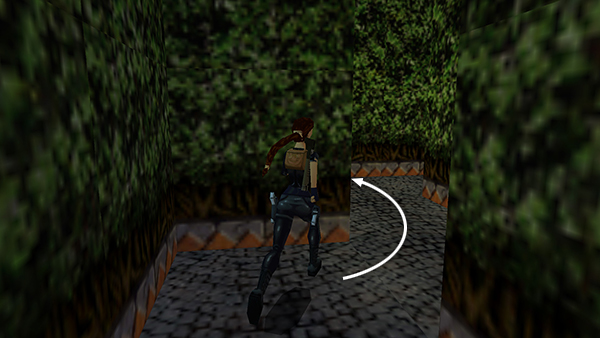
Then then run forward, veering around the block of hedge directly ahead.
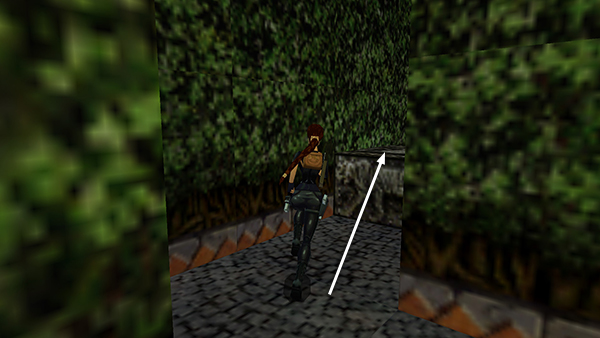
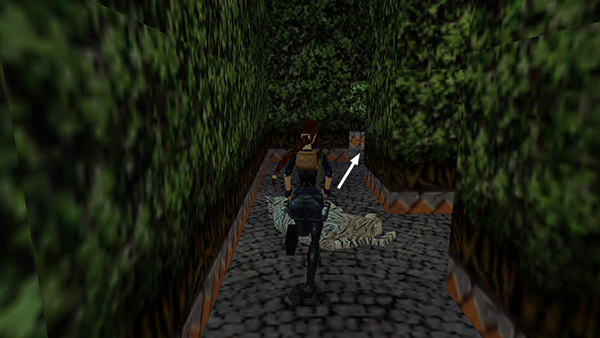
Then hop up onto the carved block in the middle of the path. (This block is marked B1 on the map in the main walkthrough.)

The 2 tigers should approach from the tunnel opening ahead. They can't reach Lara if she's standing on the block, so you can shoot them with pistols. You you may have to hop down off the block and back up again in order to draw them out.
When the tigers are dead, continue forward to the corner. Enter the low-ceilinged passageway where the tigers came from.
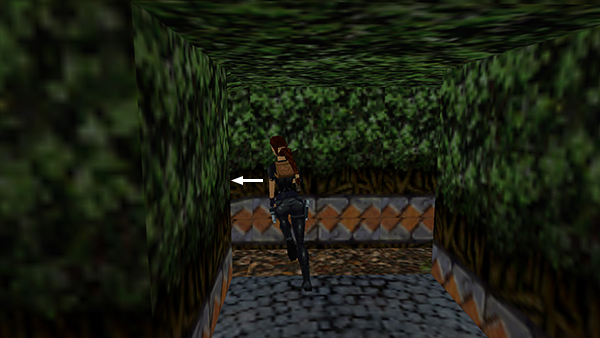
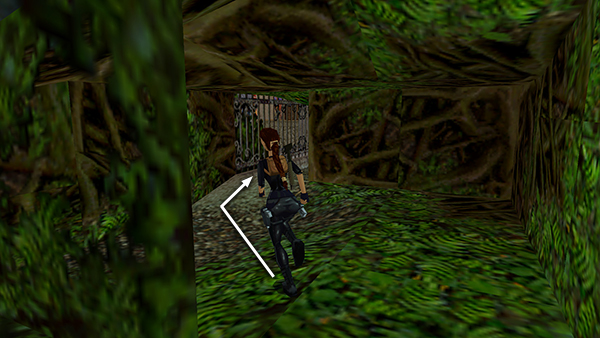
Turn left...
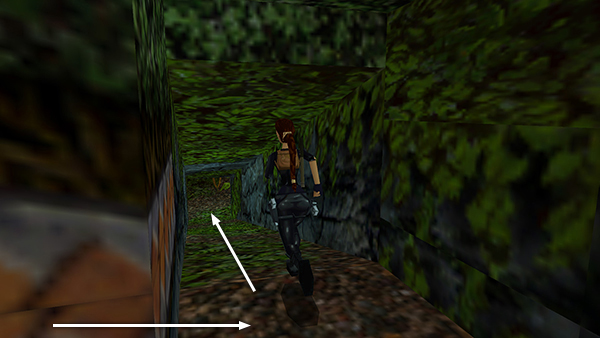
...then left again, and follow the ramp down into the TIGERS' ENCLOSURE.
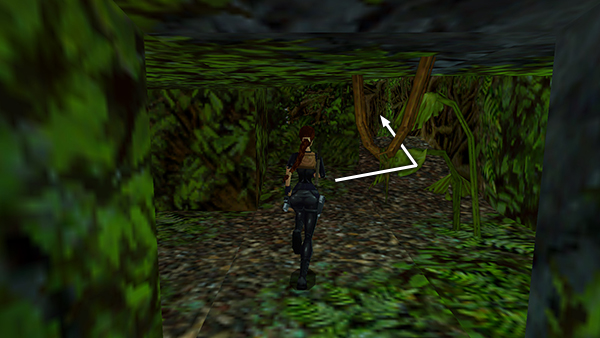
At the bottom of the ramp, go around the thick vine dangling from the ceiling and continue forward...
...through the foliage into the cage proper.

Pick up the Uzi clips inside. Then return along the path through the bushes to the bottom of the ramp.
Copyright © 2000- - Stellalune (
). All rights reserved. Feel free to copy or print this walkthrough for personal use. By all means, share it with friends, but please include this credit line so people can send me their feedback. No part of this walkthrough may be reproduced on another site without permission. Follow this link for details about this site's advertising and privacy policy.