Highland Fling - Rooftop and Secret #1
After retrieving the shotgun shells in the steam vent at the end of the BRIDGE...
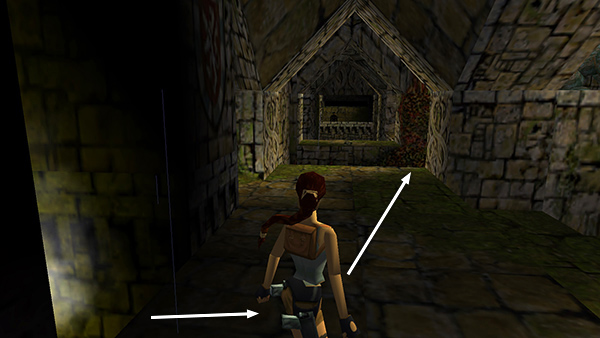
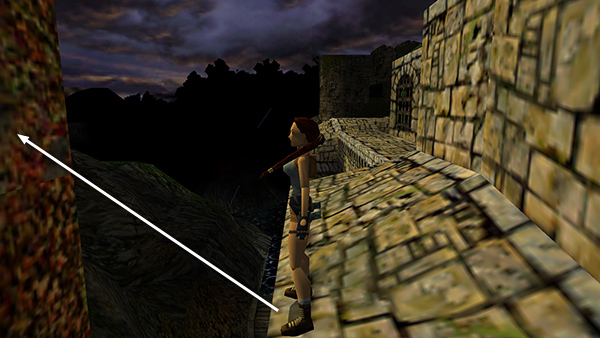
...climb out of the vent and turn left. You can see another guard in the building ahead, but don't worry about him now. Walk to the right edge of the opening with the peaked arch...
...and take a running jump to grab the red and gold vines growing up the outer wall of the castle.

The camera shifts to a top-down view, and another bird appears above. Press Jump to backflip onto the ledge behind you.

Then kill the crow before continuing. You may need to move back onto the bridge...
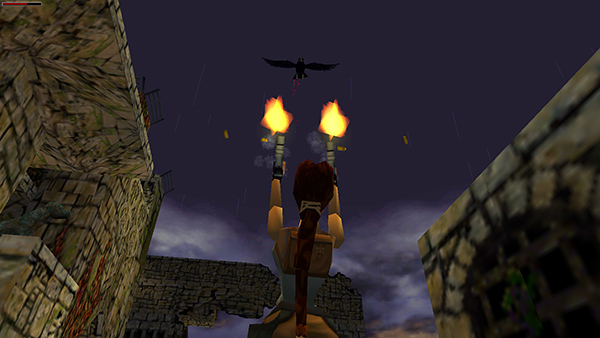
...to get a clear shot and room to maneuver.
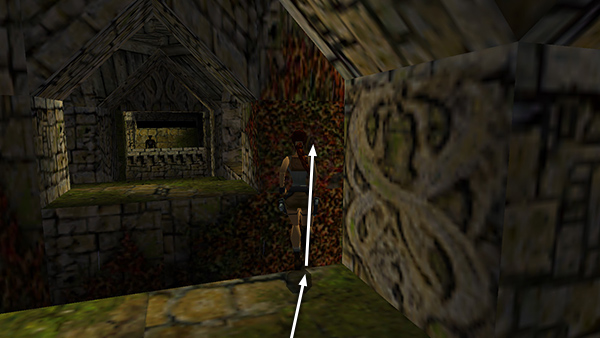
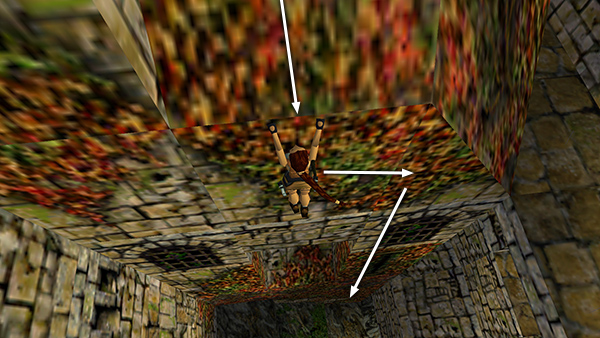
Return to the ledge and jump back over to the vines. Continue climbing almost to the top. Then either climb to the left and dismount on the ledge or backflip onto the ledge behind.
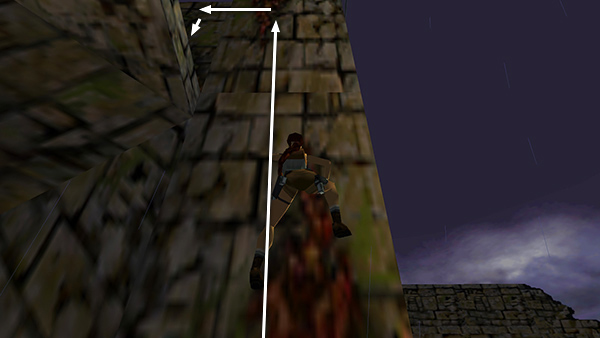
ap Look to shift the camera back to normal. Continue climbing almost to the top. Then either climb to the left and let go to drop onto the ledge...
...or backflip onto the ledge behind.

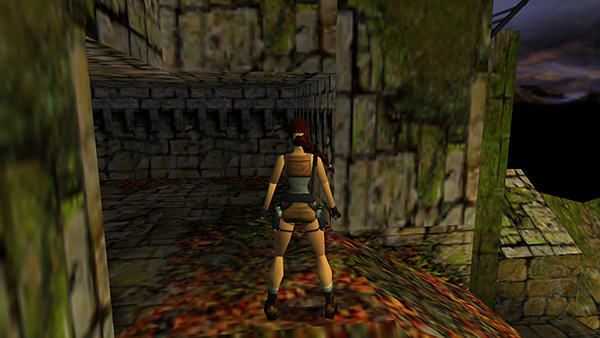
Move carefully along the front edge of the roof and climb up onto the large, rectangular grating. As you approach the far end, both a crow and a guard will come out of hiding.
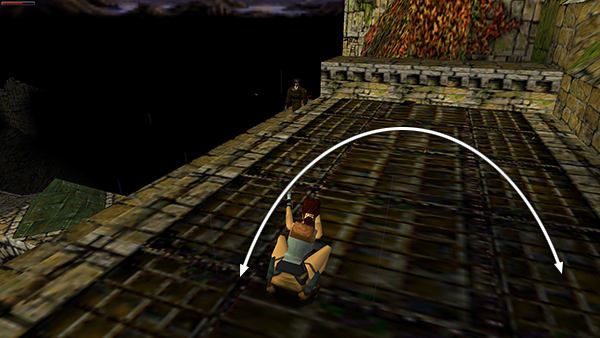
Take care of them. As long as you stay near the middle of the grating, you can flip from side to side while shooting to avoid taking too much damage from the guard.
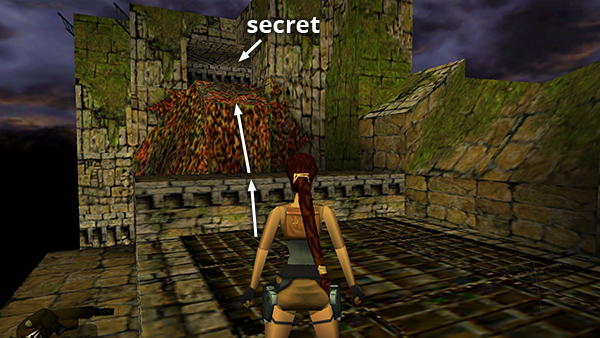
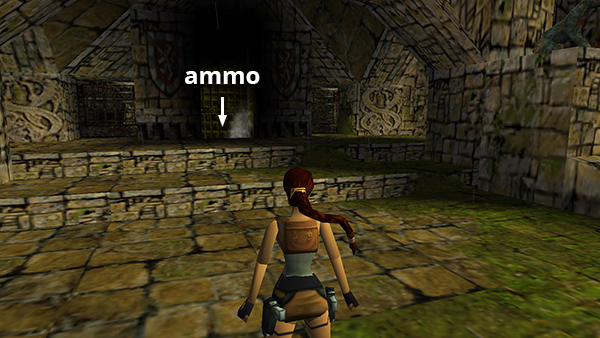
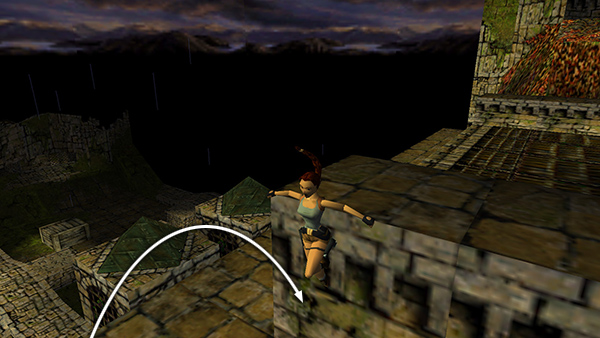
Then climb onto the low wall at the far end of the grating. Walk to the edge and jump to grab the edge of the vine-covered rock. Pull up and enter the low-ceilinged room ahead.
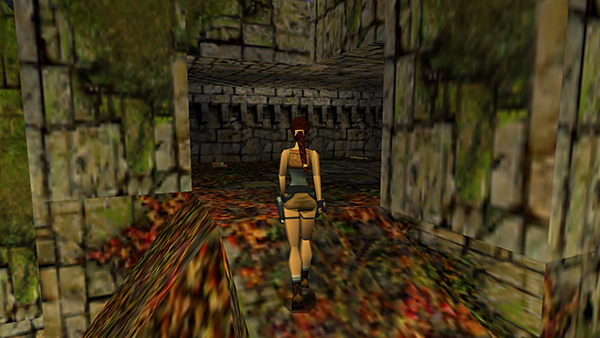
This is SECRET #1, the loaded SHOTGUN and 2 boxes of shells.
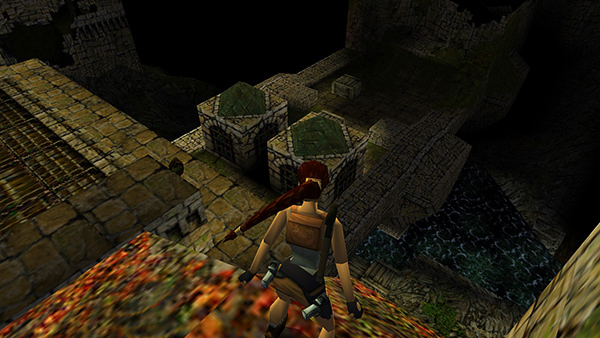
To get back down, move to the outside corner of the secret room that overlooks the lake.
Turn around so the roof area with the grating is on Lara's right and the secret room on her left.
Slide down the slope backwards and grab the edge. Now climb all the way down the side of the vine-covered building to the rocks below. (On the way down, you'll pass a small room with a switch. You'll return here later.)
NOTE: To descend faster you can repeatedly release and re-press Action to let go and grab again. Just don't try to drop past the open doorway and grab on below. It's too far, and Lara won't make it.
Copyright © 2000- - Stellalune (
). All rights reserved. Feel free to copy or print this walkthrough for personal use. By all means, share it with friends, but please include this credit line so people can send me their feedback. No part of this walkthrough may be reproduced on another site without permission. Follow this link for details about this site's advertising and privacy policy.