Highland Fling - Secret #3 (part 1)
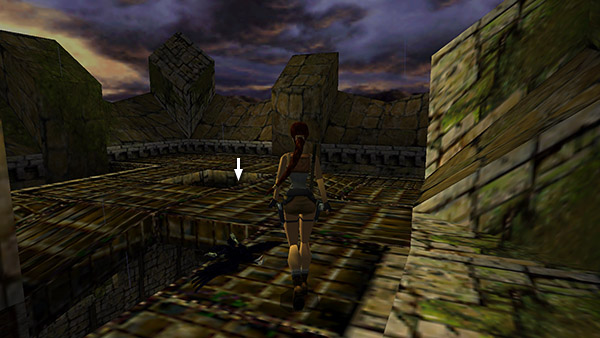
After obtaining the second THISTLE STONE, as described in the main walkthrough, drop back down through the square opening in the roof onto the jutting stone walkway.

Now take a running jump to grab the edge of the alcove with the small medi pack.
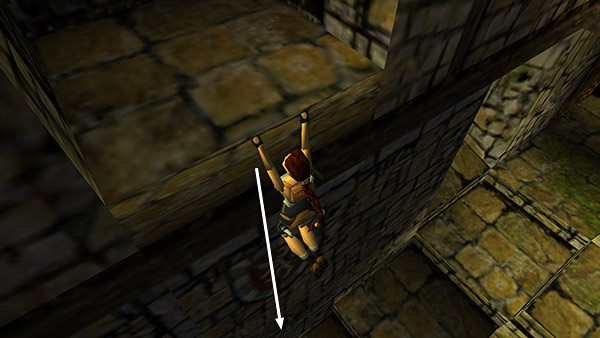
Safety drop out of the alcove where you found the medi pack onto the stairs.
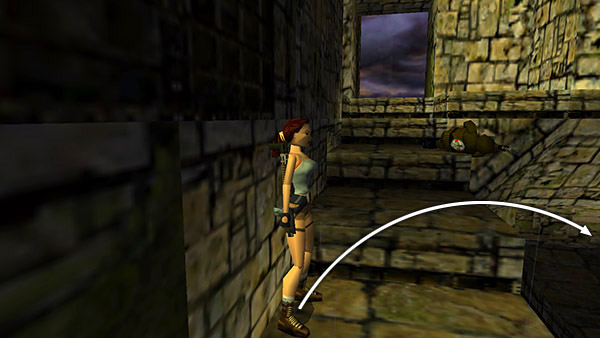
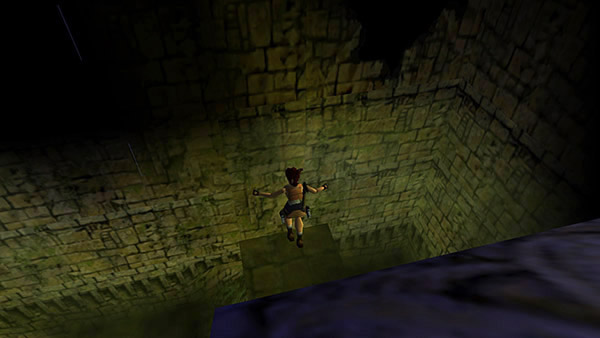
Roll and back up to the wall if necessary. Then take a standing jump...
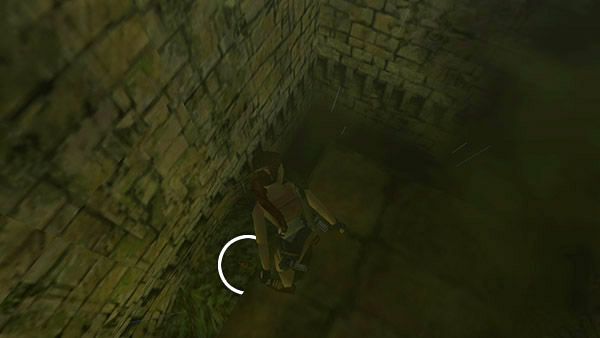
...down onto the walkway spanning the middle of the room. Move to the left a little.
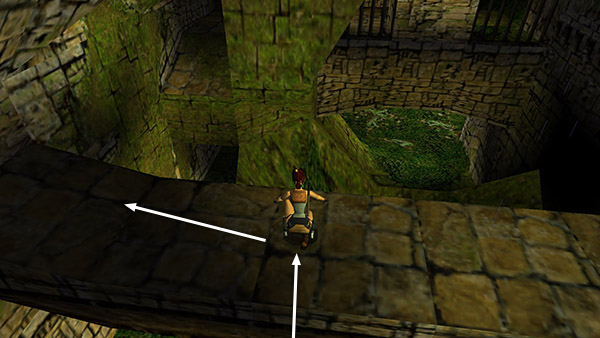
Then take a running jump to land on the right side of the doorway with the MP5 clips, where the ceiling is high enough so Lara won't bang her head. Pick up the ammo.
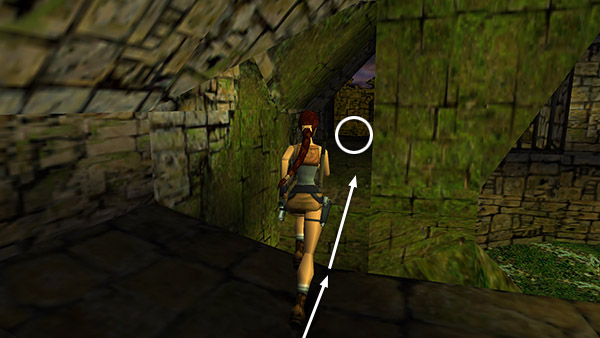
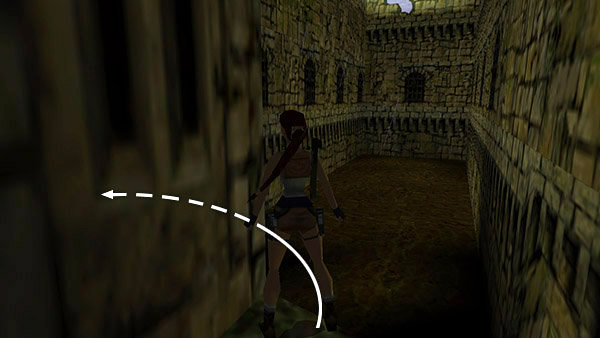
Position Lara at the edge of the opening on the left side.
Pivot a little to the left.
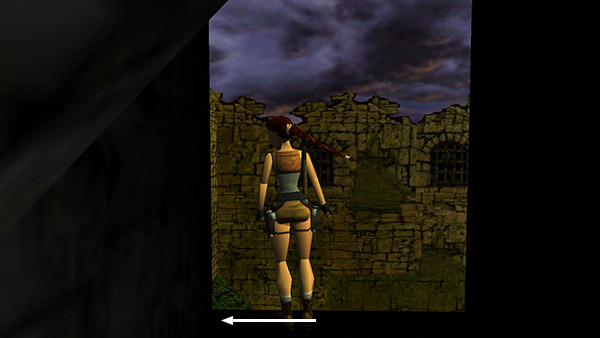
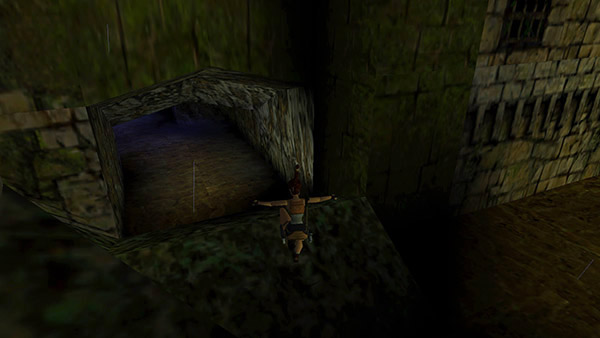
Then take a standing jump toward the dark opening in the stone wall. If all goes well, she'll jump through the opening...

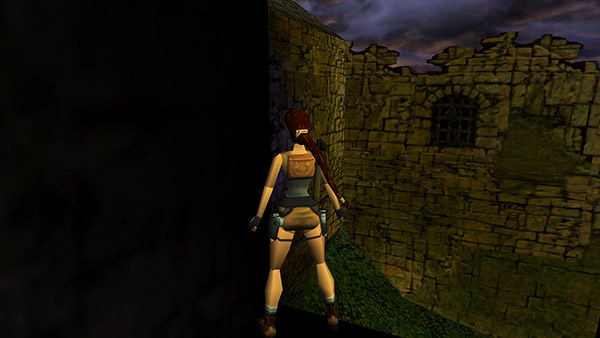
...slide down a short ramp...
...and land on a square pillar above a pool of mud.
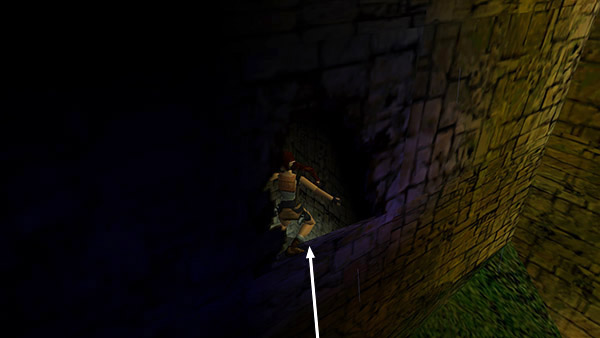
Drop down off the back side of the pillar to get a large medi pack.
Then jump around the side of the pillar nearest the big mud pool...
...to land on the rocks beyond.
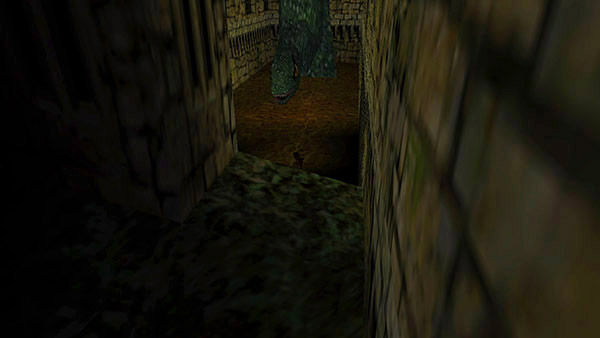
If Lara lands in the mud, she's finished, but you get a nice glimpse of Nessie enjoying her bath. And you did save your game, right? ;)
Copyright © 2000- - Stellalune (
). All rights reserved. Feel free to copy or print this walkthrough for personal use. By all means, share it with friends, but please include this credit line so people can send me their feedback. No part of this walkthrough may be reproduced on another site without permission. Follow this link for details about this site's advertising and privacy policy.