Sleeping with the Fishes - Third Pool - Second Circuit Bulb
This area is shown in a diagram included in the main walkthrough.
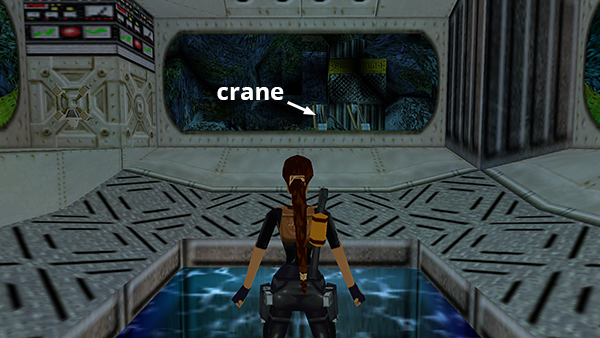
For the SECOND CIRCUIT BULB, start in the CONTROL ROOM facing the window with the crane outside.
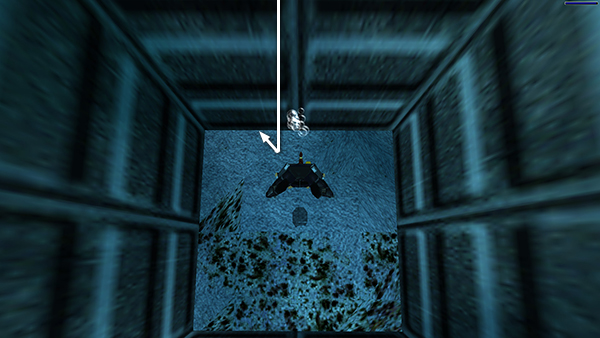
Swim down to the bottom then forward and a bit to the left.
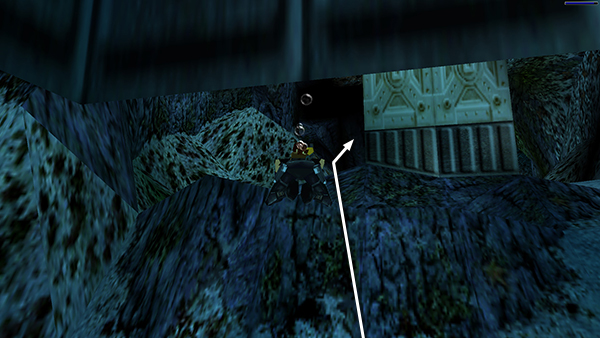
Swim up the rocky embankment and along the left side of the white metal column supporting the crane...
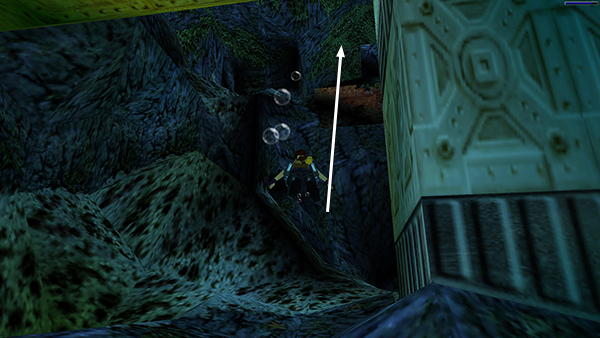
...then straight up, past the rusty metal slab the crane is supporting.
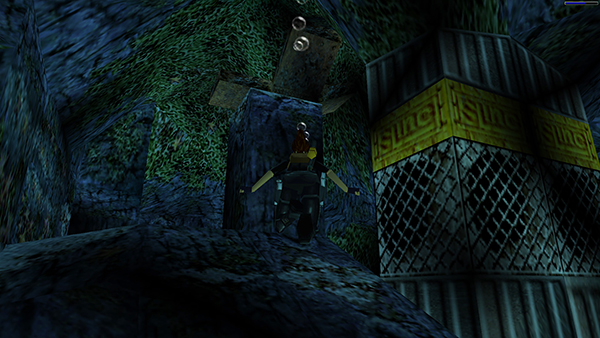
Continue forward past the metal support pillar with the "Slinc" logos on it. Directly ahead should be a rectangular stone pillar.
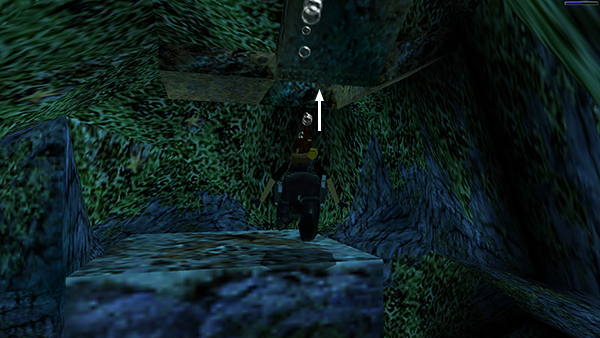
Just beyond the stone pillar there's a small, square opening in the cave ceiling surrounded by rusted metal. Swim in here for air...
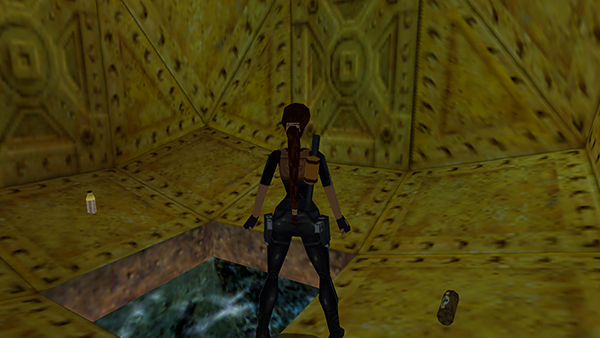
...and pick up a small medi pack and another CIRCUIT BULB (2/2).
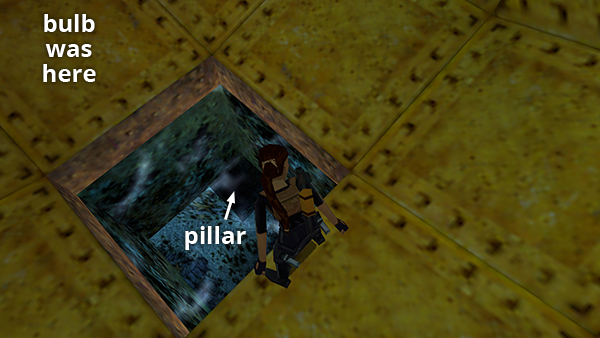
Now return to the CONTROL ROOM the way you came: Jump into the water and swim down toward the stone pillar.
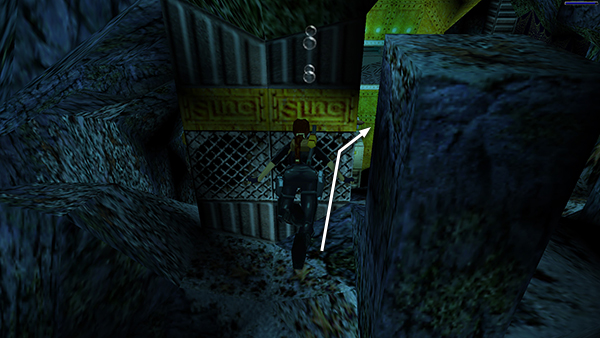
Swim around the pillar and past the metal support with the "Slinc" logo.
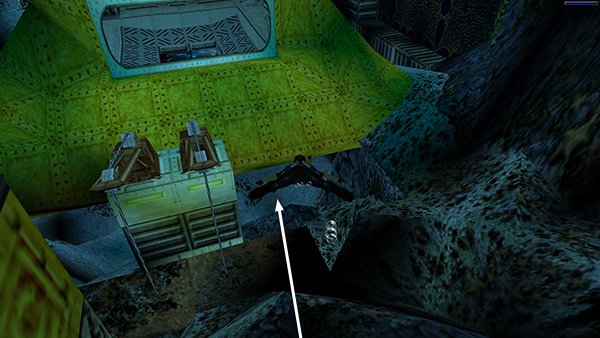
Continue downward, past the the crane...
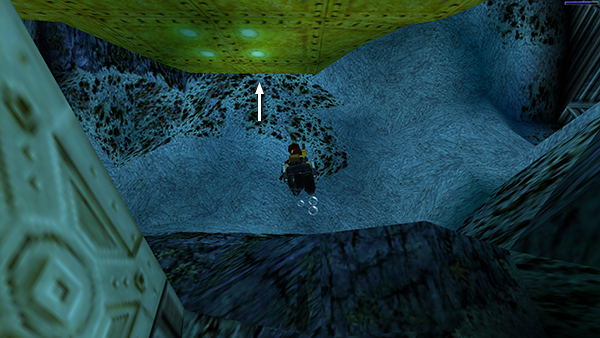
...and finally up underneath the CONTROL ROOM to get inside.
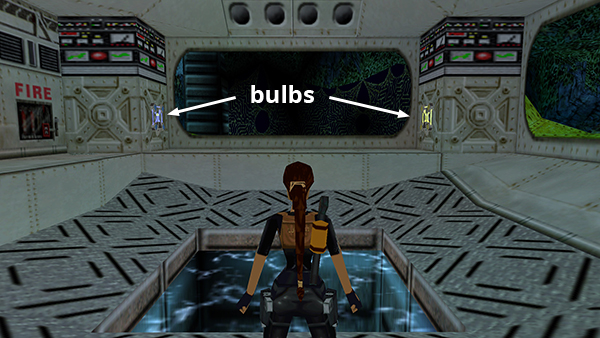
Place the 2 CIRCUIT BULBS in the 2 receptacles...
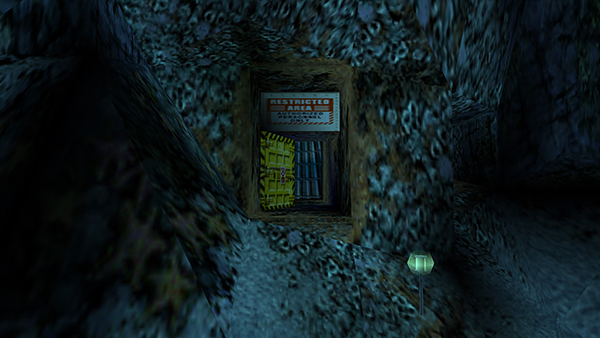
... to open a small, yellow door marked "Restricted Area" on the far side of the underwater cave. This is the yellow door indicated on the third map in the main walkthrough.
Copyright © 2000- - Stellalune (
). All rights reserved. Feel free to copy or print this walkthrough for personal use. By all means, share it with friends, but please include this credit line so people can send me their feedback. No part of this walkthrough may be reproduced on another site without permission. Follow this link for details about this site's advertising and privacy policy.