Sleeping with the Fishes - Third Pool - Secret #2 (part 2)
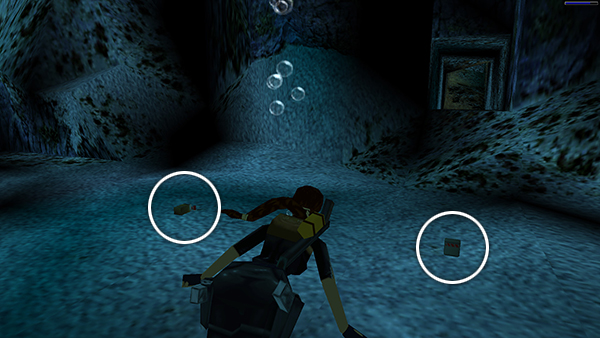
Now swim back out into the cave and pick up the flares you saw earlier, then the shotgun shells nearby.
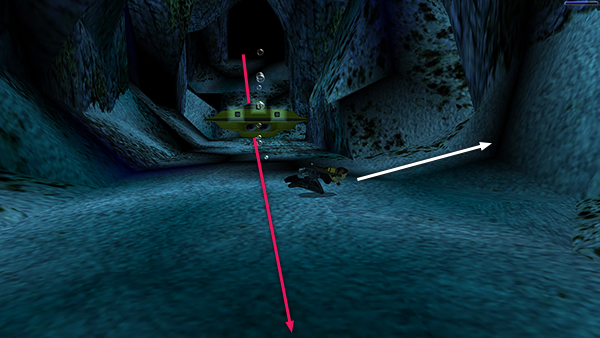
When you take the ammo, a small submersible speeds down the hill. Quickly swim toward either side wall so the sub doesn't hit Lara.
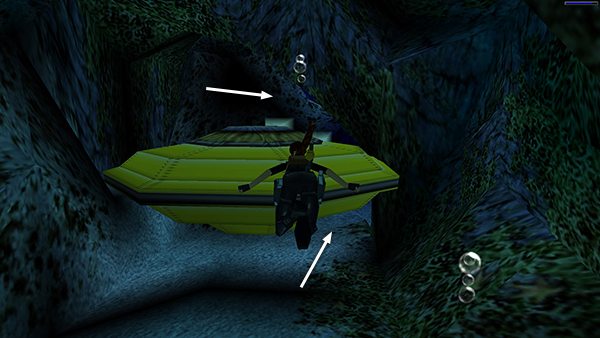
If necessary, return through the tunnel in the floor to get air. Then swim past the crashed submersible...
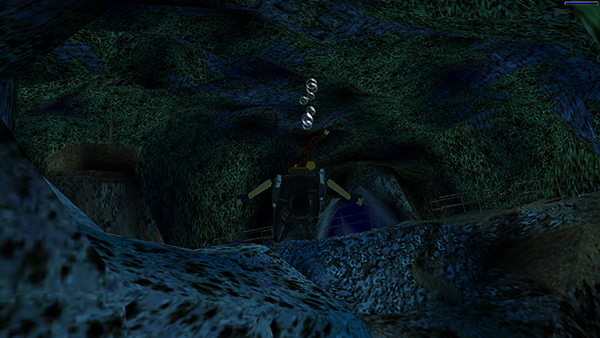
...into a large cave containing the rusted hull of a sunken submarine.
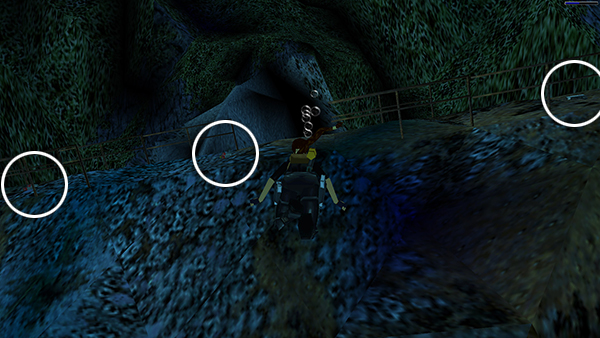
Pick up the DESERT EAGLE PISTOL and 2 sets of clips on top of the sub.
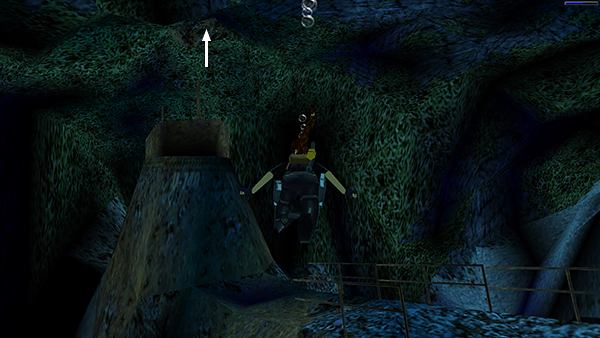
There's a small, square air hole in the ceiling above the left end of the sub.
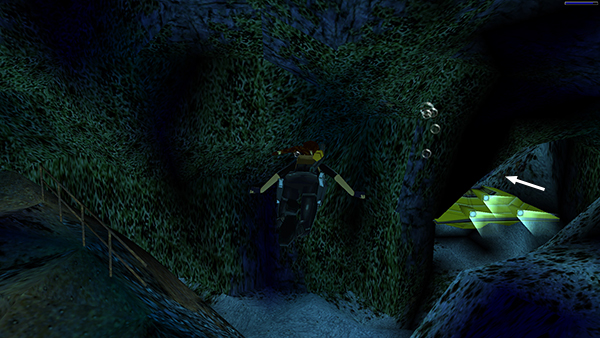
When you have all the goodies, swim out of the cave past the small, yellow submersible.
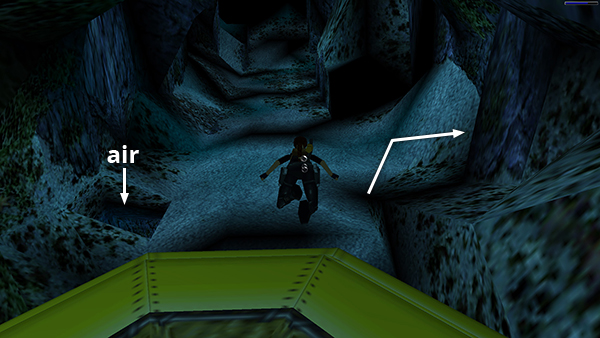
Enter the rocky tunnel on the right, opposite the hole in the floor where you got air and supplies earlier.
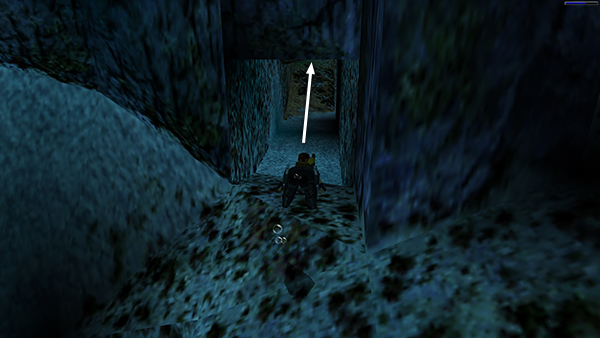
Then follow this tunnel out to the main cave.
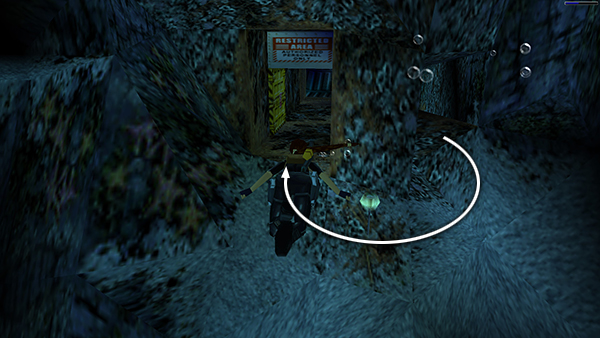
Make a U-turn to the right and swim through the "Restricted Area" door.
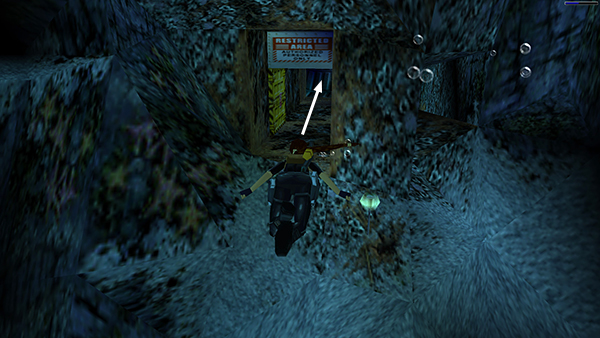
The current will carry Lara to the top of the passageway, where you can surface.
[Part 1 | Return to the Sleeping with the Fishes Walkthrough]
Copyright © 2000- - Stellalune (
). All rights reserved. Feel free to copy or print this walkthrough for personal use. By all means, share it with friends, but please include this credit line so people can send me their feedback. No part of this walkthrough may be reproduced on another site without permission. Follow this link for details about this site's advertising and privacy policy.