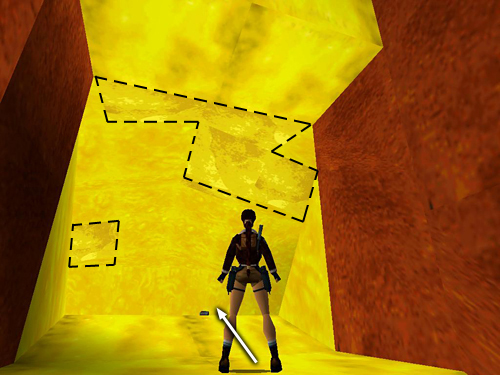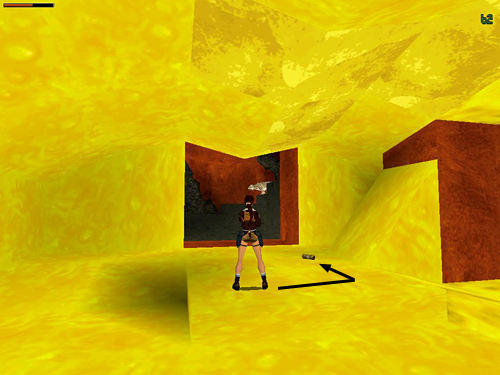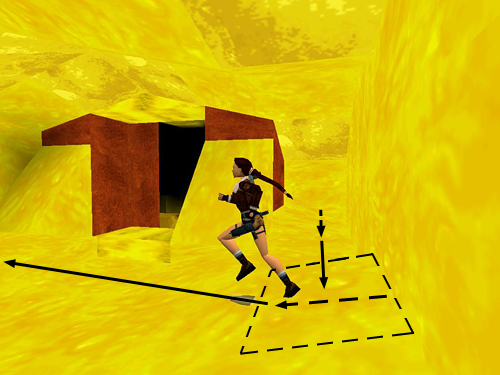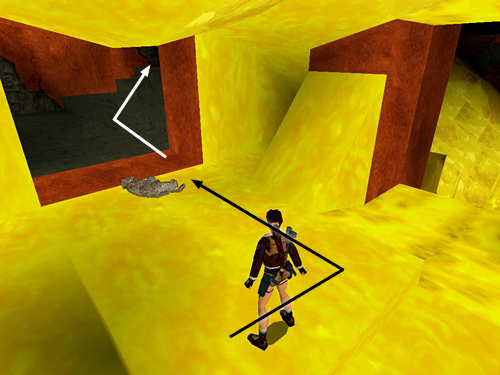
Inside is a small room with some items lying on the floor. Be careful only to walk on the squares below the smooth gold ceiling squares (outlined in the screenshot above). All the other squares are burning hot. Walk forward and take the flares.

Turn right and kill the leopard that charges in from the next room. Then carefully move around to the right, sticking to the safe squares as you retreive the small medi pack.

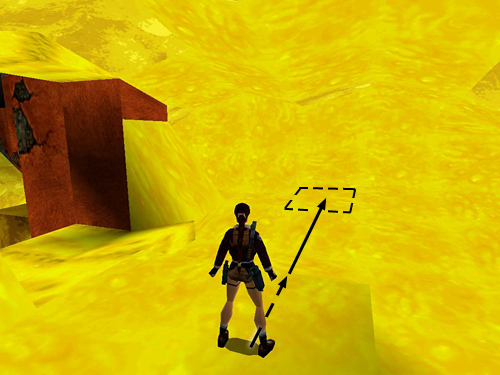
Return to the square where you got the flares. Position Lara so the staircase is behind her and the wide opening where you entered is on her left. Take a running jump to the safe square near the wall.

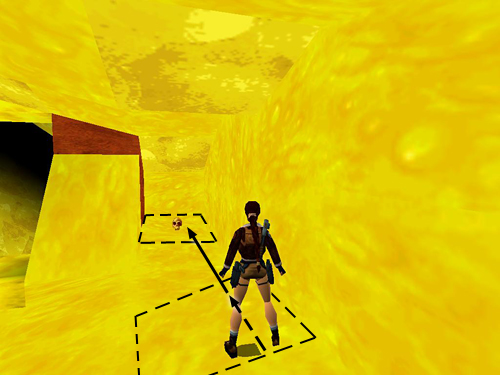
Turn left and take another running jump to SECRET #3, the gold skull. (If you're having trouble setting up this jump, try this: Face the skull, sidestep to the right so Lara is nearly touching the wall, walk forward to the edge, and then hop back once before running and jumping.)

Once you have the skull, turn around and take a running jump back to the previous square. Turn right, back up to the wall and take another running jump back to the spot where the flares were.

Then walk around to the right, over the spot where the medi pack was and into the next room. Climb the stairs to the gold door, which is now open.
[Part 1 | Return to the Kingdom Walkthrough]
Copyright © 1999- - Stellalune (). All rights reserved. The screenshots and videos included here were made using Fraps. Feel free to copy or print this walkthrough for personal use. By all means, share it with friends, but please include this credit line so people can send me their feedback. No part of this walkthrough may be reproduced on another site without permission. Follow this link for details about this site's advertising and privacy policy.
|
