Kingdom - Treetops
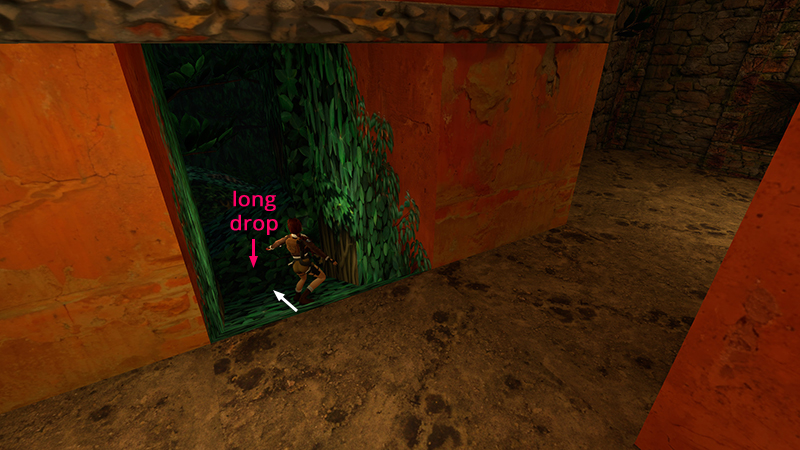
In the last section, you made your way through a BUILDING WITH A SQUARE HALLWAY AND GOLD 'X' PATHWAY to this vine-covered slope. Slide down, but don't run forward; there's a gap in the floor, and it's a long drop into a pool of molten gold below. Grunting sounds alert you to the presence of a couple of sasquatches (14-15) in the treetops. Don't worry; they can't reach you yet.
There's no "correct" way to explore this area. Here's one possible sequence with all pickups:
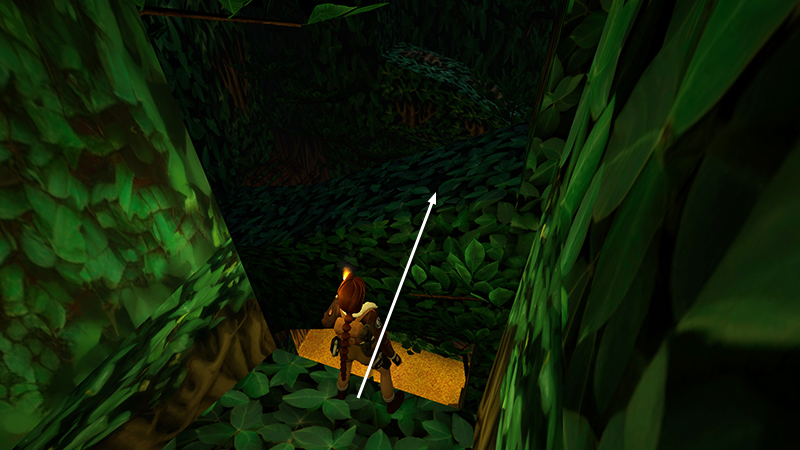
Take a standing jump across the gap onto the sloping green "branch" ahead.
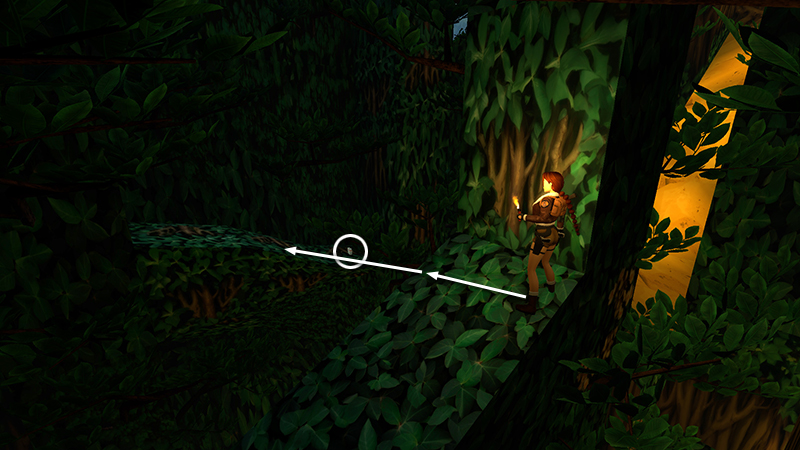
Then take a running jump to the next ledge to get some flares (27).
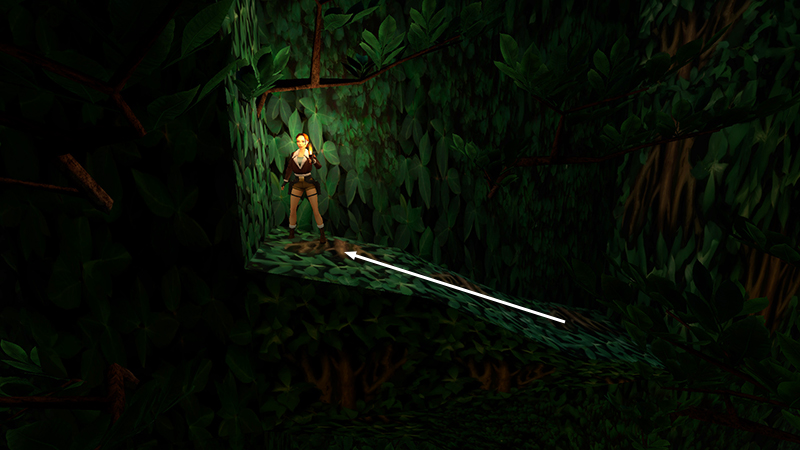
Move to the higher end of this ledge and turn to face out over the open area.
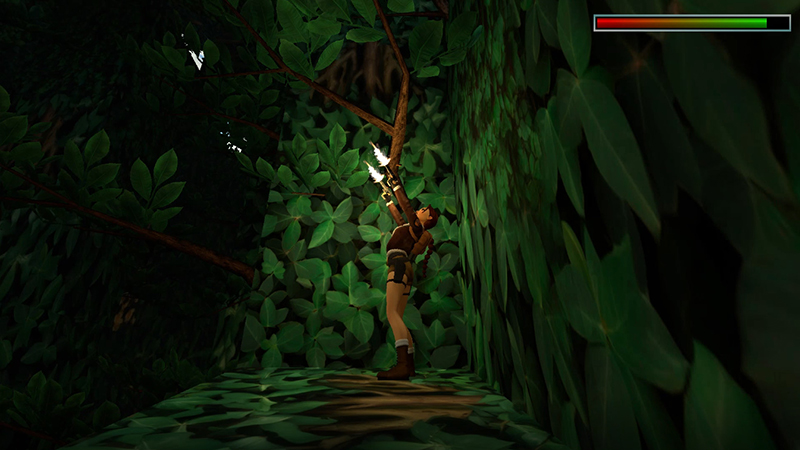
From here, you may be able to target the sasquatches (14-15) up in the trees using the M16 or even pistols. They're sneaky, though, so this could take time. If you have grenades or Uzi ammo to spare, they'll be easier to kill when you reach the top.
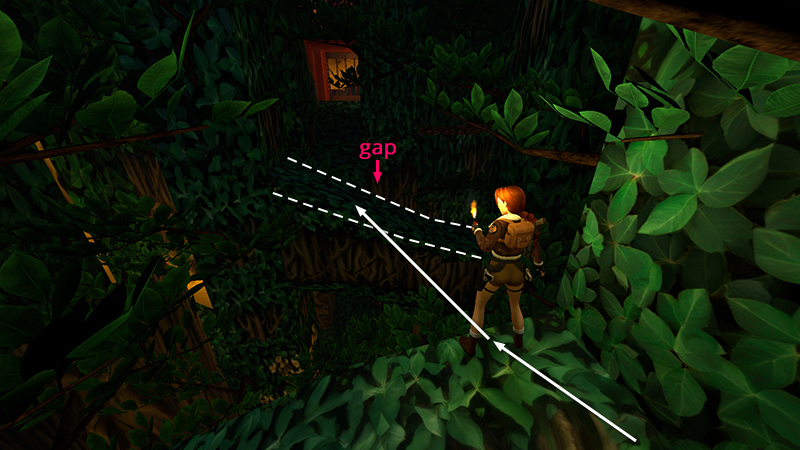
When you're ready, take a running jump back to the previous branch/ledge, pressing Action to shorten the jump or angling slightly to either side so you don't overshoot the ledge.
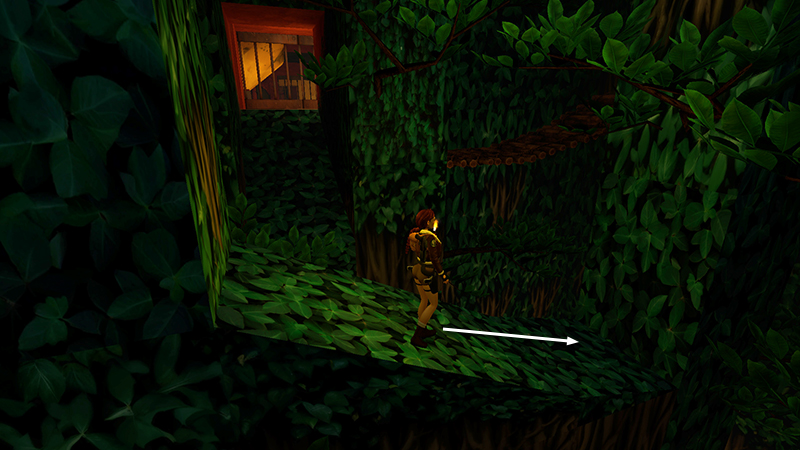
Walk down to the right.
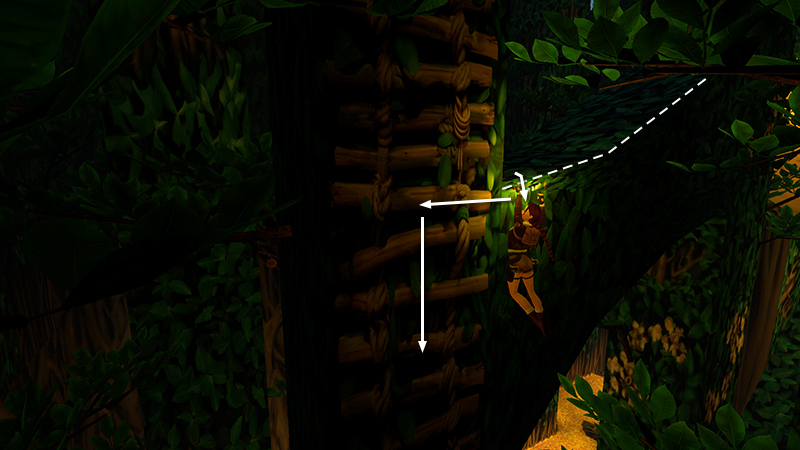
Turn around so Lara's back is toward the entrance, hang from the ledge, and climb to the left, onto the ladder.
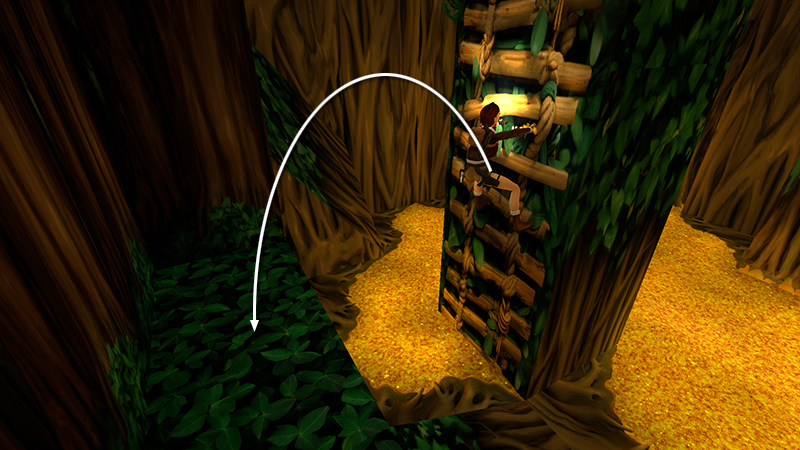
First, climb down. Near the bottom of the ladder, backflip off the ladder onto the ledge behind.
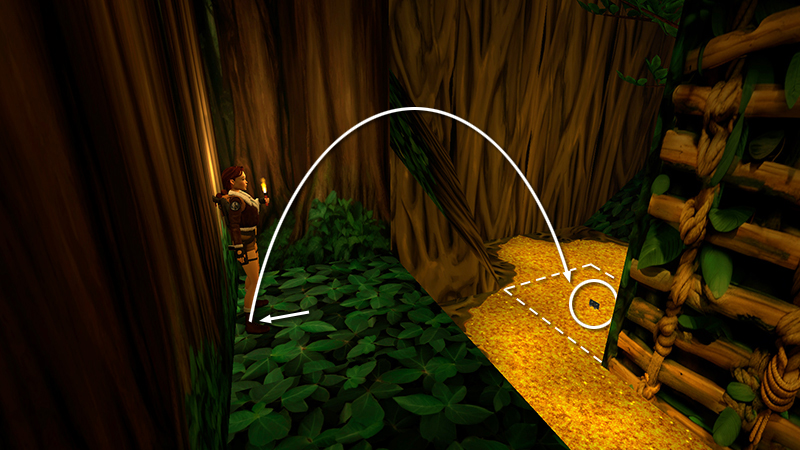
Back up to the wall. Then take a standing jump onto the molten gold square with 2 pairs of grenades (28-29). This tile is safe, but the rest of the pool is searing hot.
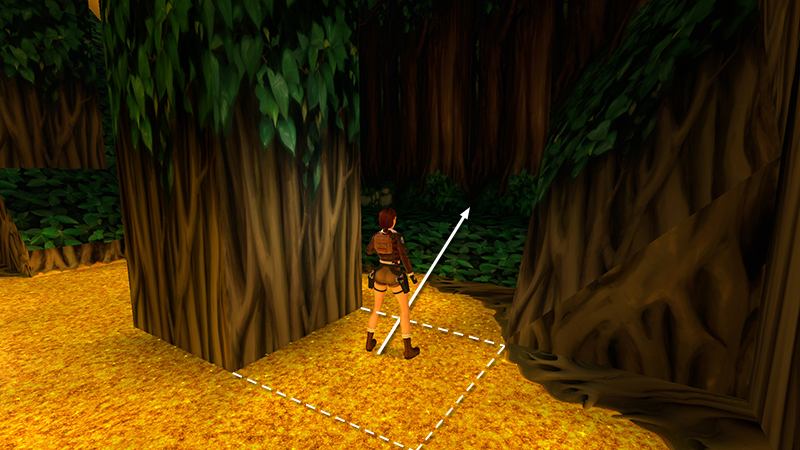
Turn around and jump back to the leafy ledge.
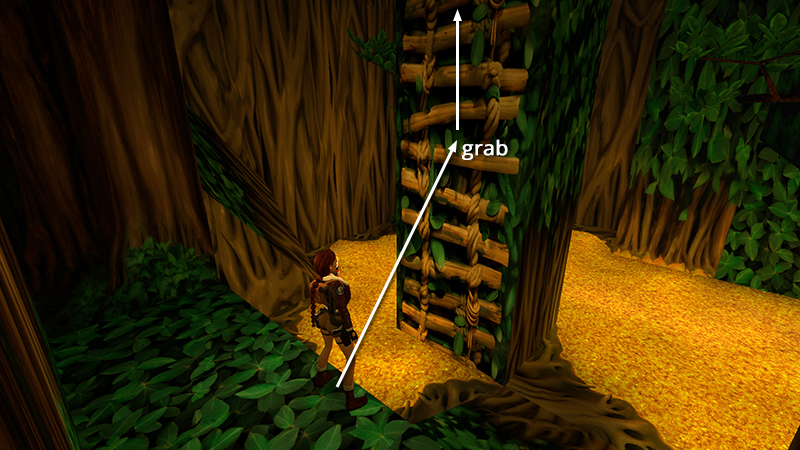
Then jump and grab onto the ladder.
[Previous | Next | Kingdom Walkthrough]
DARK MODE: I plan to add optional dark mode for these pages, but my current priority is updating the walkthroughs. Meanwhile, may I suggest a reputable dark mode browser extension, such as Dark Reader? (Download only from trusted sites, like darkreader.org or your browser's official add-on/extension site.)
Walkthrough text and diagrams copyright © Stellalune (email ). Feel free to copy or print this walkthrough for personal use. By all means, share it with friends, but please include this credit line so people can send me their feedback. No part of this walkthrough may be reproduced on another site without permission.