Furnace of the Gods - Secret #3 (Gold Skull)
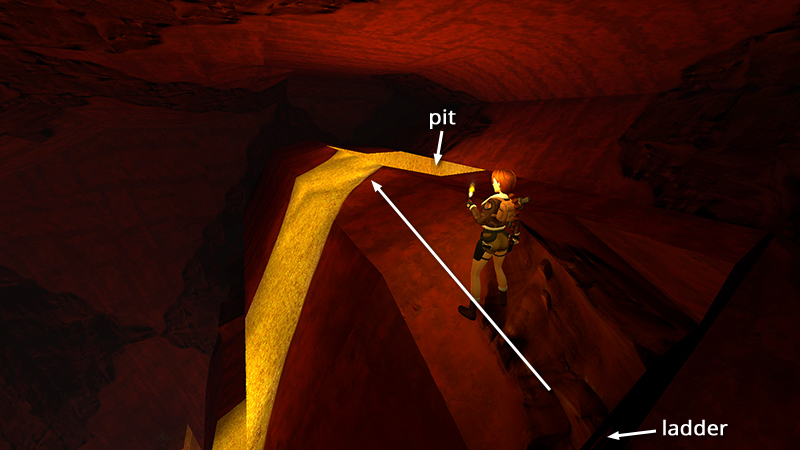
After avoiding the rolling blade and spiked walls, then climbing to the top of the MOLTEN GOLD VOLCANO, as shown in the last section, move straight forward and jump over the rivulet of molten gold.
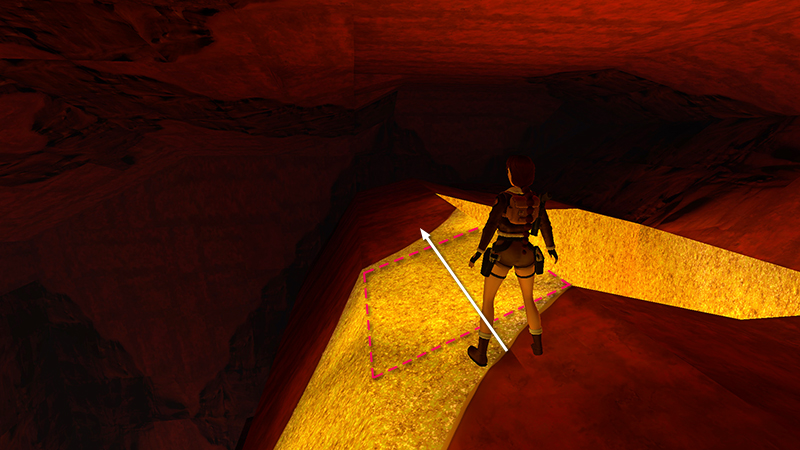
It's OK to step on the very edge of it, but the tile that is completely covered in gold is not safe.
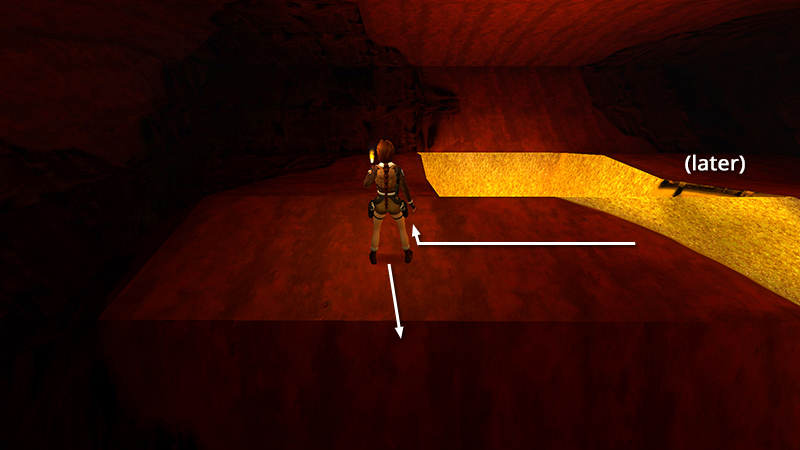
Ignore the square pit with the ladder for now. Move past it and turn so Lara's back is toward the open cavern and the pit is ahead on her right.
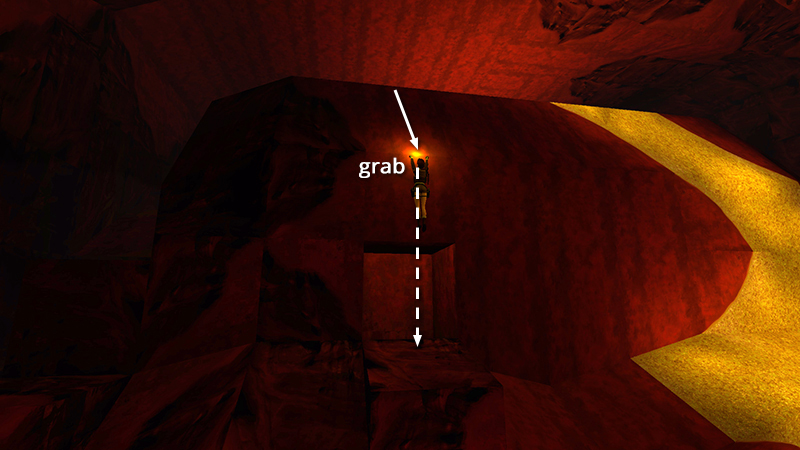
Hop back, slide down the slope, and grab the edge. Then let go and drop down in front of a square opening in the rocks.
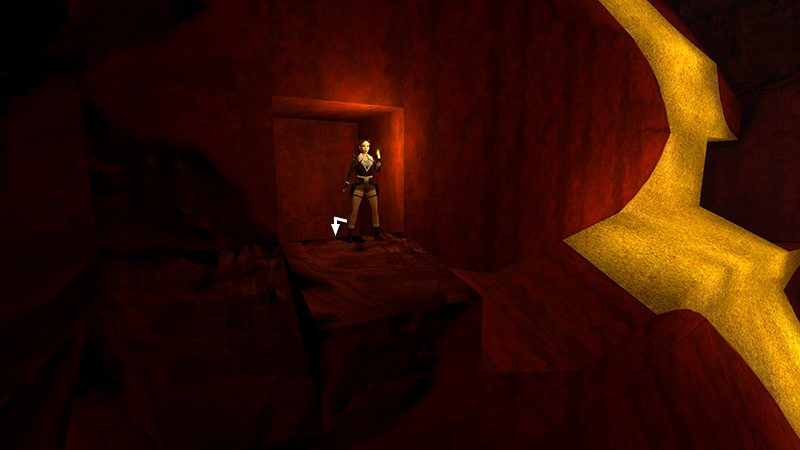
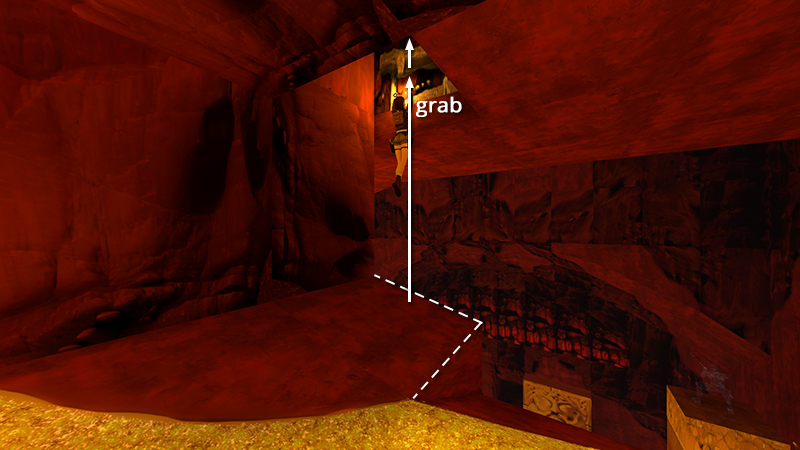
Turn around once more, so Lara is facing out toward the cavern, hop back and grab the edge of the hole behind her.
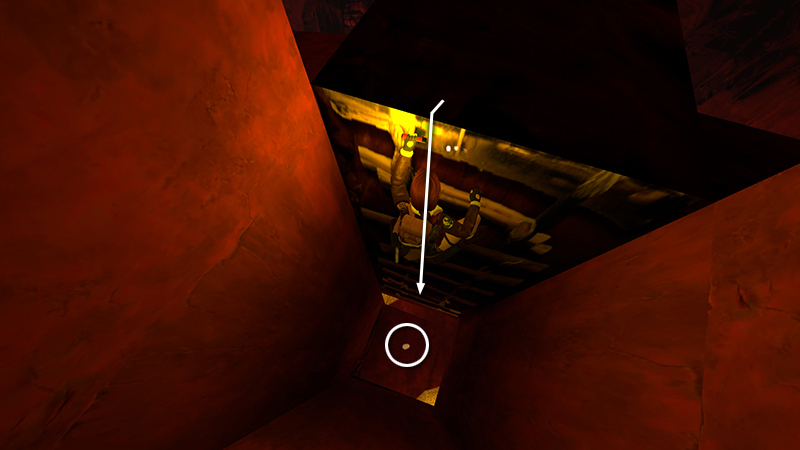
Climb down the ladder...
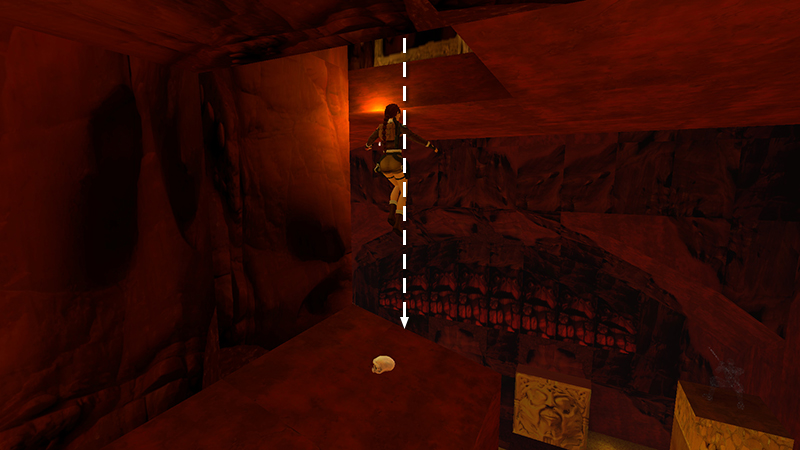
...and drop down next to SECRET #3, the gold skull (63).
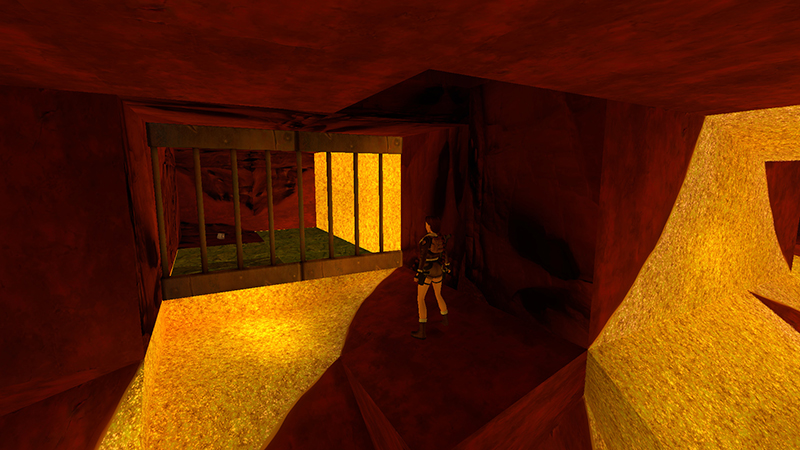
From here, you can see some break-away tiles and a medi pack on the other side of the bars, but you can't reach them.
So climb back up the ladder.
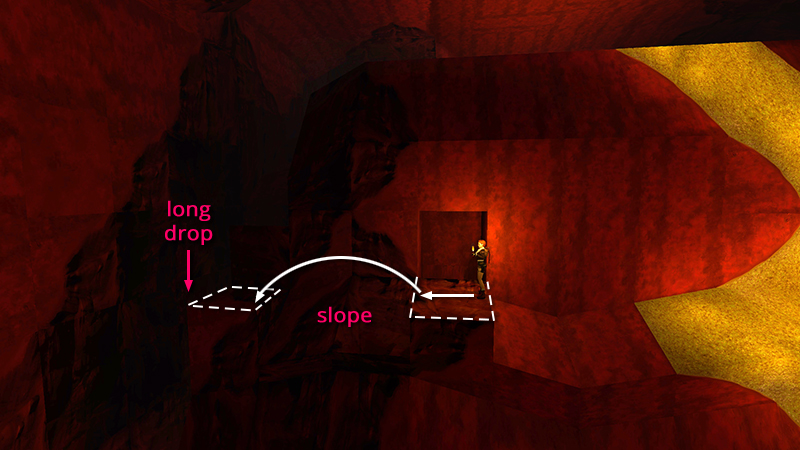
At the top, turn right, and take a running jump over two sloped blocks onto the flat block beyond. (Take care not to run off the far edge.)
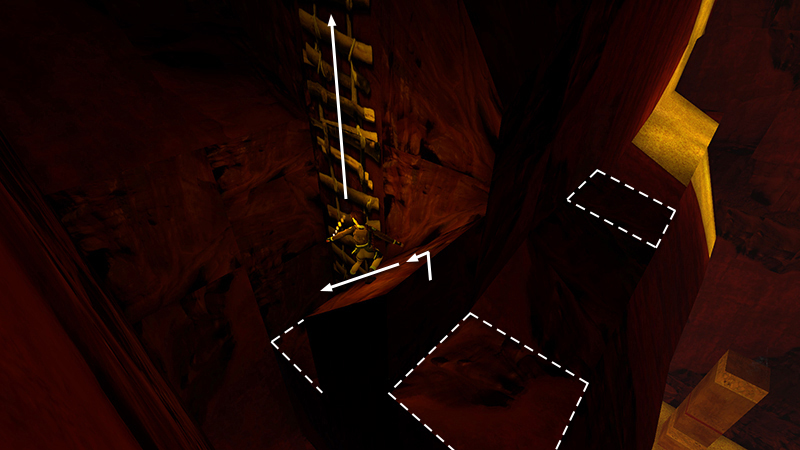
Climb over the block on the right and slide down the other side onto another flat ledge. Here you'll find another ladder...
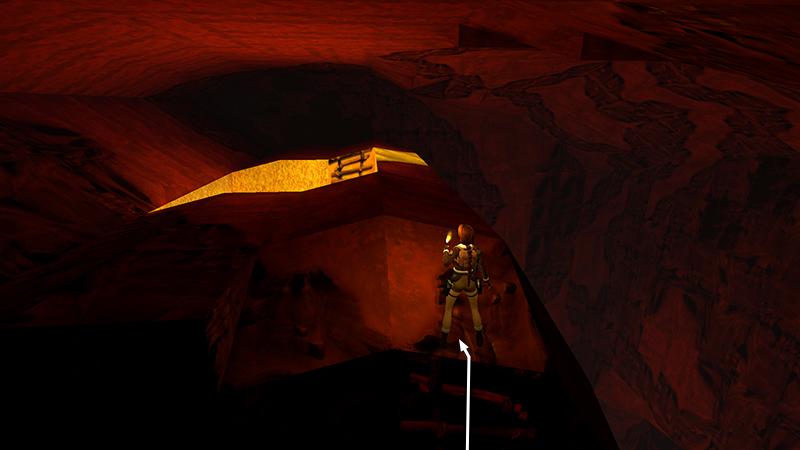
...which will take you back to the top of the volcano.
DARK MODE: I plan to add optional dark mode for these pages, but my current priority is updating the walkthroughs. Meanwhile, may I suggest a reputable dark mode browser extension, such as Dark Reader? (Download only from trusted sites, like darkreader.org or your browser's official add-on/extension site.)
Walkthrough text and diagrams copyright © Stellalune (email ). Feel free to copy or print this walkthrough for personal use. By all means, share it with friends, but please include this credit line so people can send me their feedback. No part of this walkthrough may be reproduced on another site without permission.