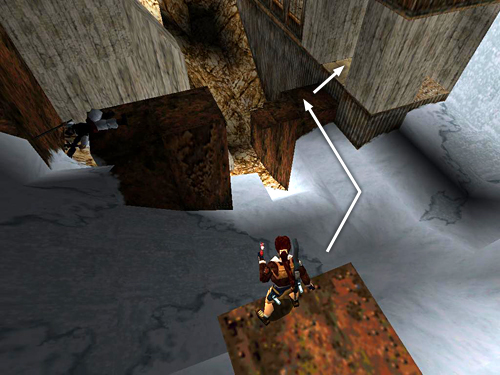
Climb up into the building as shown in the previous sequence.

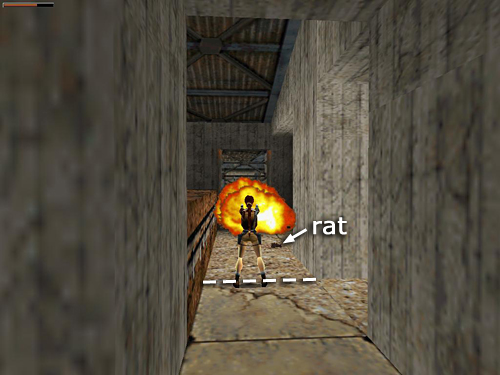
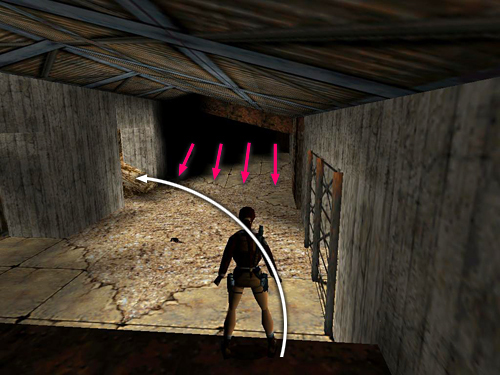
Enter carefully with pistols drawn. Shoot the rat ahead on the right. One of 2 men with flamethrowers may then move past the bars ahead. If he does, stay well back as you shoot him through the bars. The flames can reach as far as the thick cement column on the right, so only the first two square floor tiles are safe. Stay behind the line marked in the screenshot above.

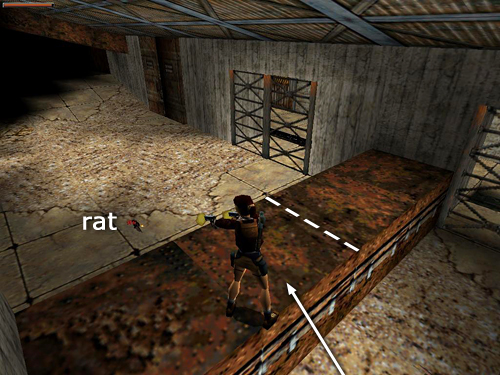
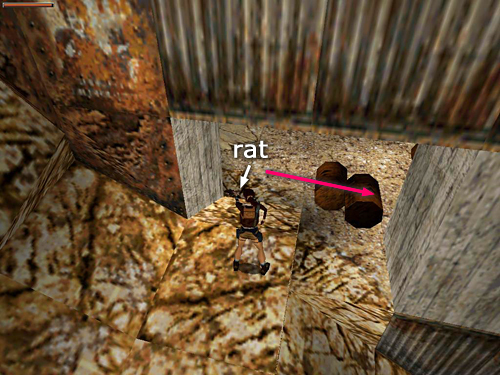
Climb onto the rusted metal ledge on the left. Do not hop down on the other side yet; the whole area is rigged with lethal rolling barrels. As long as you stay on the half of the ledge nearer the entrance, you're safe. From here, you can shoot a second rat scurrying around on the floor below.

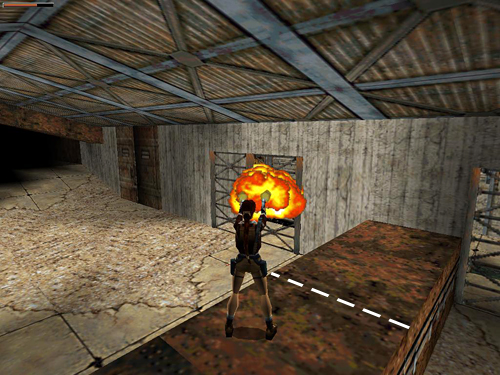
Then wait for the flamethrowers to pass behind the bars and finish them off. Again, stay behind the line indicated in the screenshot above and Lara will be safe from the flames.

When you've killed both flamethrowers, move to the end of the rusty ledge farthest from the entrance and face out into the larger part of the room. In order to safely trigger the rolling barrels, hop down off the ledge and run diagonally across room to the angled stone block in the opening ahead on the left.

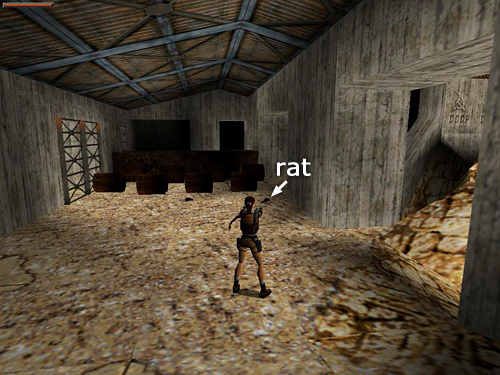
When all 4 pairs of barrels have rolled past, move back into the room and finish off the last 2 rats, one just below the angled block. . .

. . . the other inside on the right.
[Part 2 | Return to the Fool's Gold Walkthrough]
Copyright © 1999- - Stellalune (). All rights reserved. The screenshots and videos included here were made using Fraps. Feel free to copy or print this walkthrough for personal use. By all means, share it with friends, but please include this credit line so people can send me their feedback. No part of this walkthrough may be reproduced on another site without permission. Follow this link for details about this site's advertising and privacy policy.
|
