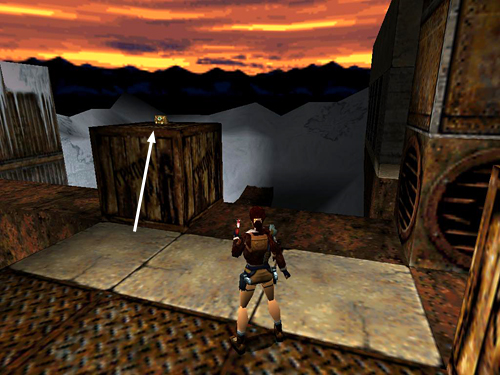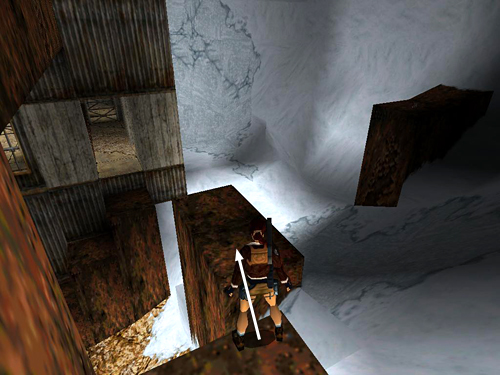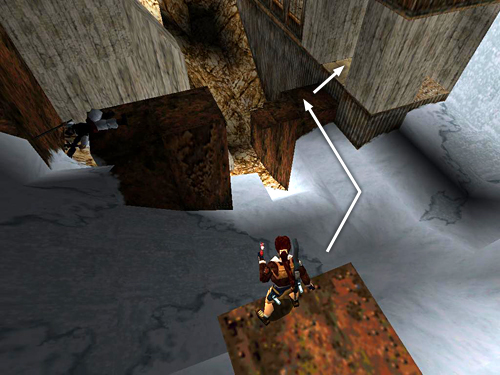
There's a large medi pack on top of another wooden crate near the opposite corner of the central structure. Climb on top of the crate, but don't take the medi pack yet.

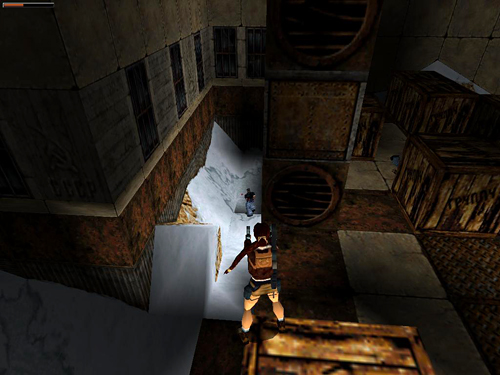
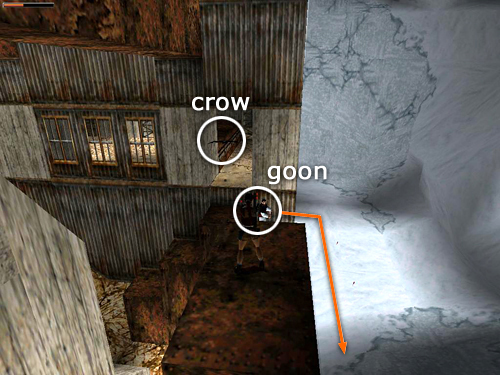
Instead, ready weapons and look over the edge on the right. There's a thug with a shotgun down below. (You may have noticed him earlier through the window of the room with the RED STAR LOCK.) You can take him out from above using pistols. If he starts shooting back, just hop carefully down off the crate and take cover momentarily.

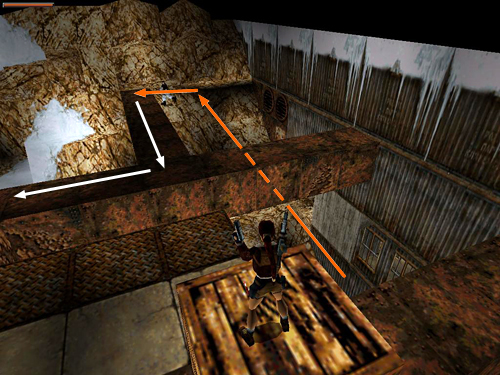
When you do pick up the large medi pack, another bad guy with a club exits the building below and makes his way up the rocks and across the metal structure. (His path is marked by arrows in the screenshot above.) If you start shooting as soon as you get a lock on him, you can easily kill him before he reaches you. He drops a small medi pack.

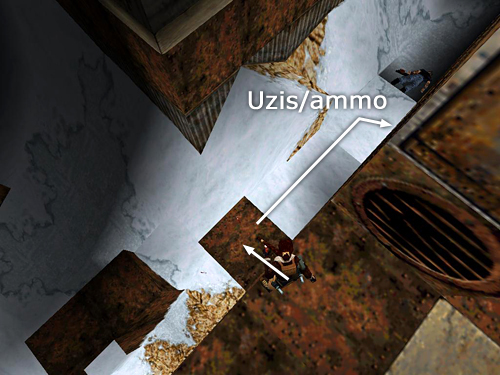
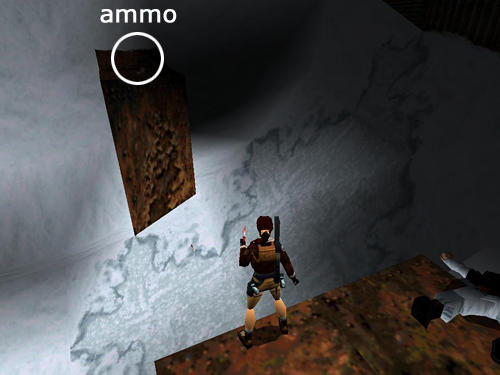
Return to the edge next to the crate where you found the large medi pack. Turn around and safety drop onto the rusty square block below. The thug you shot earlier isn't carrying any goodies, but there are 2 sets of Uzi clips below the window near where he fell. Grab them and return to the rusty block where you dropped down.

From the outer corner of the rusty block, take a standing jump down to the tall, rusty block ahead.

When Lara lands there, another goon with a club and his bird sidekick come out of the building to attack. Get a pistol lock on the goon and take him out first. Then deal with the crow.

There are clips for the automatics on the rusty pillar off to the right.

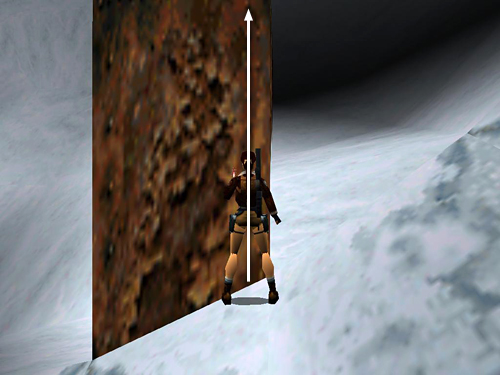
Cross the snow and walk up the slope in front of the pillar. Stand close to it and sidestep to the right as far as you can. Then press Action + Up (don't press Jump) to pull up onto the block and retrieve the ammo.

When you're ready to move on, drop down and climb up to the door of the second building.
[Part 1 | Return to the Fool's Gold Walkthrough]
Copyright © 1999- - Stellalune (). All rights reserved. The screenshots and videos included here were made using Fraps. Feel free to copy or print this walkthrough for personal use. By all means, share it with friends, but please include this credit line so people can send me their feedback. No part of this walkthrough may be reproduced on another site without permission. Follow this link for details about this site's advertising and privacy policy.
|
