Fool's Gold - Skeleton Cave - Secret #3 (Gold Skull)
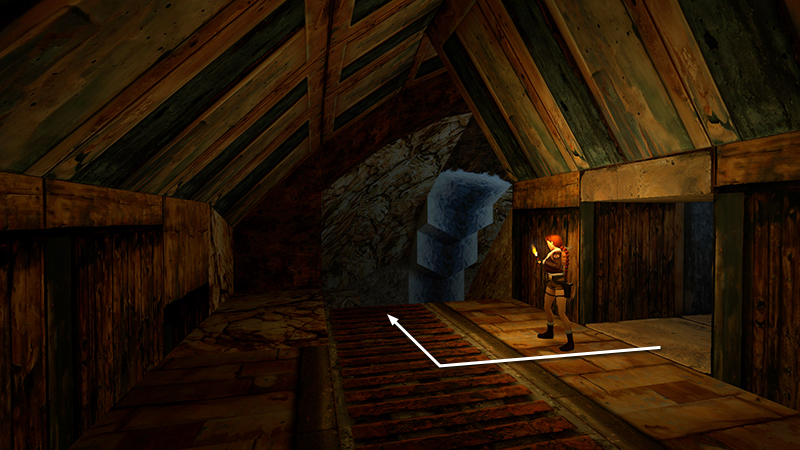
In the last section, you left the area with the barrel traps and flamethrowers and made your way through a short hallway into this dark cavern. Turn right and follow the mine cart tracks...
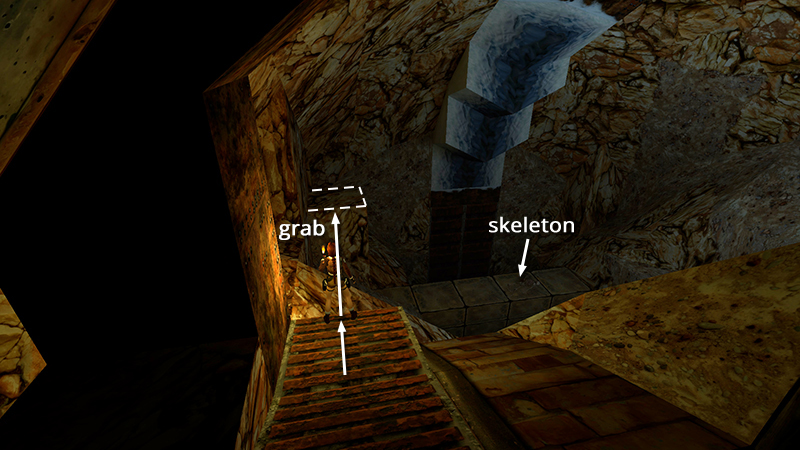
...down to the edge overlooking the cavern floor far below. Take a running jump from the end of the tracks to grab the edge of the stone block straight ahead, just above and to the left of the bridge with the skeleton. Pull up.
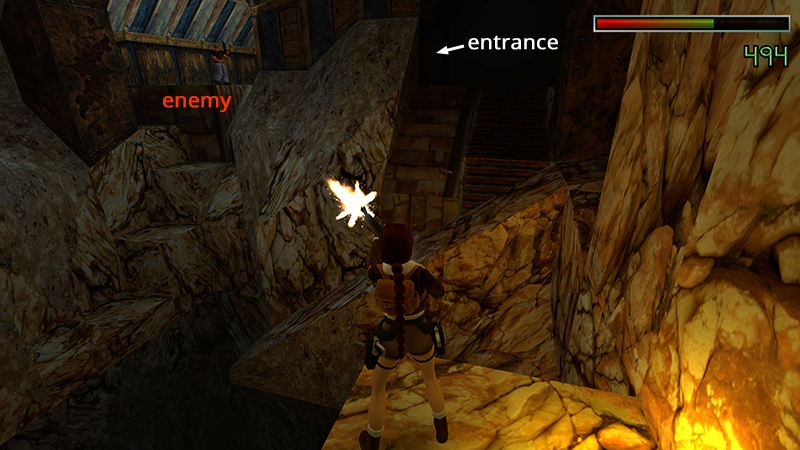
If you like, you can turn around and kill the guy with the shotgun (53) you saw through the window earlier. You'll need to use the M16 since he's out of range otherwise. If you'd prefer to conserve M16 ammo, wait and you'll soon have another chance.
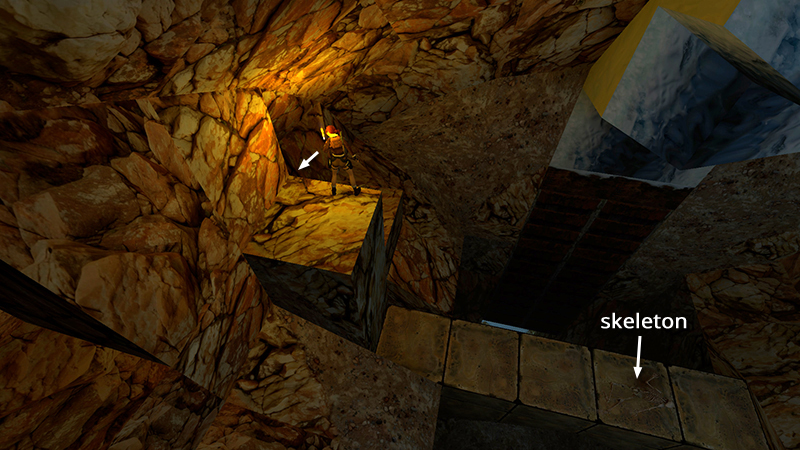
Turn so the bridge with the skeleton is on Lara's right. Below on the left...
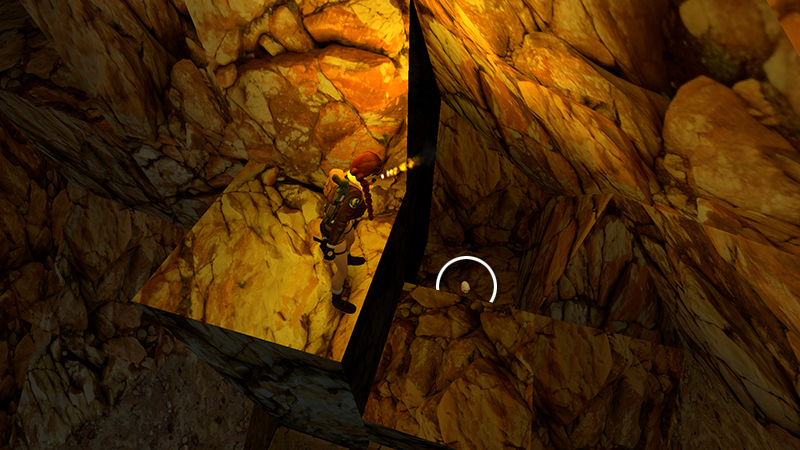
...is a shallow pit containing SECRET #3, the gold skull (63). Carefully climb down, grab it, and climb back onto the tall block above the bridge.
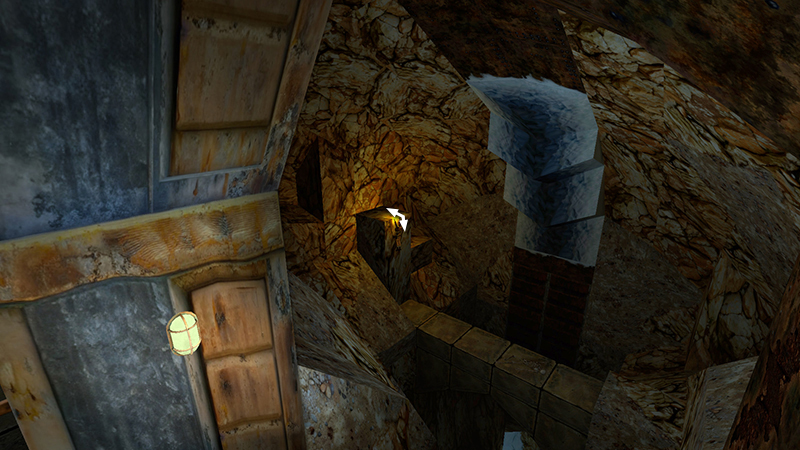
Now turn so Lara's back is toward the bridge with the skeleton. Hang off the edge of the block, but don't let go. Instead immediately pull up and ready weapons.
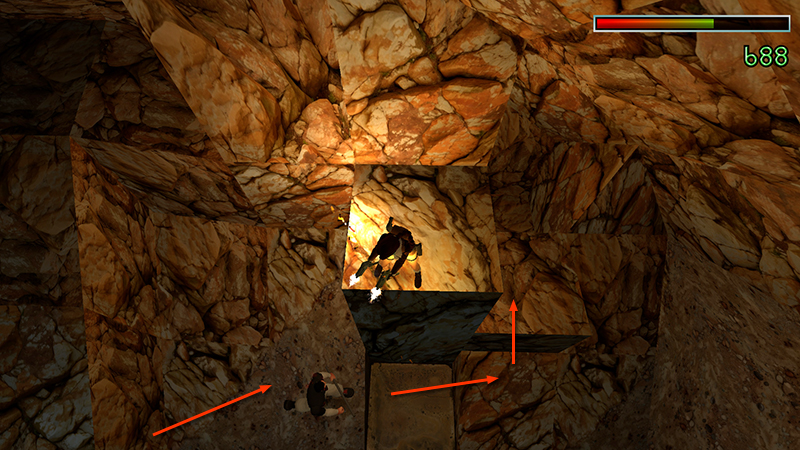
Dangling above the bridge works just as well as stepping on it to trigger the appearance of 2 enemies with clubs (54-55). You can then shoot them as they approach. Try to take them out before they actually climb up onto the block where Lara is standing, since they can knock her off the edge.
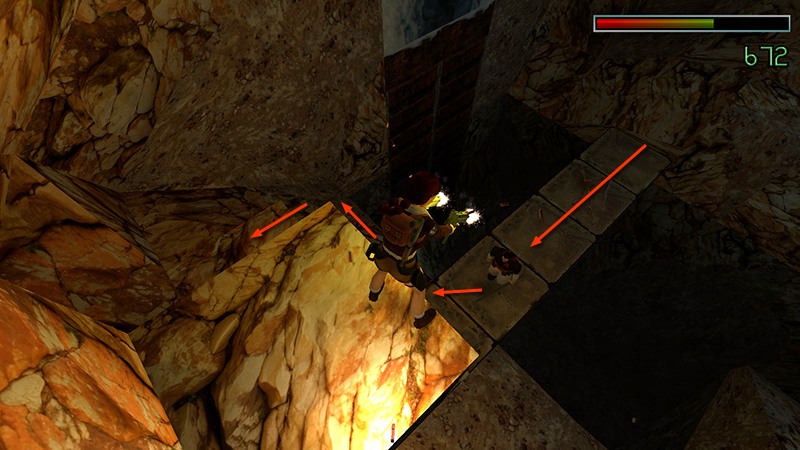
...
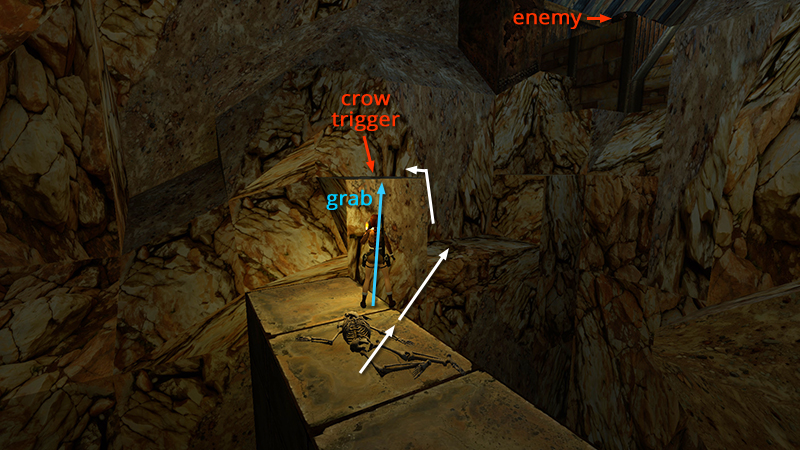
When they're dead, drop down onto the bridge and move to the other end. Jump to grab the stone block to the right of the end of the bridge. Or take a running jump to the flat ledge below and to the right of that block. Then climb onto the block.
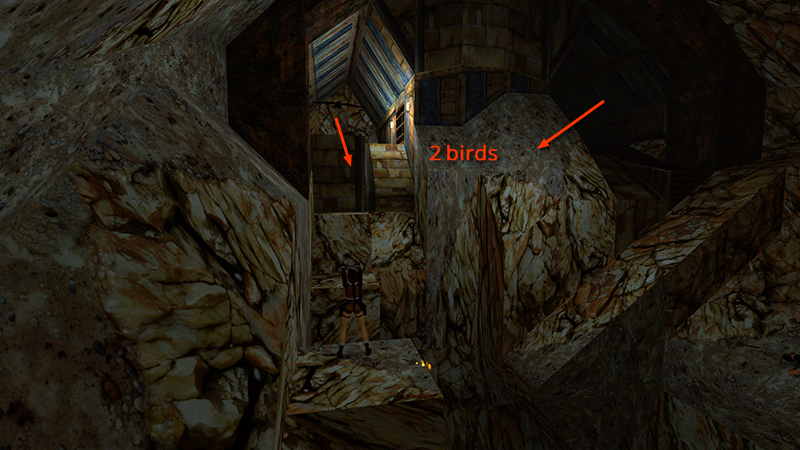
Shoot 2 meddling crows (56-57) that fly out of the darkness.
NOTE: If you didn't already kill the guy with the shotgun (53) on the high ledge, he'll start shooting as you cross the bridge. You'll probably want to jump over to the flat ledge next to the crow-trigger block. Then climb up and kill him before dealing with the crows. You can target him from the crow-trigger block, but then you'll have to fight all of them at the same time. If you don't care about getting all the kills, just avoid the taller block and the crows won't appear.
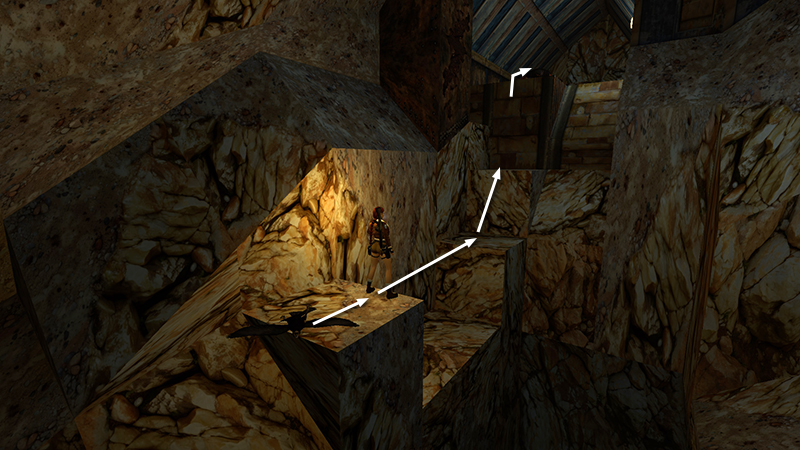
Climb up to where guy with the shotgun fell...
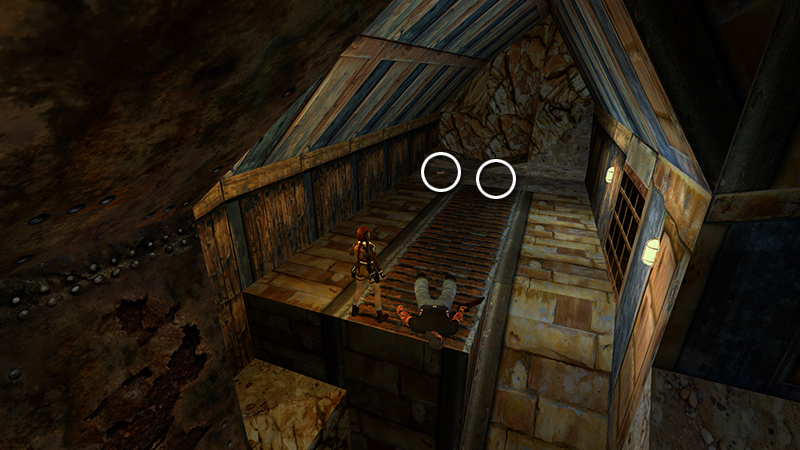
...and pick up automatic pistol clips and a small medi pack (64-65) lying on the ground at the back of the room.
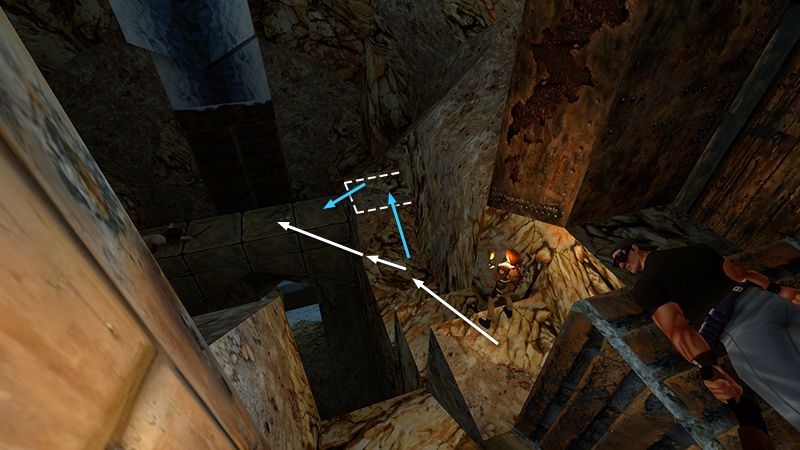
Return to the edge overlooking the cave and climb back down the blocks along the right wall. When you come to the higher block above the bridge with the skeleton, hop from there down to the bridge (blue arrows). Or, if you're avoiding that block so you don't trigger the crows, take a running jump from the flat ledge below it to land on the bridge (white arrows).
DARK MODE: I plan to add optional dark mode for these pages, but my current priority is updating the walkthroughs. Meanwhile, may I suggest a reputable dark mode browser extension, such as Dark Reader? (Download only from trusted sites, like darkreader.org or your browser's official add-on/extension site.)
Walkthrough text and diagrams copyright © Stellalune (email ). Feel free to copy or print this walkthrough for personal use. By all means, share it with friends, but please include this credit line so people can send me their feedback. No part of this walkthrough may be reproduced on another site without permission.