The Cold War - Shaft 'B' and Level Exit
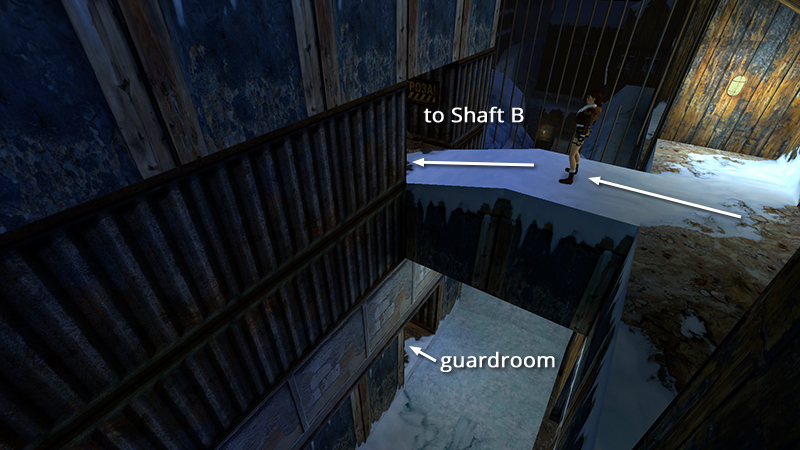
In the last section, you made your way through the mining complex tunnels, killed a few random guys, stole the SHAFT 'B' KEY, then used it to unlock a wooden door. Cross the elevated walkway to the room beyond.
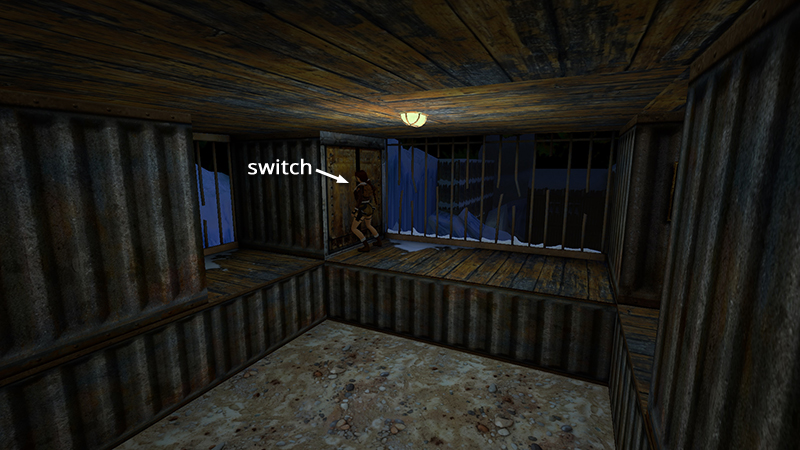
Admire the view, then pull the switch...
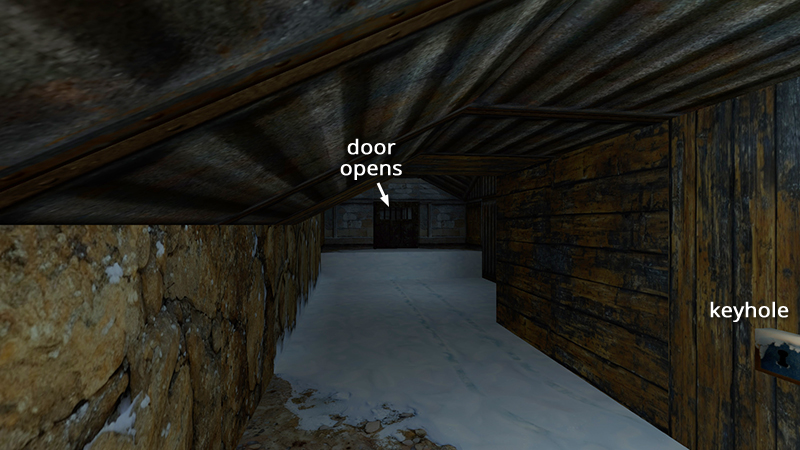
...to open the metal door you saw earlier.
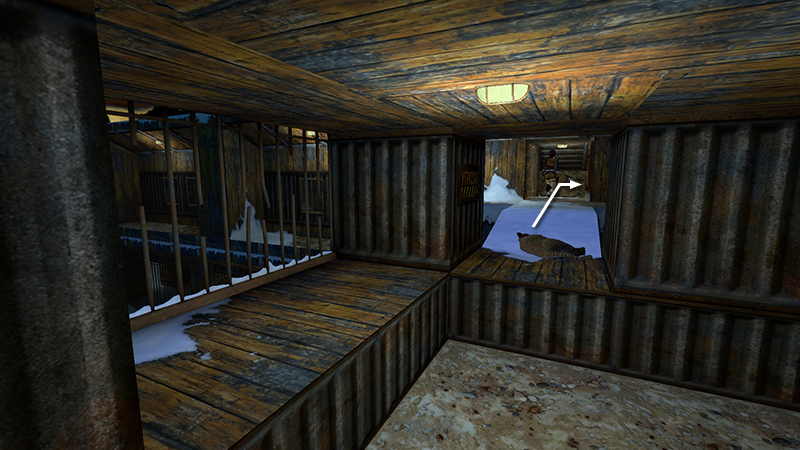
Return across the walkway, re-enter the tunnel, and turn right...
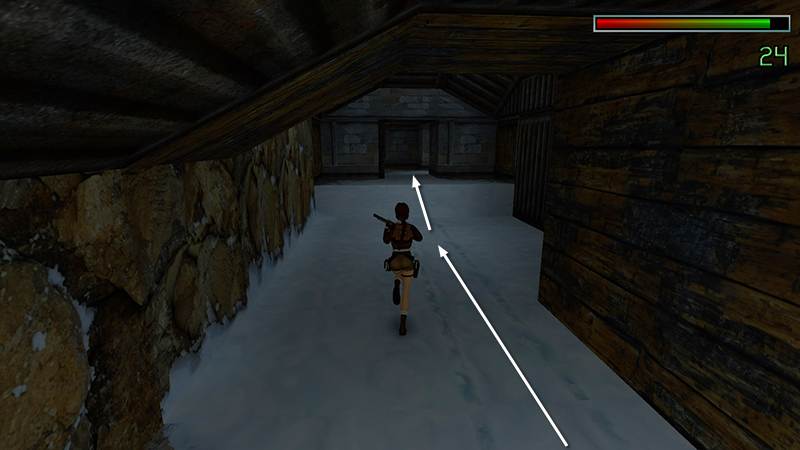
...to get back to the metal door.
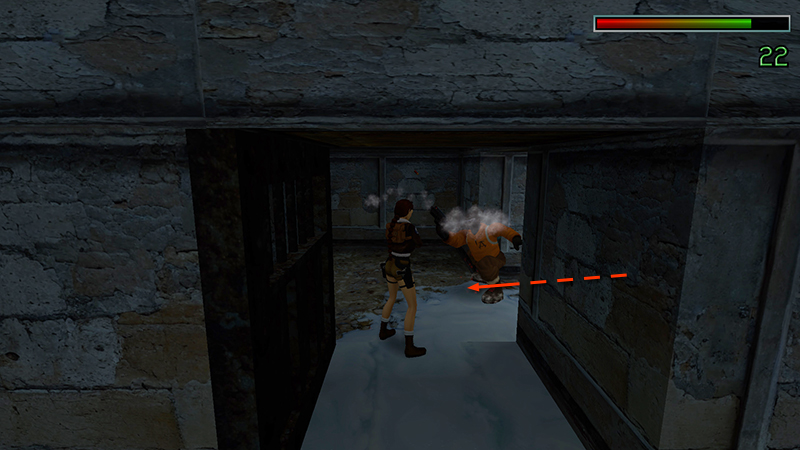
There's another angry merc (34) inside on the right. If you back away, he tends to retreat and hide, so you may want to use the shotgun at close range to put him down quickly.
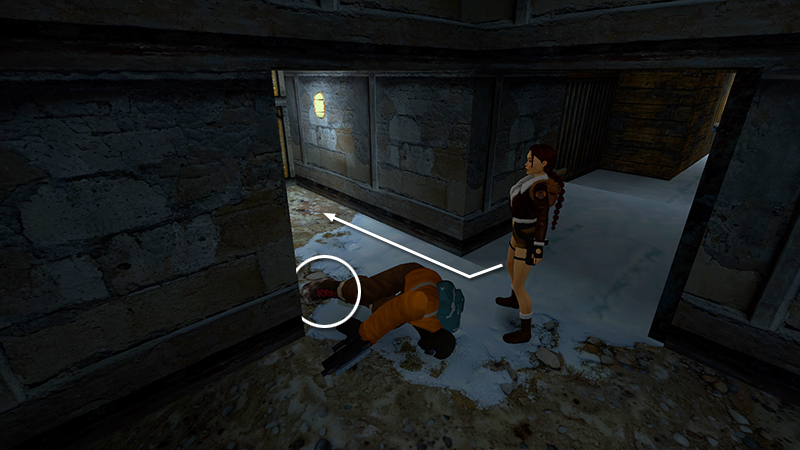
He drops grenades (68).
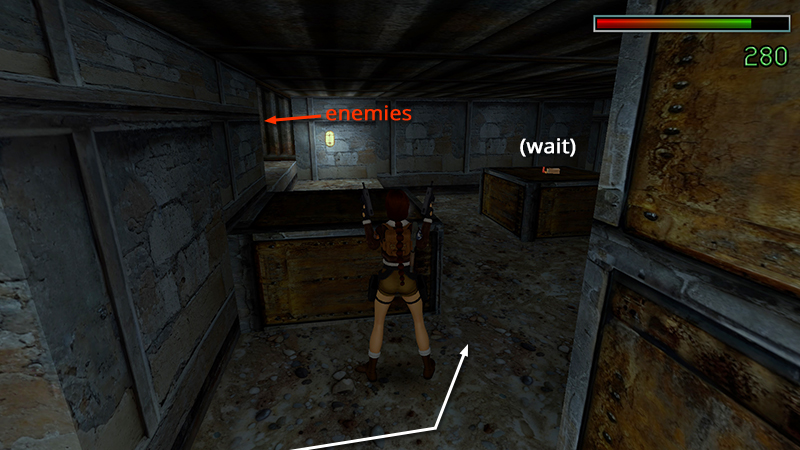
Continue into the next room. There are shotgun shells (69) sitting on a box, but before you pick them up, take care of the 2 enemies (35-36) outside on the left.
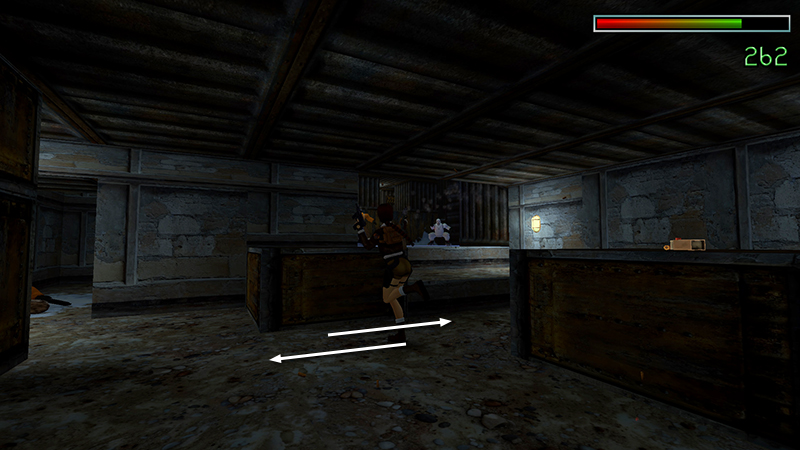
There isn't much room to maneuver, due to the boxes and low ceiling. So break out the heavy weapons if necessary and use the doorways for cover.
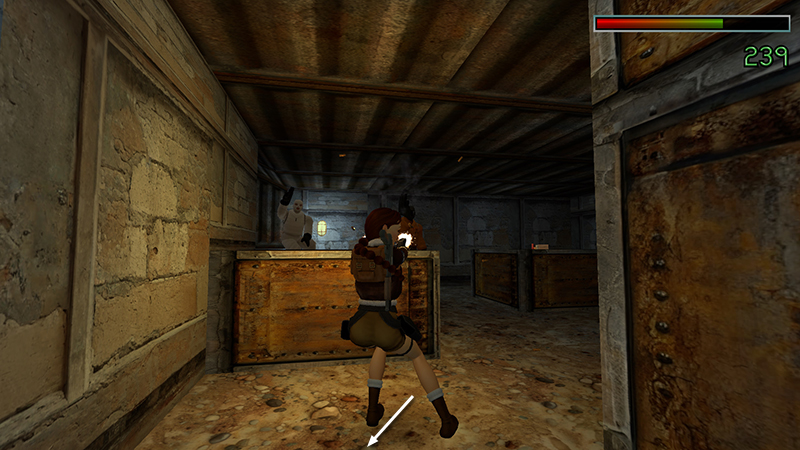
You can even back up into the hallway if necessary...
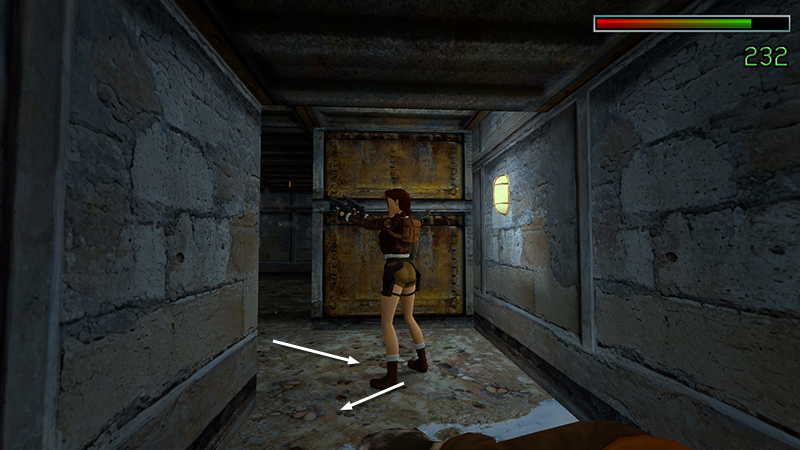
...so they don't gang up on you.
- OR -
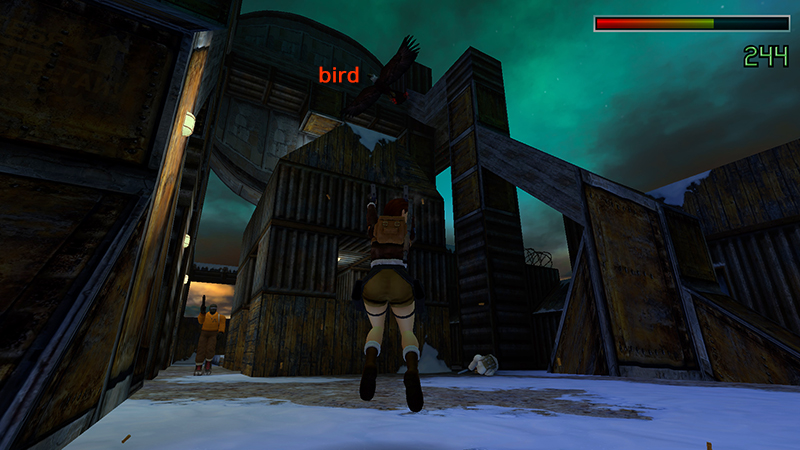
If you prefer, you can run out into the open to meet them, but you'll have to deal with an eagle (37) at the same time.
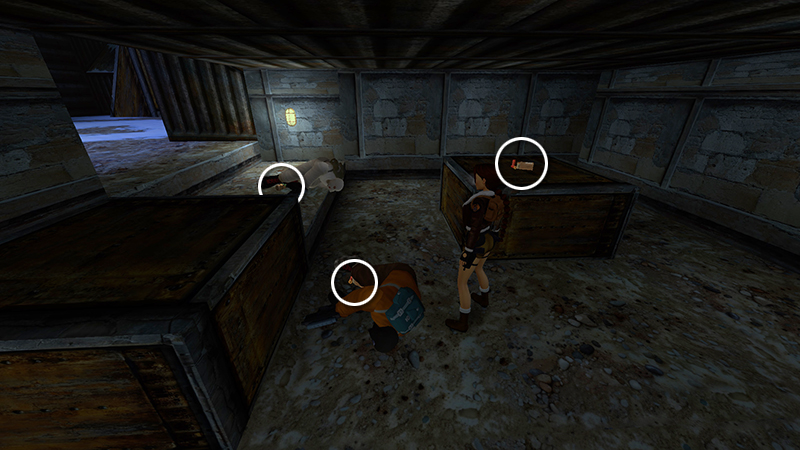
When it's safe, take the shells (69) from the box and relieve the mercenaries of a small medi pack (70) and more shotgun ammo (71).
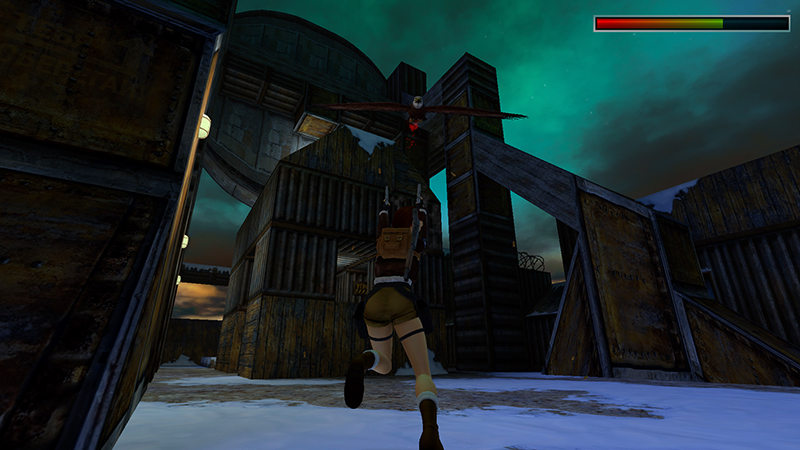
Move out into the open area where the enemies came from. Shoot down that eagle (37) if you didn't already do so.
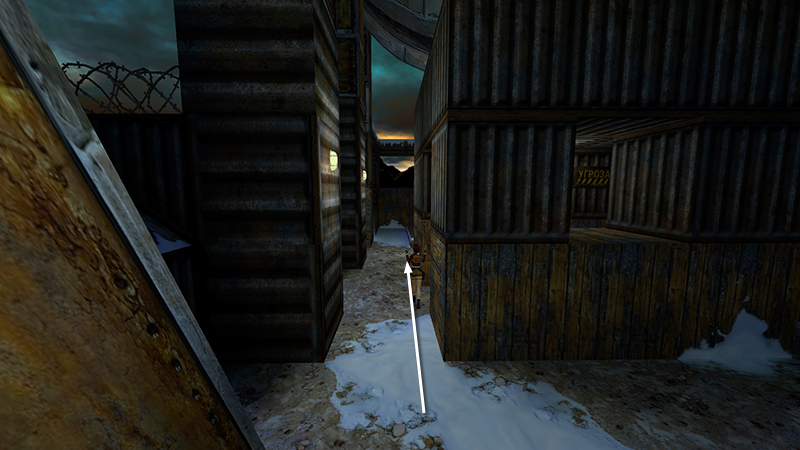
Then continue forward along the alley to the left of the covered, central structure. There is a sniper (38) on top of the high walkway ahead. If you draw pistols as you slowly approach the far corner of the covered structure...
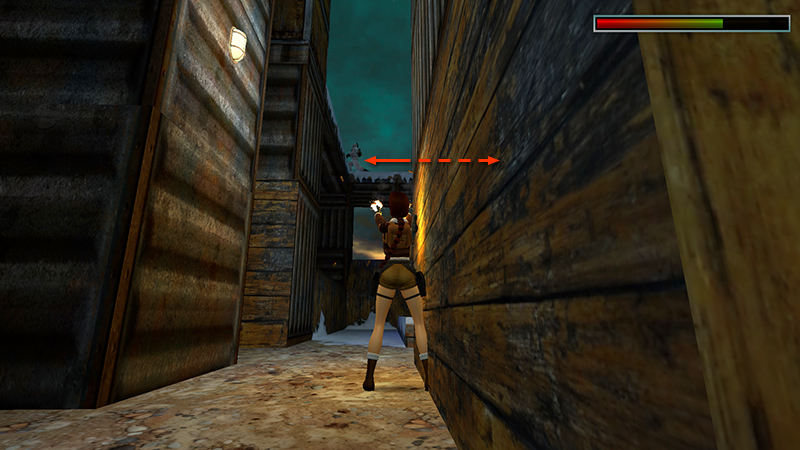
...Lara will target him, and he probably won't shoot back. If he does, just hop back out of range and try again.
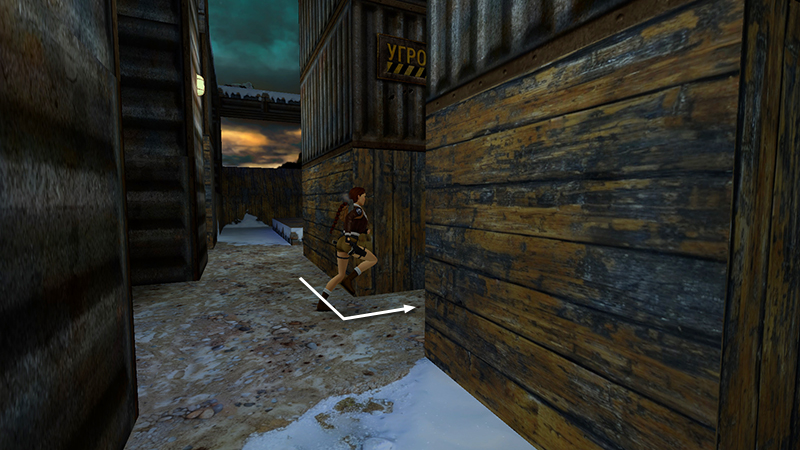
When he falls, go into the covered structure...
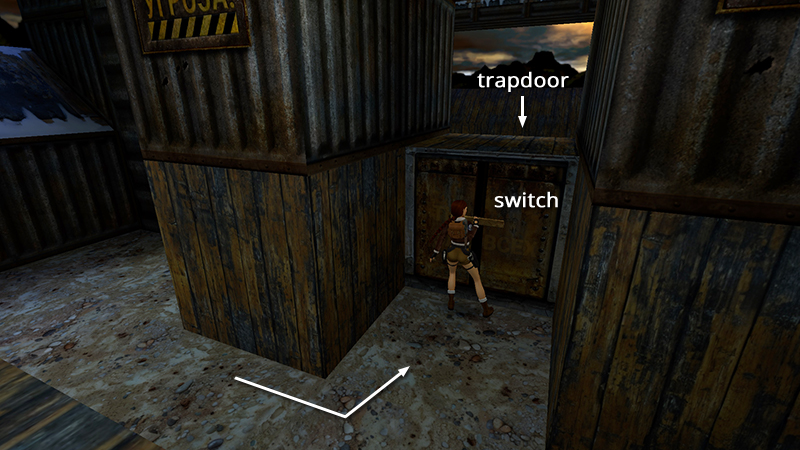
...and pull the switch...
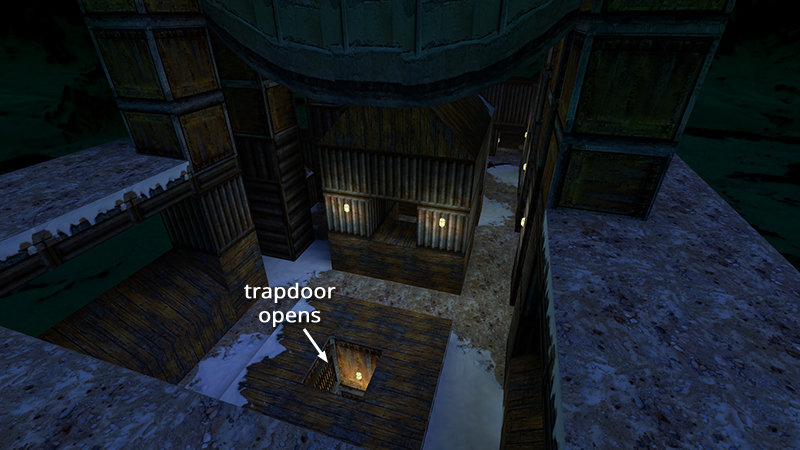
...to open the nearby trapdoor.
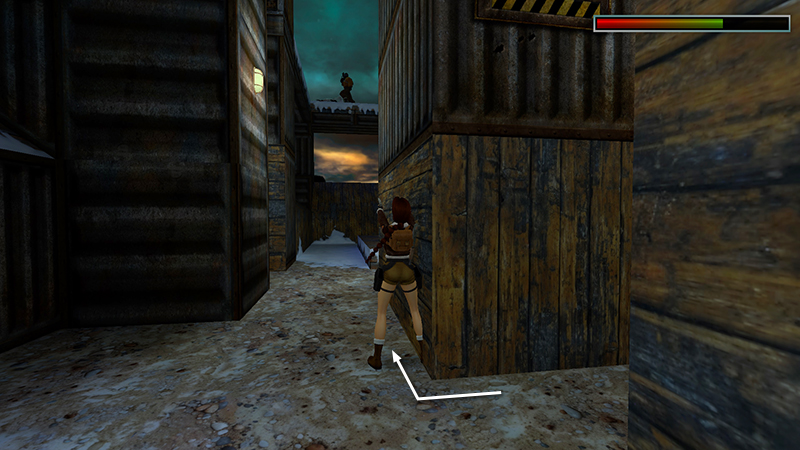
Approaching the switch also triggers the appearance of a second sniper (39) on the catwalk. Deal with him as you did the other: Walk forward along the outside wall of the covered structure, pistols ready. When you get close enough, Lara will target him.
NOTE: If you're not interested in getting all the kills, ignore both snipers and just pull the switch and run to the trapdoor. Just make sure you have all pickups before dropping through the trapdoor, since this is the point of no return.
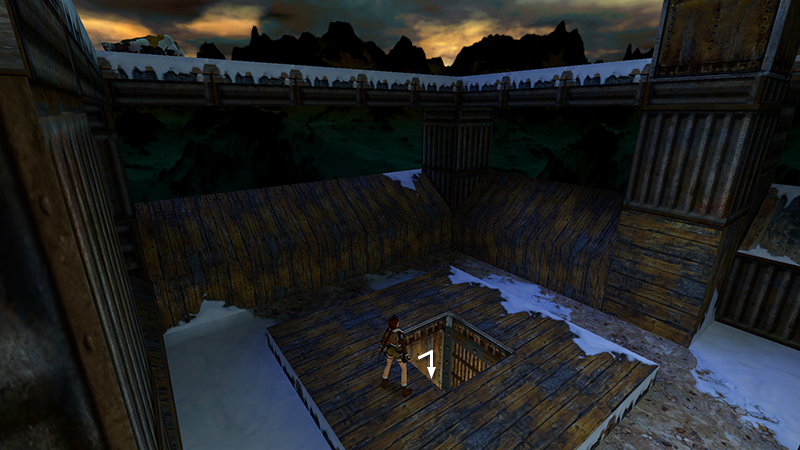
Drop through the open trapdoor into an icy pool.
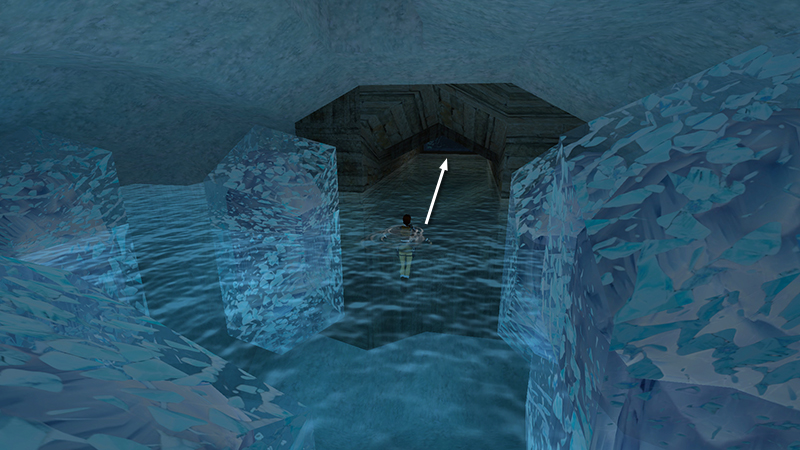
Surface and swim through the large concrete opening. Approach the spirit warrior (5) on the ledge to end the level.
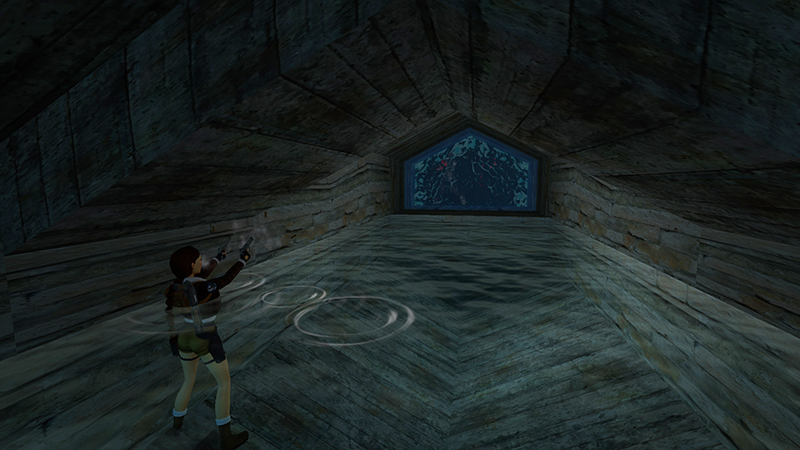
NOTES: If you must have all the kills, don't get too close to the spirit, or the level will end before you can shoot him. Instead swim to either side of the tunnel, where Lara can stand. Draw pistols and shoot him. Then continue forward. The "Na Zdorovye!" (don't harm Inuit warriors or spirits) and "Snow March" (don't use snowmobiles) achievements/trophies continue in the next level.
DARK MODE: I plan to add optional dark mode for these pages, but my current priority is updating the walkthroughs. Meanwhile, may I suggest a reputable dark mode browser extension, such as Dark Reader? (Download only from trusted sites, like darkreader.org or your browser's official add-on/extension site.)
Walkthrough text and diagrams copyright © Stellalune (email ). Feel free to copy or print this walkthrough for personal use. By all means, share it with friends, but please include this credit line so people can send me their feedback. No part of this walkthrough may be reproduced on another site without permission.