The Cold War - Starting Area
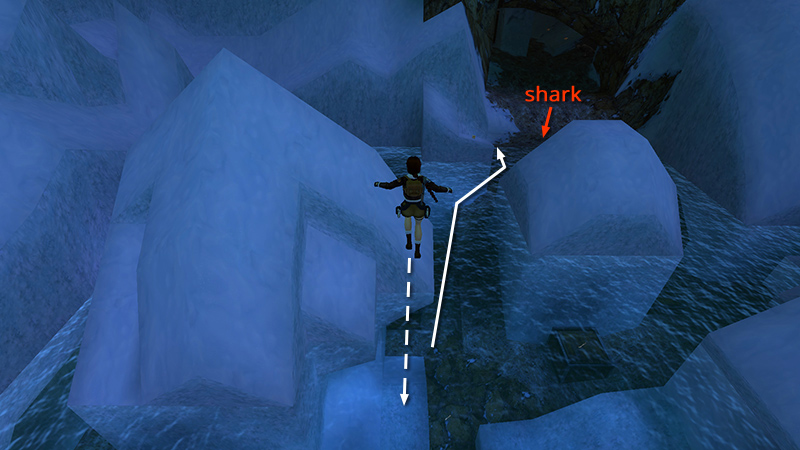
The level begins with a long drop into cold water. There's a great white shark (1) in the pool. So you'll probably want to head for dry land immediately. To get to shore, follow the path in the screenshot above. That is, from the spot where Lara splashes down, swim forward and slightly right, toward the snowy ledge that slopes down to the right and has a pack of flares (1) sitting on top.
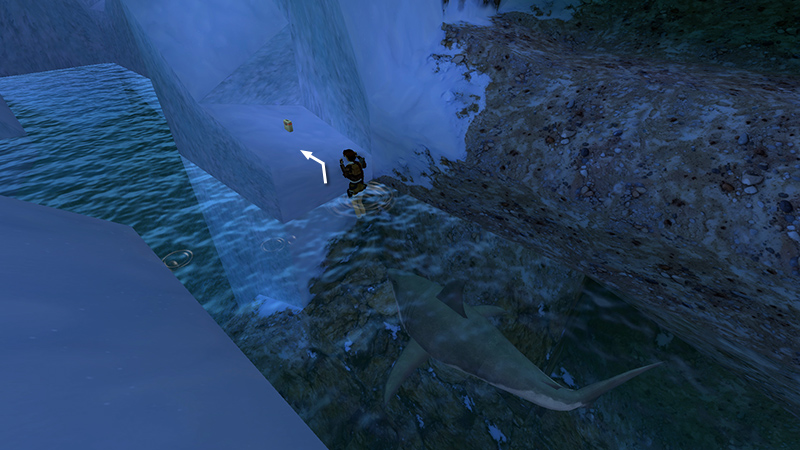
When you round the corner just before that ledge, you'll hear dramatic music as the shark moves in. Quickly swim around to the right side of the snowy ledge and climb out of the pool.
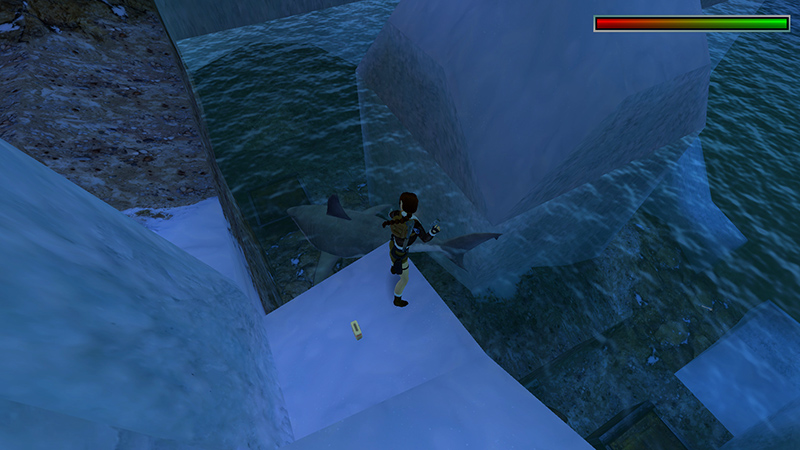
Now shoot the shark from above with pistols.
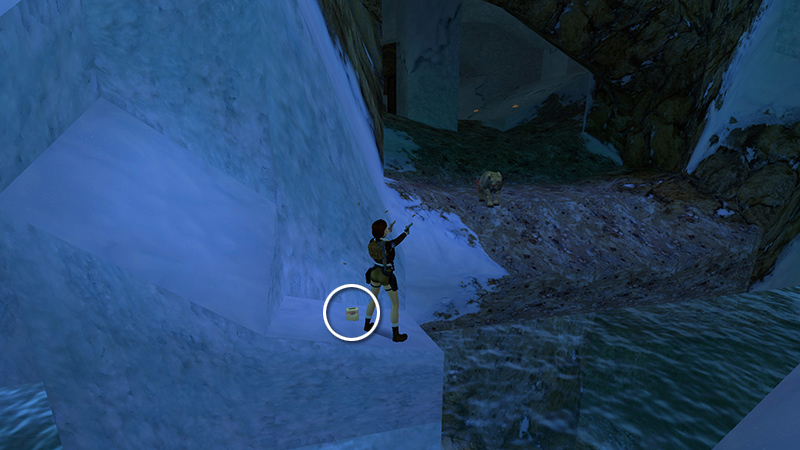
There's also a snow leopard (2) prowling around in the cave. You can take care of it now if you like, but before jumping over to the cave, collect the pickups in the pool, detailed in the next section.
- OR -
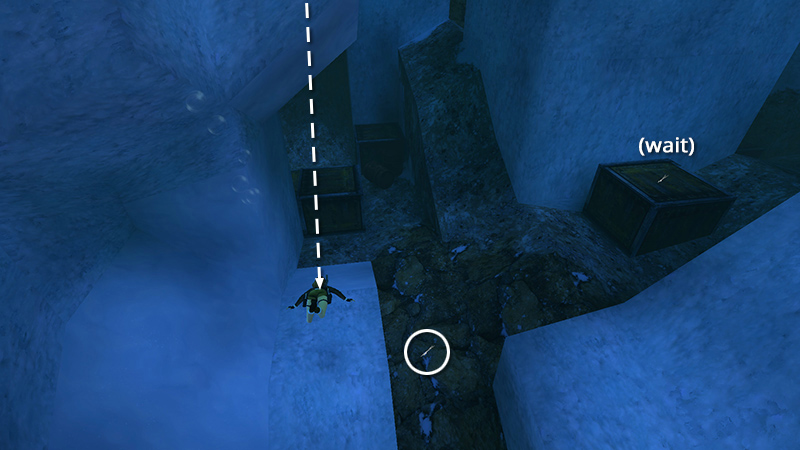
If you'd rather fight the shark in the water, from the starting position where you first drop into the pool, swim straight down. You'll find some harpoons (2) on the bottom. (Ignore the harpoons on the nearby crate. Approaching them spawns the shark, and you're not ready yet.)
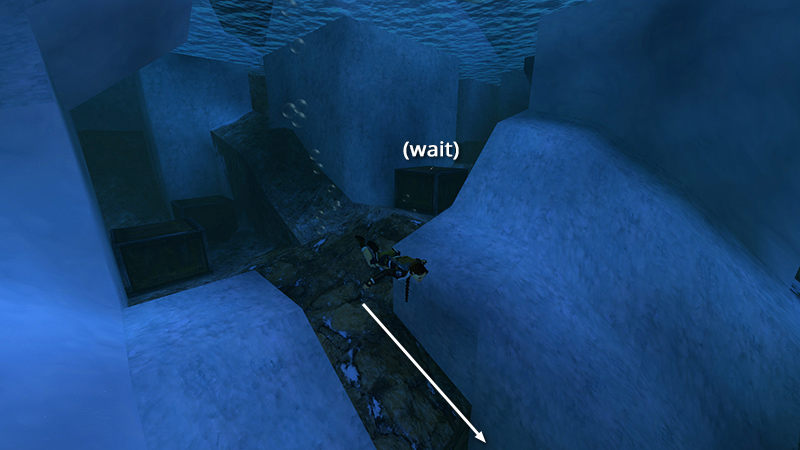
Once you have the first bunch of harpoons, get air if you need it, then turn so the harpoons on the crate are behind and to the left. Then swim down...
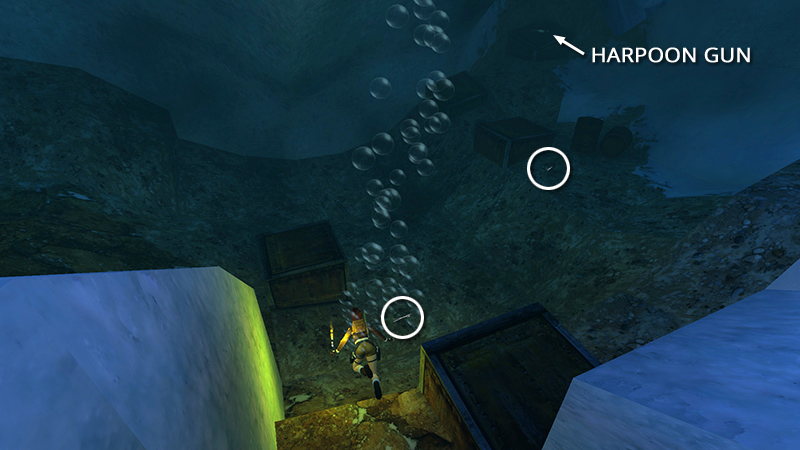
...into the deeper area strewn with crates and barrels. Pick up 2 more bundles of harpoons (3-4) on the bottom...
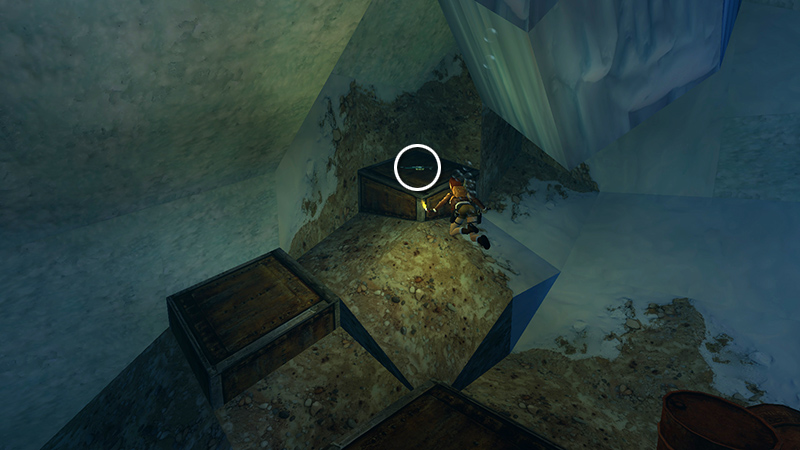
...then the HARPOON GUN (5), sitting on a box in the corner.
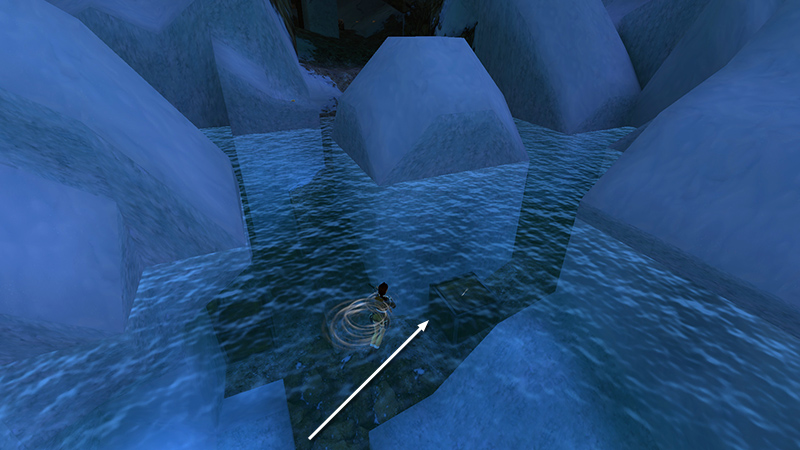
Once you have it, get air, then swim back toward the crate with the harpoons you ignored earlier.
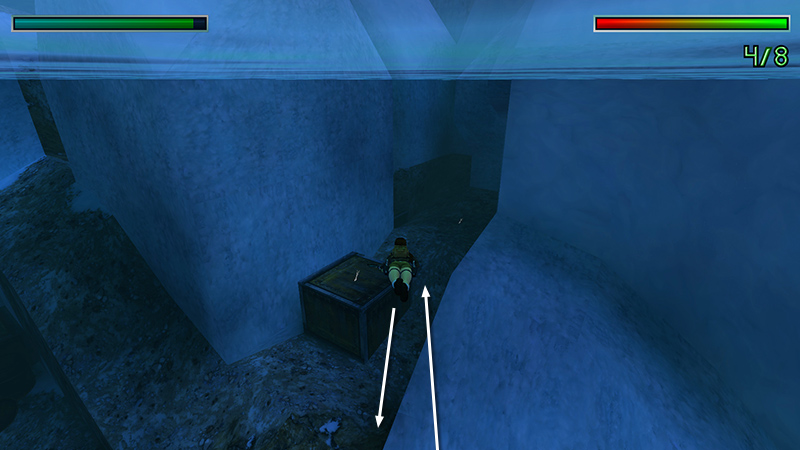
Approach it to spawn the shark, then quickly roll and swim away to get some distance.
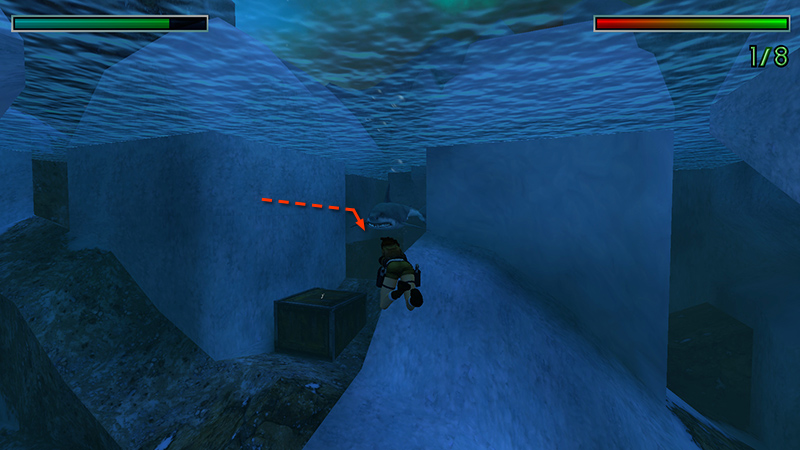
Roll again and harpoon the shark as it approaches.
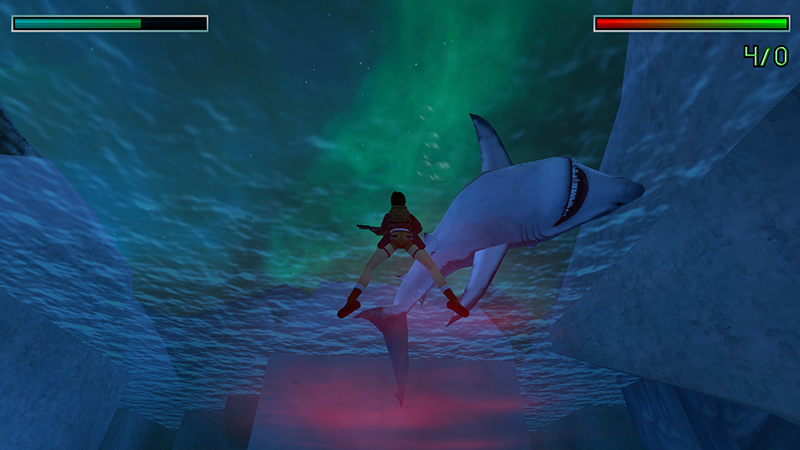
It takes 4 harpoons if you don't miss.
DARK MODE: I plan to add optional dark mode for these pages, but my current priority is updating the walkthroughs. Meanwhile, may I suggest a reputable dark mode browser extension, such as Dark Reader? (Download only from trusted sites, like darkreader.org or your browser's official add-on/extension site.)
Walkthrough text and diagrams copyright © Stellalune (email ). Feel free to copy or print this walkthrough for personal use. By all means, share it with friends, but please include this credit line so people can send me their feedback. No part of this walkthrough may be reproduced on another site without permission.