Shantytown - Well of Tears Challenge Tomb - Part 1
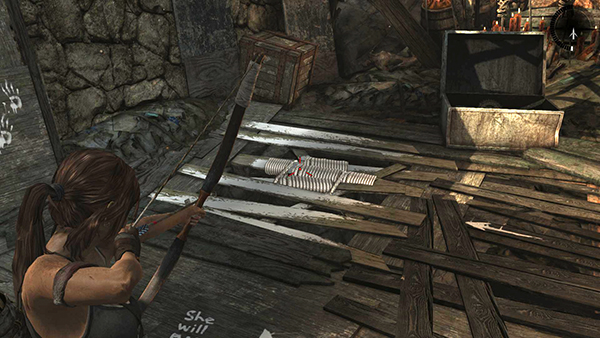
Use a rope arrow to rip out the rope-wrapped planks in the floor.
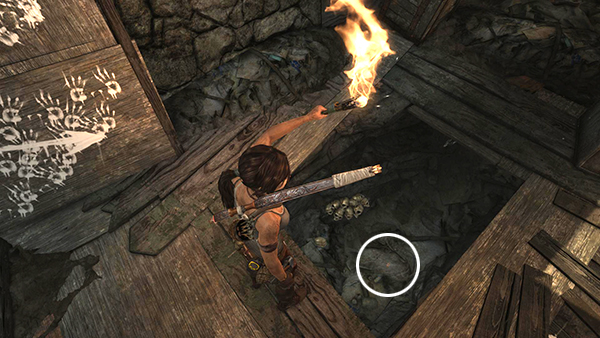
Drop in and pick up a GPS cache (2/15). Then follow the long, dark tunnel.
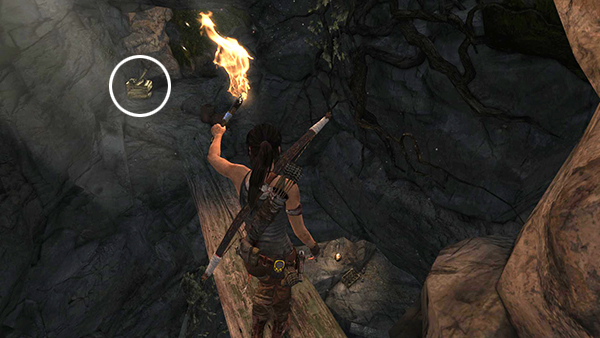
Walk across the narrow plank laid across the gap and crack open the salvage crate on the other side.
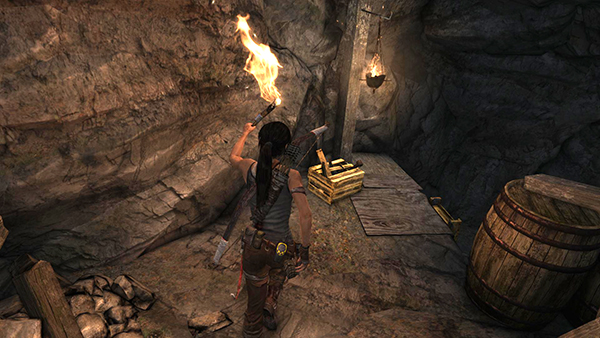
Continue to another salvage crate. Open it but before climbing down the ladder next to it...
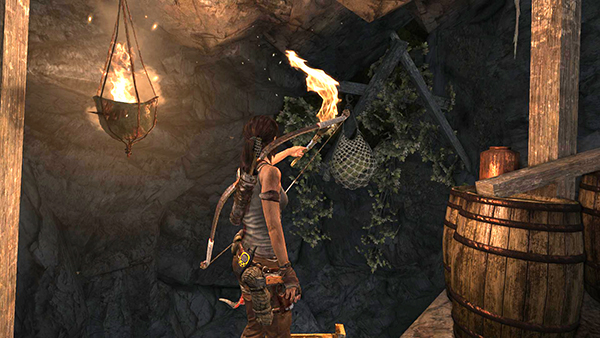
..., look off to the right to spot a hanging salvage net. Shoot it with a fire arrow.
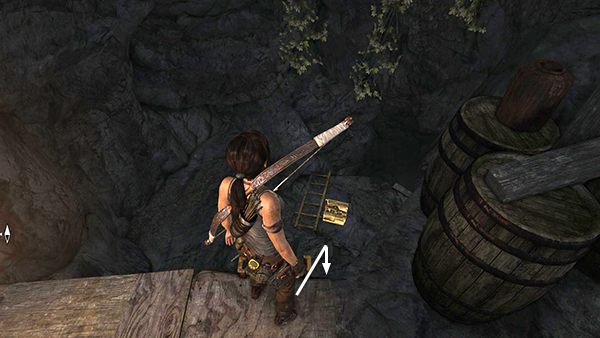
Then drop down and crack open the crate.
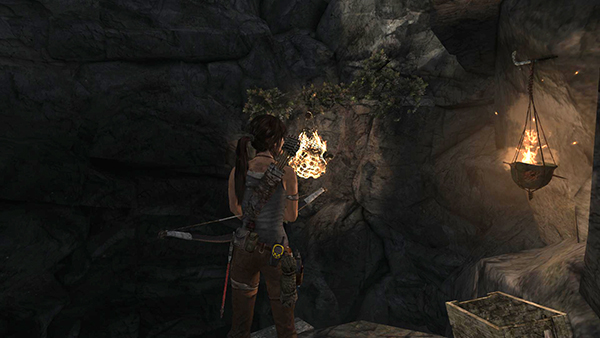
Move carefully to the edge of the ledge just beyond where the crate landed. Look out into the darkness to spot another salvage net. (Use Survival Instinct if necessary.) Use another fire arrow to bring it down.
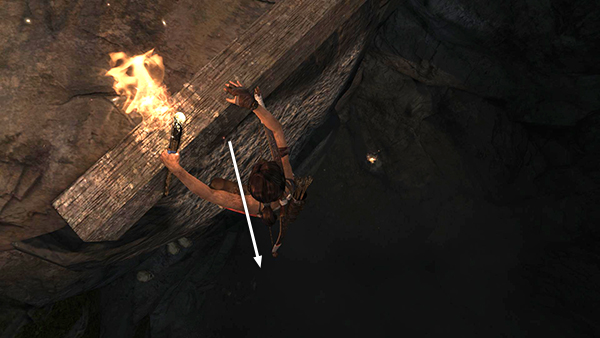
Then hang from the wooden beam at the edge and drop to the ground. There's a climbing wall here, which you'll use to get back up, but it's not too far to drop if you're careful.
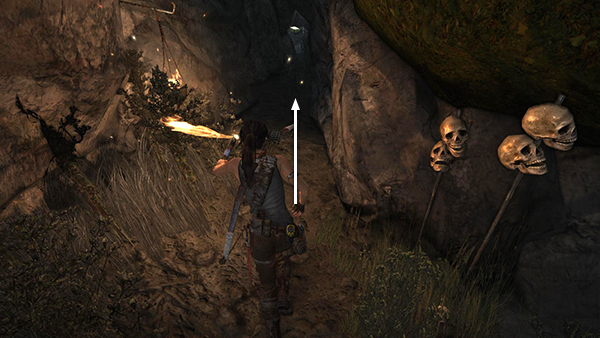
Break open the salvage crate that came from inside the net and squeeze through the narrow crevice into the tomb proper.
[Part 2 | Return to the Shantytown Walkthrough]
Copyright © 2013- - Stellalune (). All rights reserved. The screenshots and videos included here were made using Fraps. Feel free to copy or print this walkthrough for personal use. By all means, share it with friends, but please include this credit line so people can send me their feedback. No part of this walkthrough may be reproduced on another site without permission. Follow this link for details about this site's advertising and privacy policy.