Shantytown - Well of Tears Challenge Tomb - Part 3
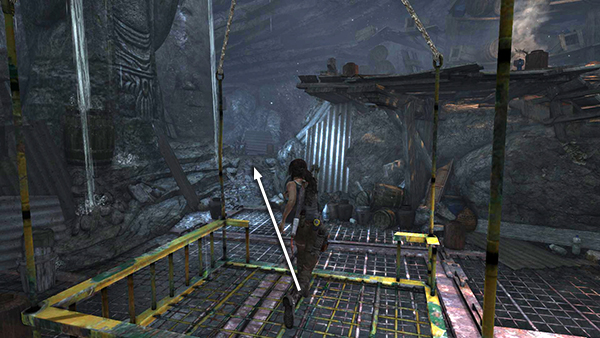
This next bit requires you to move fast. Run off the platform, up the slope on the left...
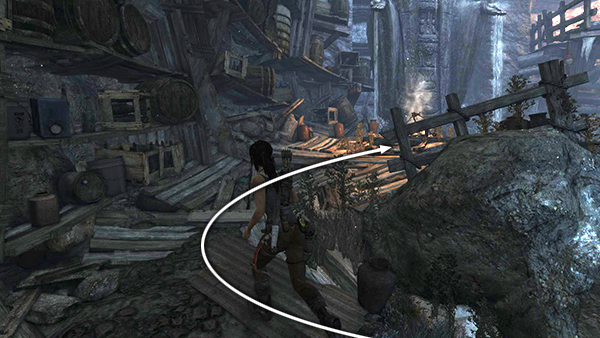
...and around to the ledge with the campfire.
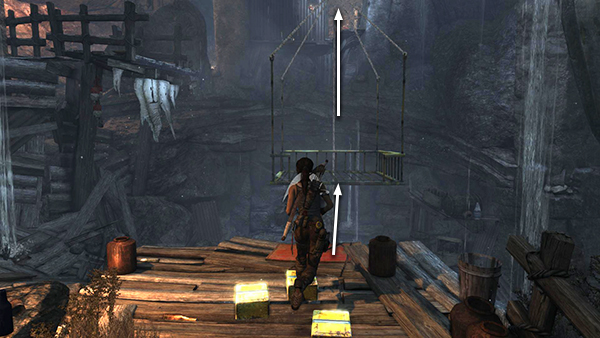
As you do this, the metal platform will be rising. Jump from the red ledge to grab the edge of the platform.
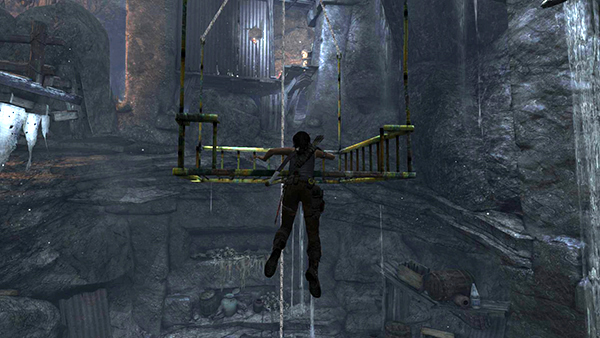
Pull up...
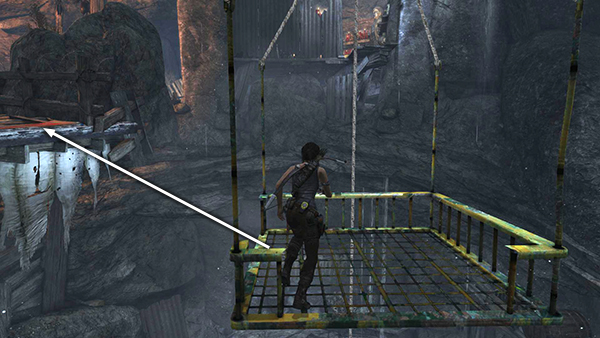
...turn left and quickly run and jump to grab the ledge festooned with tattered cloth.
As with previous challenge tombs, this is all about timing. If you miss the grab, return to the ledge near the campfire, throw the 3 cans back onto the platform and try again until you get it.
- OR -
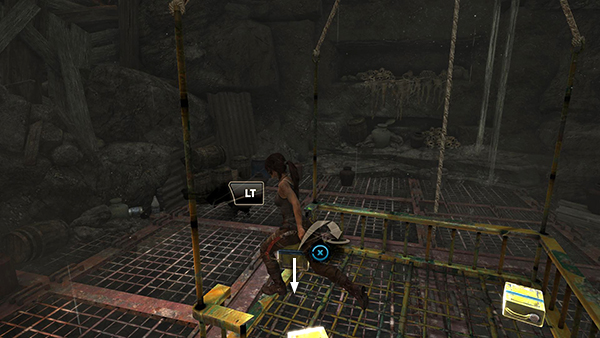
If you're having trouble, try this ALTERNATIVE STRATEGY sent in by Duncan. After tossing three cans onto the platform as shown in part 2. Hop down onto the platform and reposition one of the cans by picking it up and dropping it (Shift/Circle/B) near the left edge of the platform.
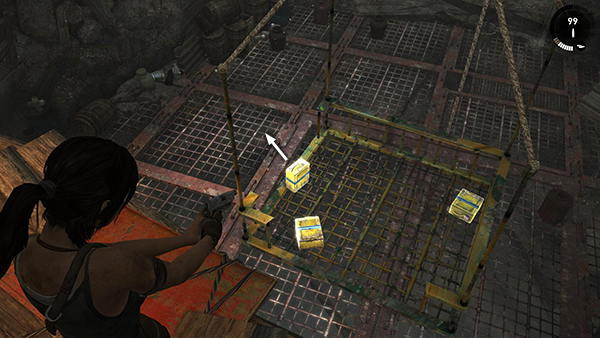
Climb back onto the ledge overlooking the platform and shoot the can to knock it off the platform.
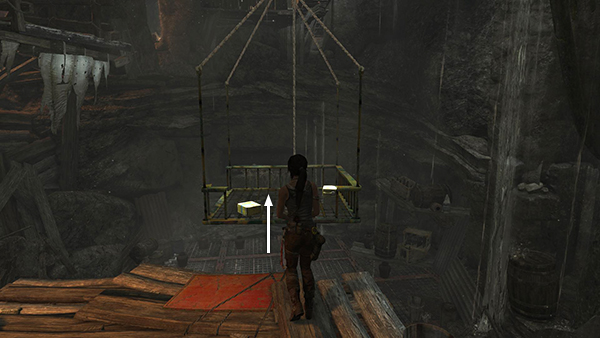
With one can missing, the platform starts to rise again. Now you can jump onto it as in the first strategy, above.
NOTE: If you experience a glitch in which the platform does not rise after removing the cans, instead of tossing the cans onto the ledge near the campfire, try throwing them onto the floor next to the lowered platform. This should solve the problem. Thanks to Vaden for this info.
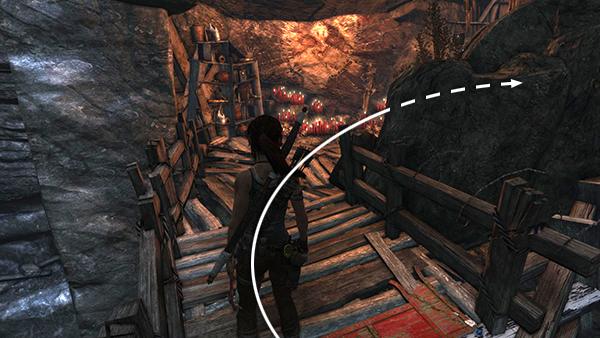
Once you make it to the high ledge, pull up and follow the wooden walkway around to the right.
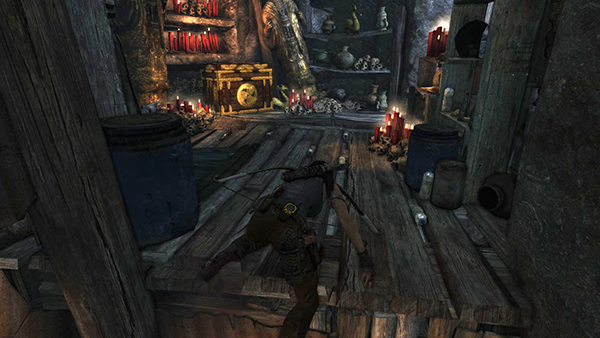
Climb up into the room with the treasure chest. Open it for 1250 XP, 250 salvage points and the Shantytown Relic Map, which reveals the locations of all relics and documents in the area on your in-game map.
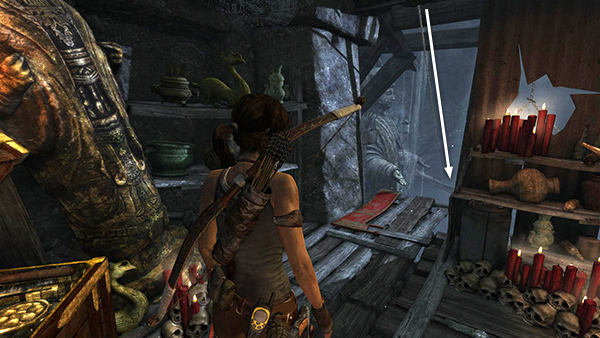
Move into the doorway on the right and ride the zip line down to the campsite.
When you've rested and made any upgrades you want, follow the tunnel back to the climbing wall. Use your axe to scale it. At the top, move forward, stand beneath the yellow ladder and jump up to grab it. Climb to the top and then follow the tunnel back across the narrow plank to the building where you came in.
[Part 2 | Return to the Shantytown Walkthrough]
Copyright © 2013- - Stellalune (). All rights reserved. The screenshots and videos included here were made using Fraps. Feel free to copy or print this walkthrough for personal use. By all means, share it with friends, but please include this credit line so people can send me their feedback. No part of this walkthrough may be reproduced on another site without permission. Follow this link for details about this site's advertising and privacy policy.