Shipwreck Beach - Returning to the Cliffside Bunker Level
There are collectibles but no fast travel camps in the Cliffside Bunker area. If you don't get 100% on your first visit, it's still possible to return later. You'll need to fast travel to Shipwreck Beach and then make your way back to the bunker on foot. Here's one possible route. This path will also take you back to the upper ledges at the eastern end of Shipwreck Beach in case you missed some collectibles there.
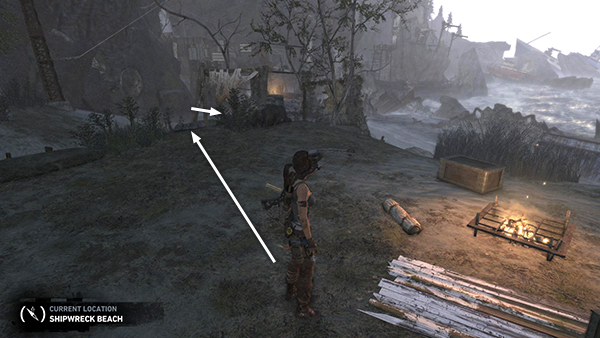
From the Survivors' Camp, move down the beach to the pier where you first learned to shoot rope arrows into climbing walls. If you've come here via Fast Travel after finishing the game, there will be a leftover Solarii soldier on the beach near the pier.
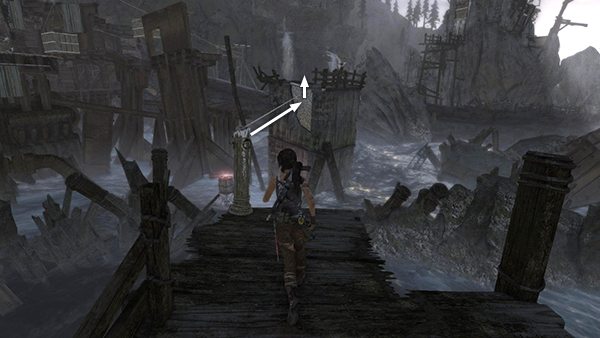
Use a rope arrow to reach the climbing wall beyond the end of the pier. Climb to the top.
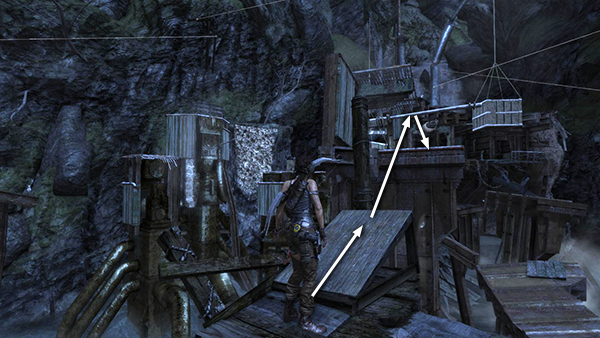
Turn left and use the horizontal pole to jump across to the next ledge.
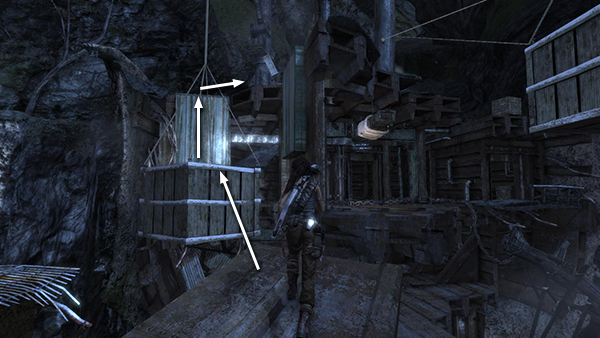
Jump onto the platform ahead, then to the dangling crate on the left. Then jump to the painted wall and scramble up onto the to deck of the multi-level shipwreck.
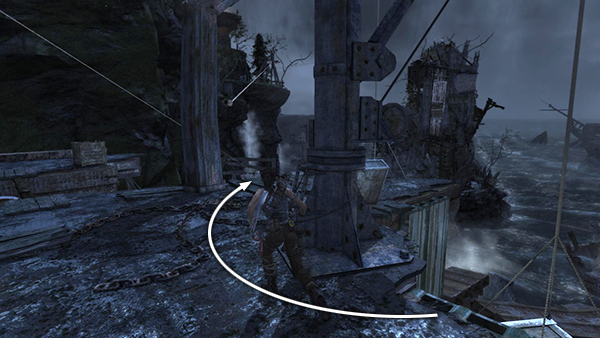
Move around to the right.
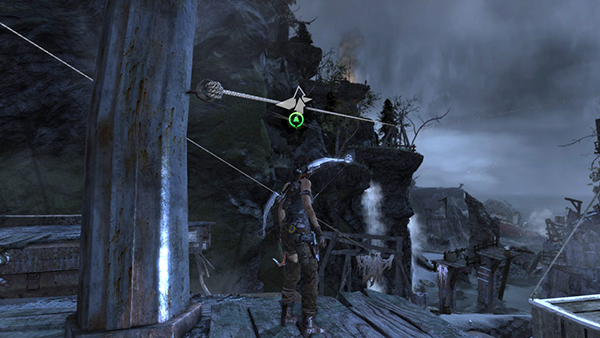
Then use the upward-angled zip line to reach the ledge below the Challenge Tomb entrance.
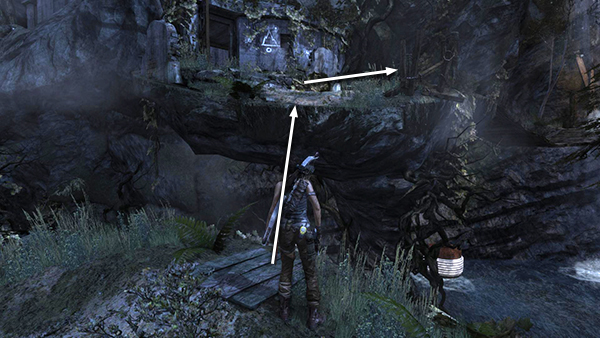
Jump to grab the ledge in front of the Challenge tomb. Pull up and head to the right, across the wooden bridge and through the tunnel in the rocks.
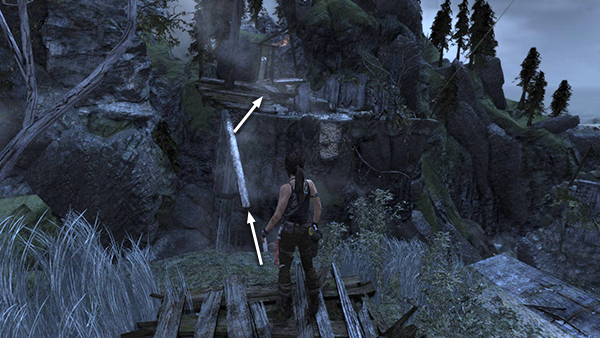
When you come to the cliff's edge, jump onto the wooden beam, walk across it and then hop forward onto the platform. This is the crow's nest of the old shipwreck on the beach below, near where you found the 10th GPS cache.
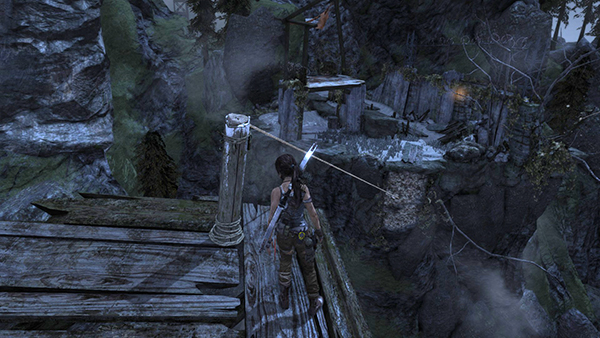
Stand near the anchor post and fire a rope arrow into the climbing wall on the cliff ahead.
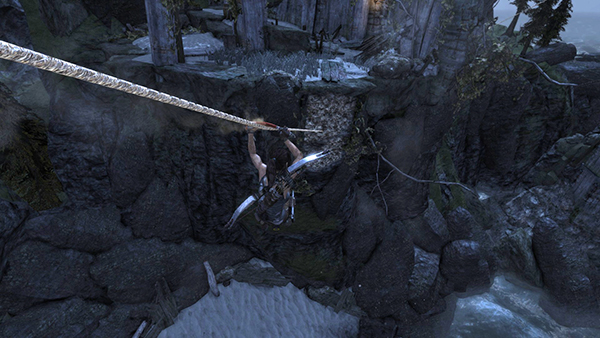
Slide down the line and press Interact to latch onto the wall with your axe. Then climb onto the ledge above. Go through the tunnel ahead to get to the Cliffside Bunker.
Or, if you've returned this way to get document (3/4), "Hoshi: In Her Image," one of the Ancient Scrolls set, you'll find it under the little enclosure on the ledge shown in the screenshot above. If you need GPS Cache (12/15) near the Grotto Day Camp, refer to this page of the original walkthrough.
[Shipwreck Beach Walkthrough | Guide to 100% Completion]
Copyright © 2013- - Stellalune (). All rights reserved. The screenshots and videos included here were made using Fraps. Feel free to copy or print this walkthrough for personal use. By all means, share it with friends, but please include this credit line so people can send me their feedback. No part of this walkthrough may be reproduced on another site without permission. Follow this link for details about this site's advertising and privacy policy.