Shantytown - Crossing Under the Bridge - Part 2
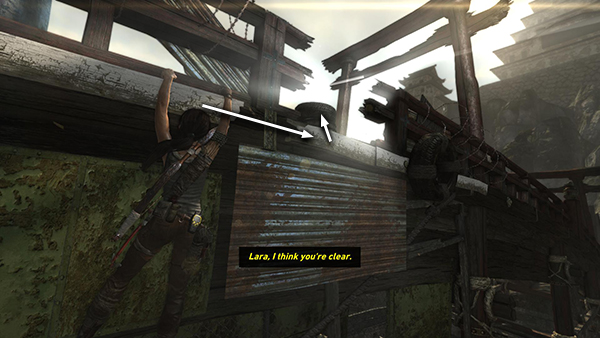
When he says, "Lara, I think you're clear," traverse to the right and pull up onto the bridge.
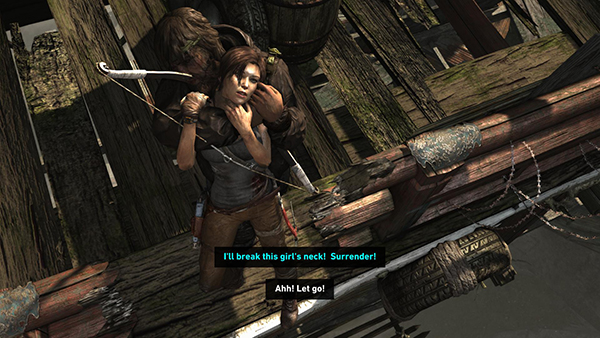
Don't get too relaxed though. A sneaky Solarii appears out of nowhere and grabs Lara. Roth takes care of him, but in the process, Lara and the enemy tumble over the edge.
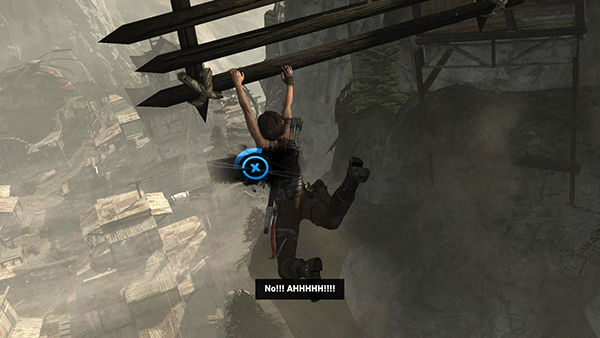
Press Interact when prompted to grab onto a piece of grating jutting out from the side of the bridge.
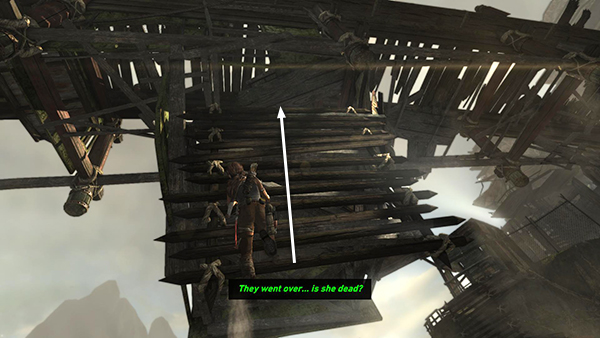
Climb up into the area under the bridge once more, but get ready to run.
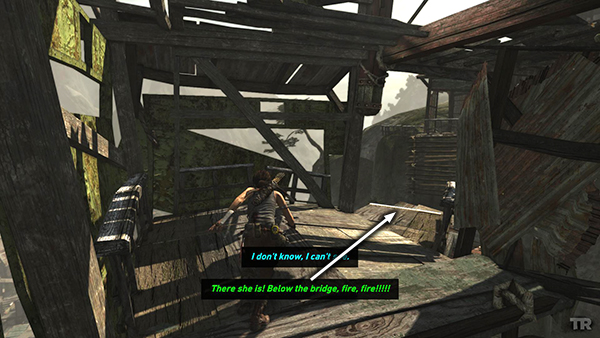
The men above spot Lara and start shooting down at her. Turn right, run out into the sunlight...
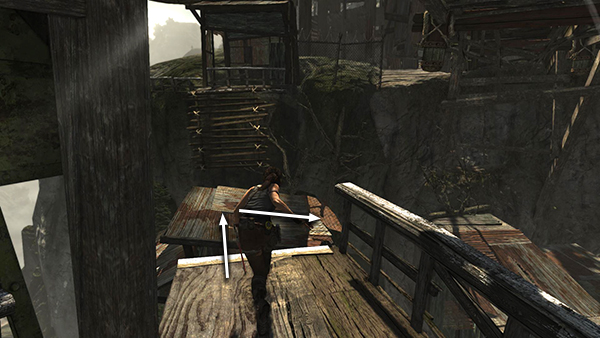
...and jump down onto the metal roof ahead. The bad guys blow up the ladder you would have used to reach the palace entrance. So turn right and immediately start running and sliding across the roofs of the rickety shacks built on the cliff side.
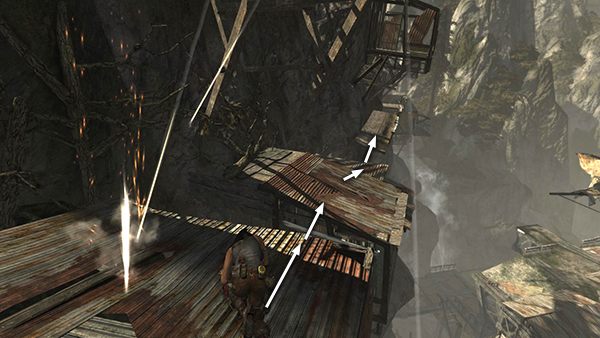
The path forward is pretty obvious. The trick is timing. Keep running whenever possible and try to jump near the edge of each building in order to get maximum air time and reach the next roof.
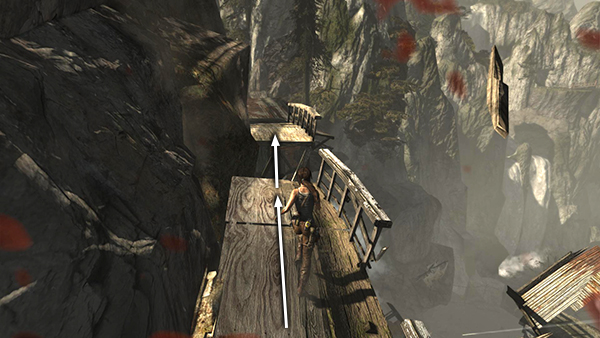
Beyond the metal roofs are 2 wooden ledges. These also collapse beneath you, so keep running across the first one, jump onto the next.
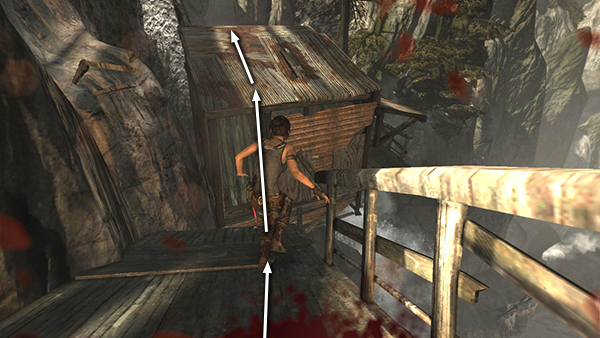
When it tilts forward, slide to the end and jump onto the roof of the shack ahead. Run across the top of it and jump at the edge...
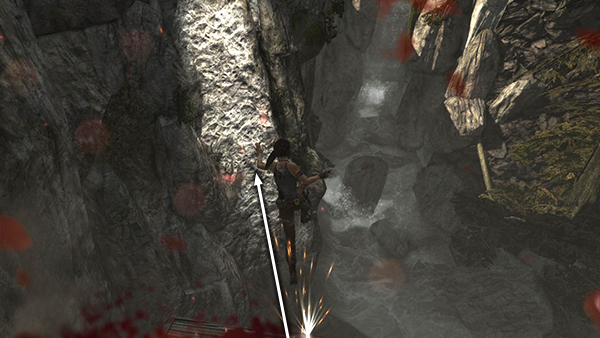
...veering to the left a little to aim toward the climbing wall. As soon as Lara is close enough to the wall, press Interact to latch on.
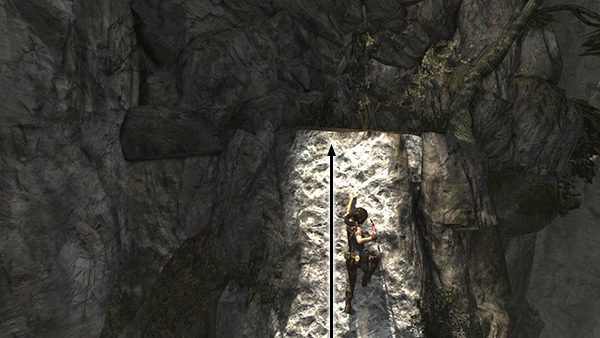
Climb to the top and safety. Whew! And all for a measly 100 XP!
[Part 1 | Return to the Shantytown Walkthrough]
Copyright © 2013- - Stellalune (). All rights reserved. The screenshots and videos included here were made using Fraps. Feel free to copy or print this walkthrough for personal use. By all means, share it with friends, but please include this credit line so people can send me their feedback. No part of this walkthrough may be reproduced on another site without permission. Follow this link for details about this site's advertising and privacy policy.