Shantytown - Crossing Under the Bridge - Part 1
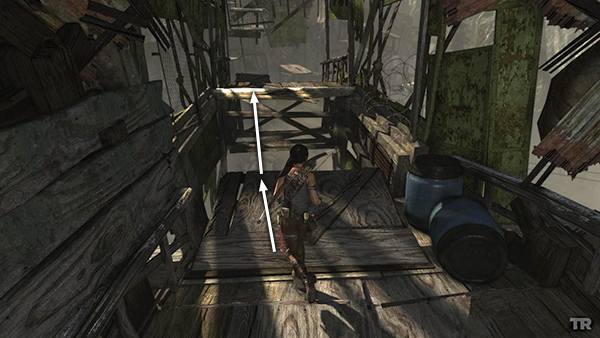
Take a running jump across the first wide gap to grab the ledge beyond. Pull up.
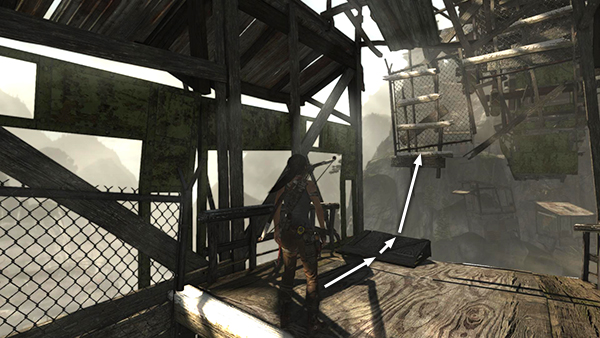
Take another running jump up the little wooden ramp to grab the white planks ladder on the other side of the gap.
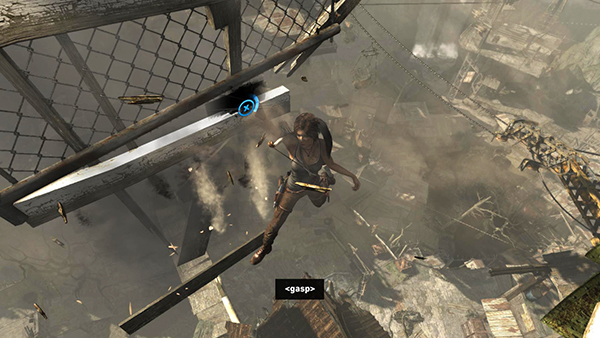
As the lowest ladder rung breaks away, press Interact to hang on.
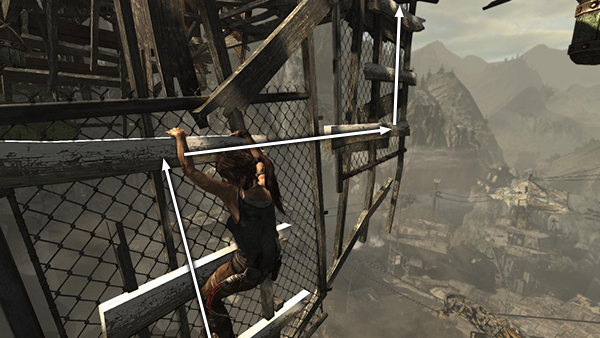
Climb the planks up, then to the right, then upward again.
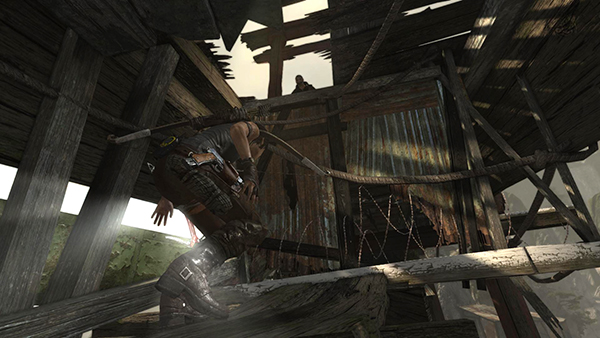
Lara automatically crouches in the low space above. Make your way forward until one of the men on the bridge above spots Lara and Roth takes him out with a rifle shot. As the enemy's body pitches forward, it crashes through the decking where Lara is standing.
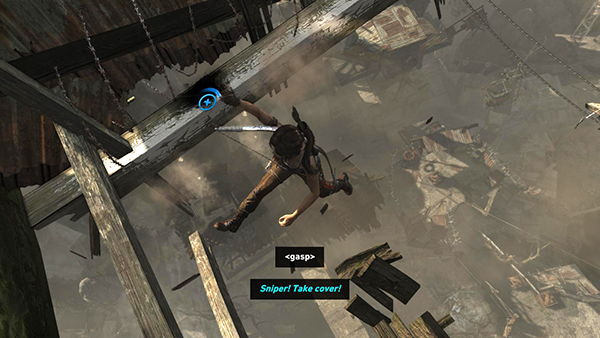
Press Interact to grab a last-minute handhold.
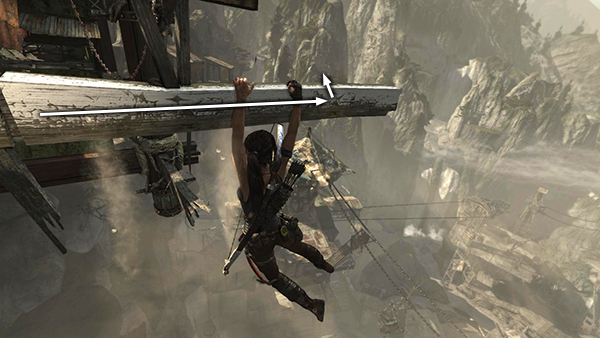
Traverse to the right along the painted beam that protrudes from the side of the bridge. Pull up.
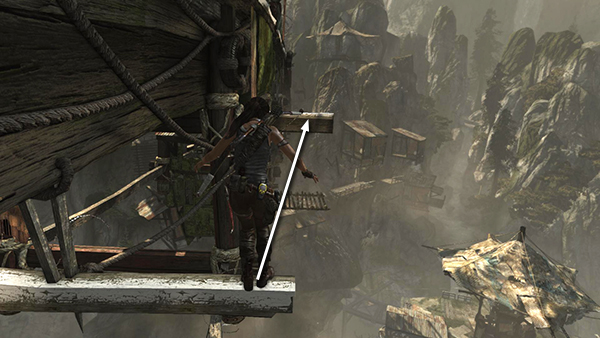
Then jump forward to grab the next beam. Pull up once more.
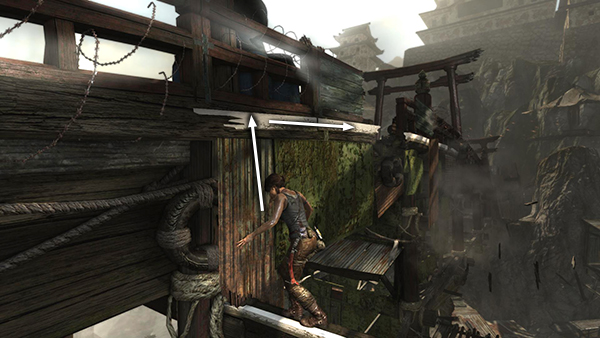
Turn left and jump to grab the white plank mounted on the side of the bridge.
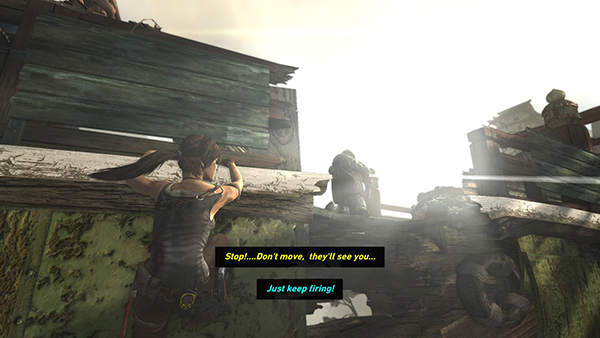
Traverse to the right until Roth tells you to stop.
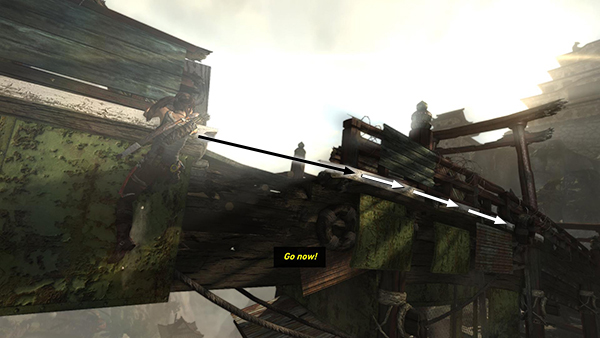
Throughout this next brief section, you need to follow Roth's verbal instructions otherwise the enemies on the bridge will discover Lara and kill her. (Turn on subtitles in under Options > Gameplay > Subtitles if necessary.) Wait until Roth says go and then jump across the gap and grab onto the next plank to the right. Continue traversing to the right, but each time Roth tells you to stop, wait where you are until he gives the signal to keep moving.
[Part 2 | Return to the Shantytown Walkthrough]
Copyright © 2013- - Stellalune (). All rights reserved. The screenshots and videos included here were made using Fraps. Feel free to copy or print this walkthrough for personal use. By all means, share it with friends, but please include this credit line so people can send me their feedback. No part of this walkthrough may be reproduced on another site without permission. Follow this link for details about this site's advertising and privacy policy.