Shantytown - Fighting Near the Windmill - Part 3
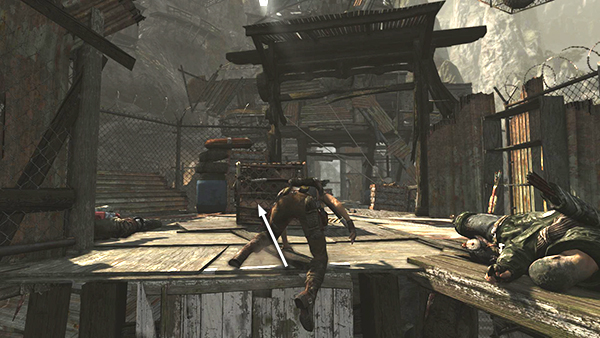
Go back around to the wooden wall and scramble onto the ledge above. Immediately take cover behind the metal crate, since 3 more Solarii are waiting just ahead.
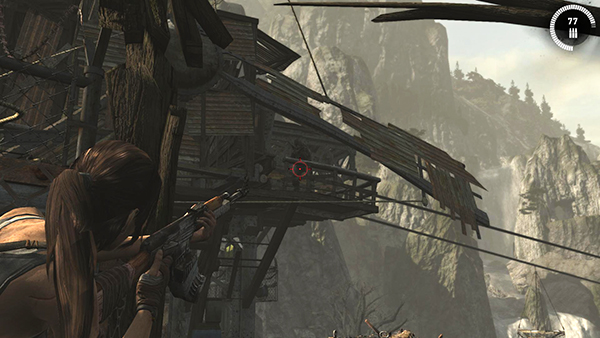
First take out the one with the machine gun above on the right. The moving windmill blades make it difficult to get a clear shot, but likewise they keep the enemies from targeting Lara at times. Just do your best.
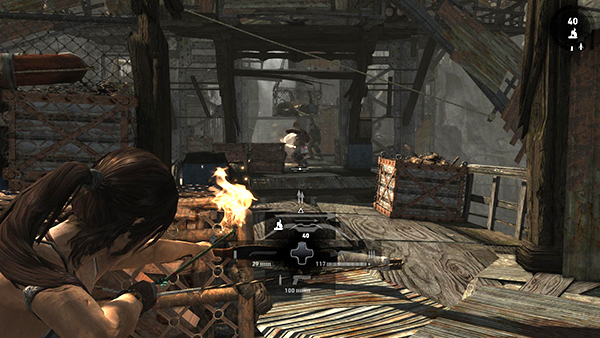
Next deal with the demo man. Again, if you can manage to hit him just as he's about to throw his dynamite, he'll fumble...
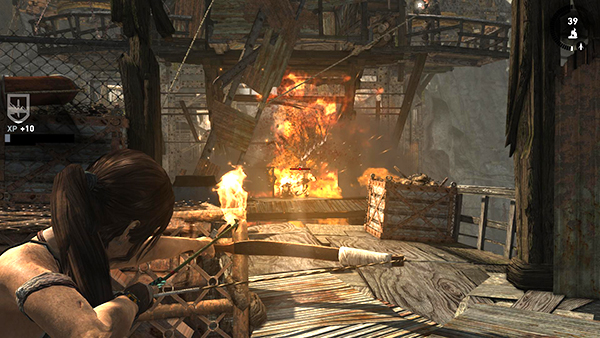
...and blow himself up—and possibly the man next to him as well.
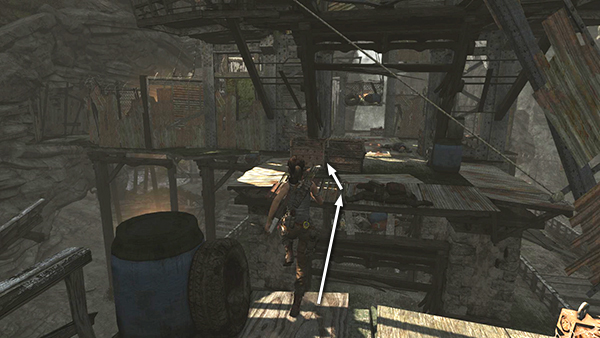
When you've dealt with these guys, loot the bodies near you, grab the arrows leaning on the left, and then jump across the gap near the windmill blades and immediately take cover behind the metal crates. Four more enemies are lurking ahead.
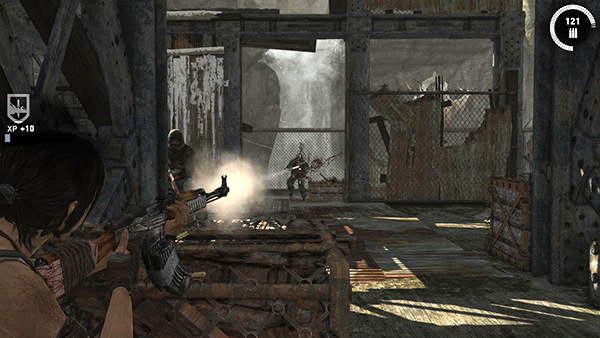
The 2 with rifles tend to hang back and shoot from cover. Shoot back when they pause to reload.
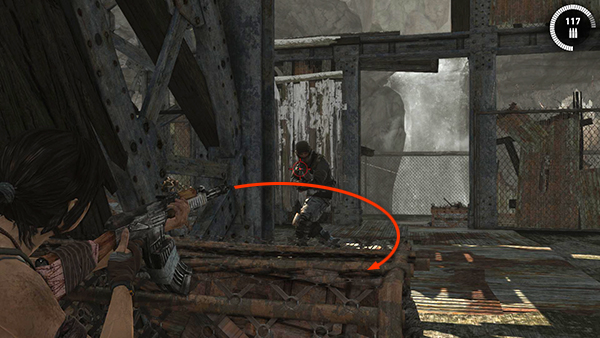
The 2 with shotguns come in from ahead on the left and charge Lara's position. Use heavy firepower to take them out before they reach you.
[Part 2 |Return to the Shantytown Walkthrough]
Copyright © 2013- - Stellalune (). All rights reserved. The screenshots and videos included here were made using Fraps. Feel free to copy or print this walkthrough for personal use. By all means, share it with friends, but please include this credit line so people can send me their feedback. No part of this walkthrough may be reproduced on another site without permission. Follow this link for details about this site's advertising and privacy policy.