Mountain Village - Canyon East of the Village - Part 2
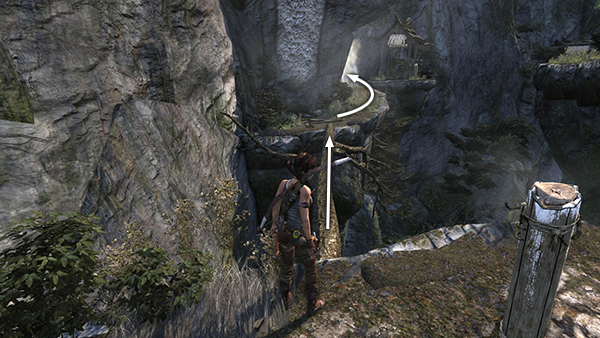
Walk across the fallen tree trunk to the next ledge. Go around to the far side.
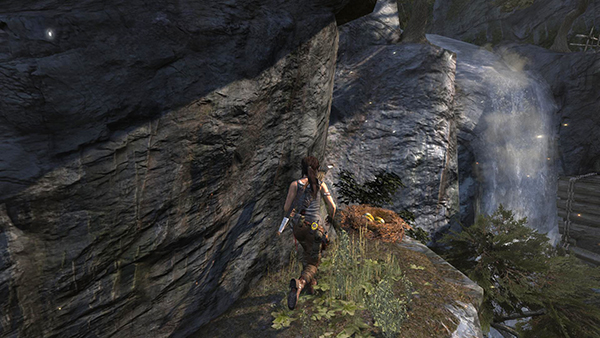
Loot the bird's nest (3/5) for the Egg Poacher Challenge.
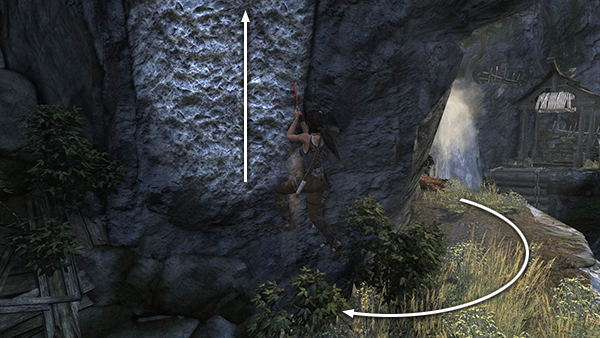
Come back around to the side of the ledge near the fallen tree but instead of crossing back over, use your axe to climb the rough wall to the top.
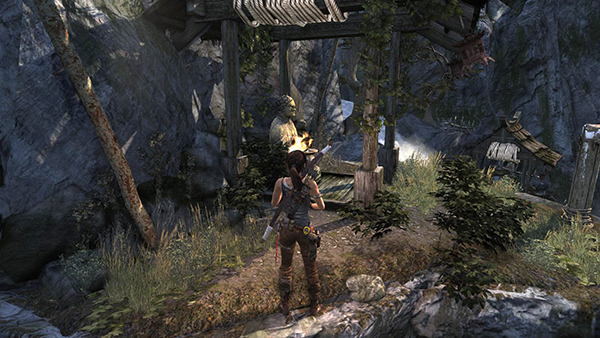
There you'll find another statue (6/10) you can light for the Illumination Challenge.
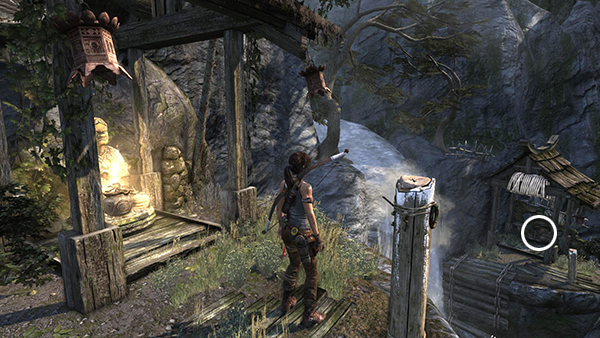
Stand near the anchor post so the flaming statue is on Lara's left. Shoot a rope arrow into the archway on the little ledge below. Slide down to find a document (3/7) from the Ancient Scrolls set.
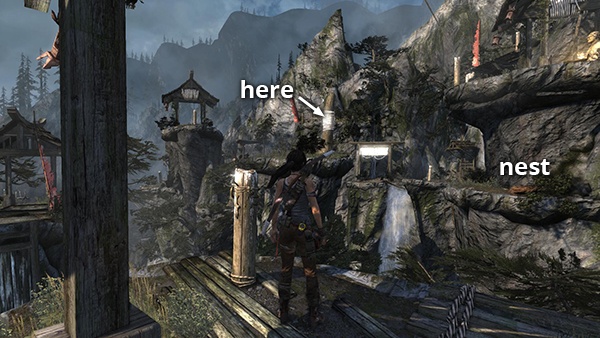
After reading the scroll, turn around and look to the west. Ahead on the right is the ledge with the nest you looted earlier. Shoot a rope arrow into the rope-wrapped tree stump almost directly in front of you.
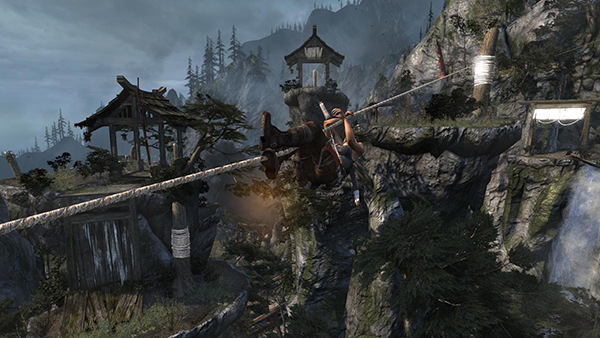
Climb along the rope and drop down onto the small, grassy column.
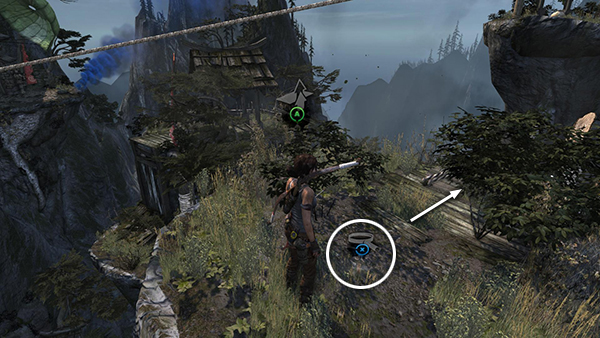
Hidden in the grass is a GPS cache (10/15). Step out onto the ledge made of wood planks.
[Part 1 | Part 3 | Return to the Mountain Village Walkthrough]
Copyright © 2013- - Stellalune (). All rights reserved. The screenshots and videos included here were made using Fraps. Feel free to copy or print this walkthrough for personal use. By all means, share it with friends, but please include this credit line so people can send me their feedback. No part of this walkthrough may be reproduced on another site without permission. Follow this link for details about this site's advertising and privacy policy.