Shantytown - Chamber of Judgment Challenge Tomb - Part 3
If you're having trouble making the jump with just the 3 cans holding down the seesaw, it is possible to get the remaining can.
Just throw 2 of the other cans up onto the shelf where it is sitting. Their weight will break the shelf, bringing down the can.
Drop it on the end of the seesaw with the others and you should be good to go.
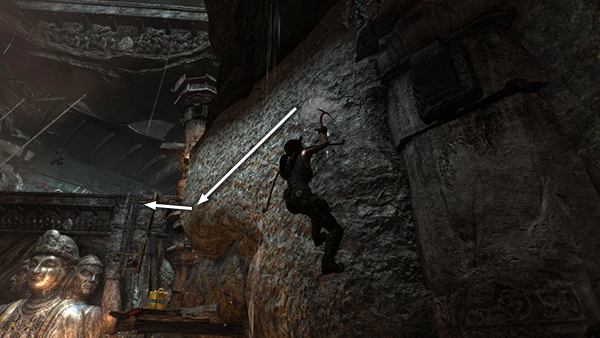
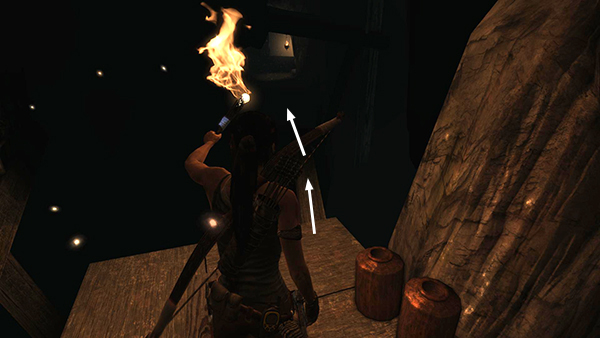
Once you're latched onto the climbing wall, climb up, then as far to the left as possible. Jump from there to the ladder, pressing Interact to prevent Lara from slipping.
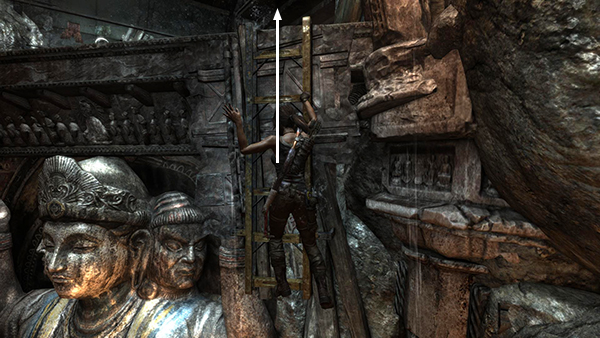
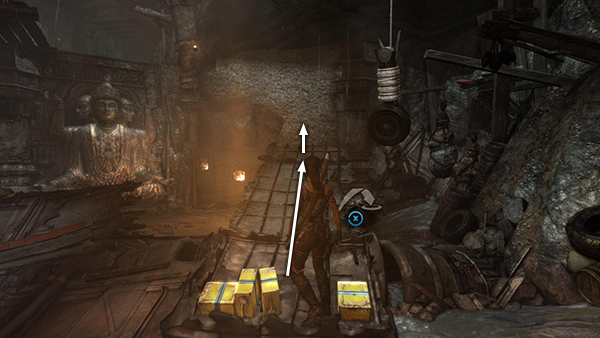
Climb up onto the ledge.
Then and go forward to find the treasure chest. Open it for 1250 XP, 250 salvage, a HANDGUN PART (2/3) and the Shantytown GPS Cache Map. If you've been following this walkthrough, you won't need the map, but it does help with 100% completion.
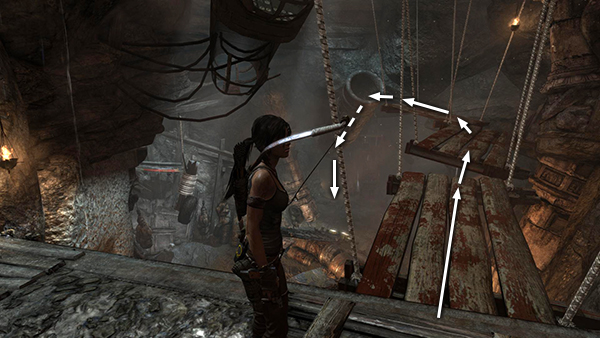
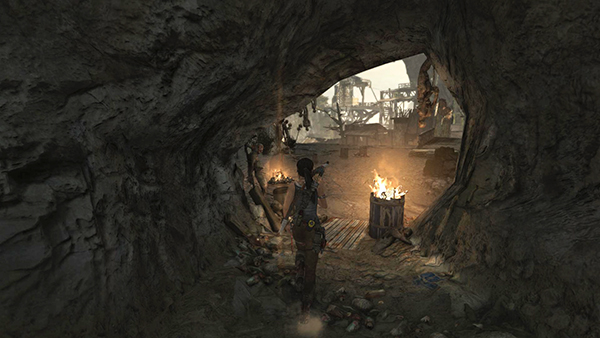
Return to the opening above the climbing wall. Jump across the suspended wooden platforms and into the big pipe, which deposits you next to the Chamber of Judgment Day Camp.
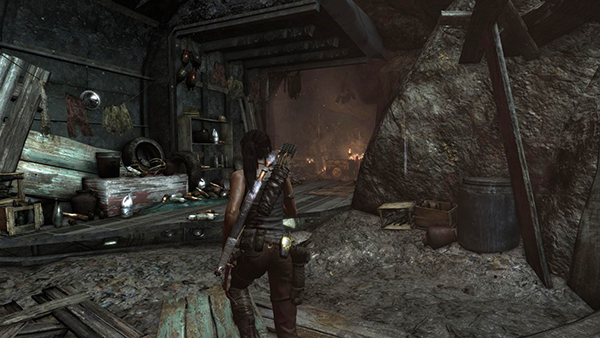
Follow the tunnel back the way you came. Shortly after crossing the narrow plank above the chasm, you'll return to the wooden ledge where you opened the salvage crate earlier. This time go through the opening on the right, toward the lantern in the distance. (The left path leads to the slippery slope, which you can't climb.)
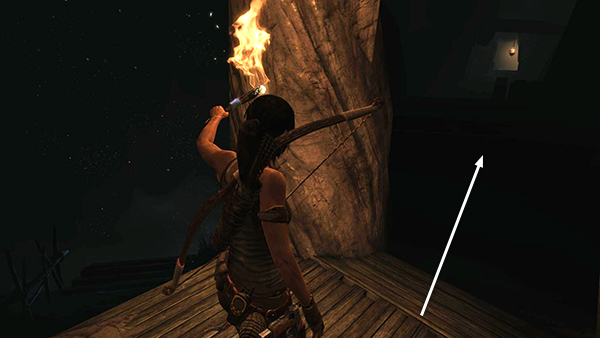
At the top of the wooden stairs, step out onto another narrow beam. It doesn't extend all the way across the gap, so you're going to have to take a leap of faith. Just jump straight ahead and Lara will land safely in the tunnel below.
Continue to the opening near the Windmill Base Camp.
[Part 2 | Return to the Shantytown Walkthrough]
Copyright © 2013- - Stellalune (). All rights reserved. The screenshots and videos included here were made using Fraps. Feel free to copy or print this walkthrough for personal use. By all means, share it with friends, but please include this credit line so people can send me their feedback. No part of this walkthrough may be reproduced on another site without permission. Follow this link for details about this site's advertising and privacy policy.