Shipwreck Beach - Flooded Vault Challenge Tomb - Part 1
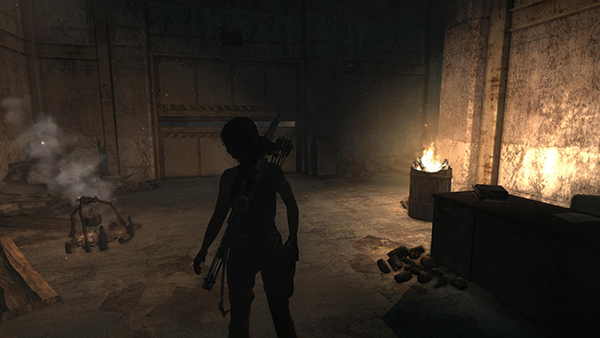
Use the Flooded Vault Day Camp if you like. Then climb the stairs on the right to the room above.
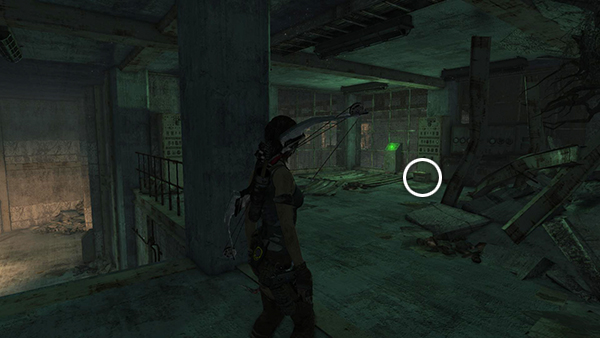
Take the shotgun shells if you need them and then use the console with the green light to turn on the power.
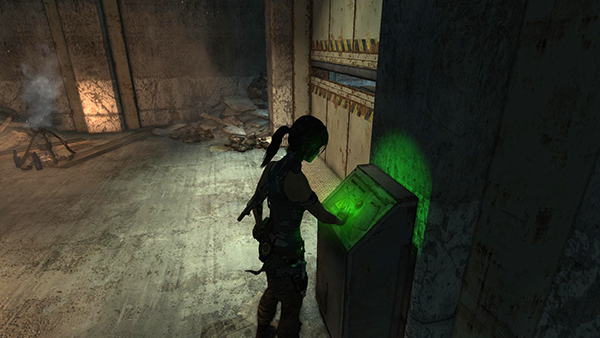
Return downstairs and use the second console there to open the doors.
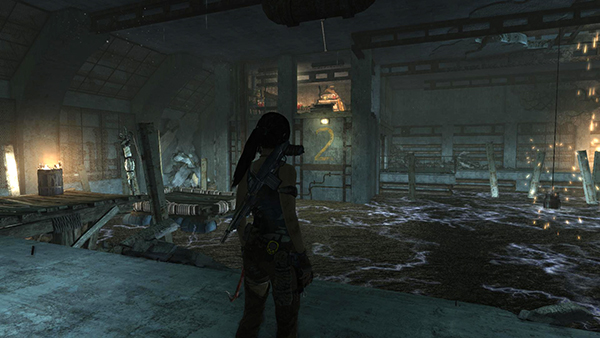
Enter the room beyond, but avoid the water; it's electrified. The treasure chest is located in the elevated room straight ahead, above the number 2 on the wall. You'll need to find a safe way to cross the pool.
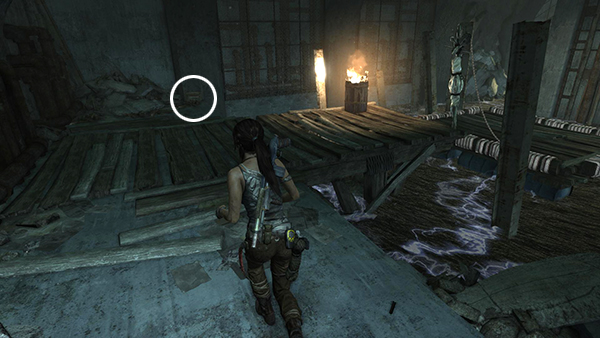
Start on the left side of the room. Pick up more shotgun shells.
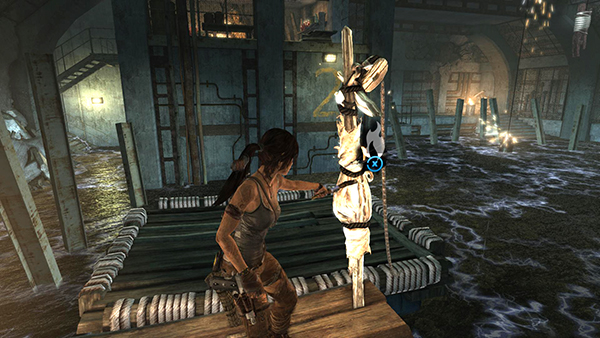
Then use your torch to burn the cloth-wrapped pole, freeing the raft that's tethered to the dock.
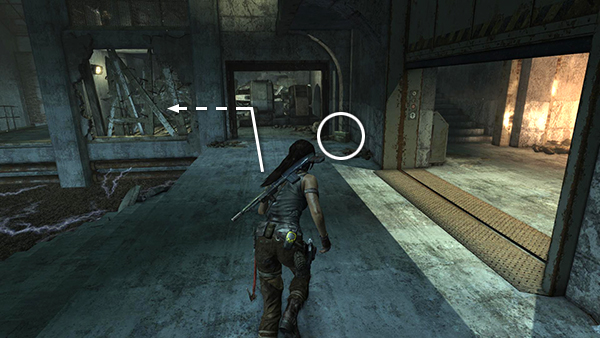
Return past the entrance, pick up more shotgun shells in the corner, and go into the little room with the plank-and-barbed-wire barrier.
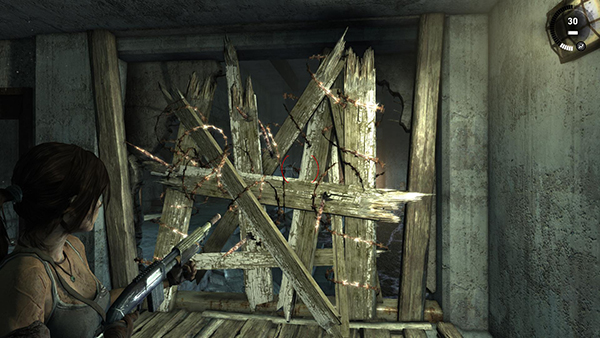
Move around behind the barrier and use your shotgun to destroy it.
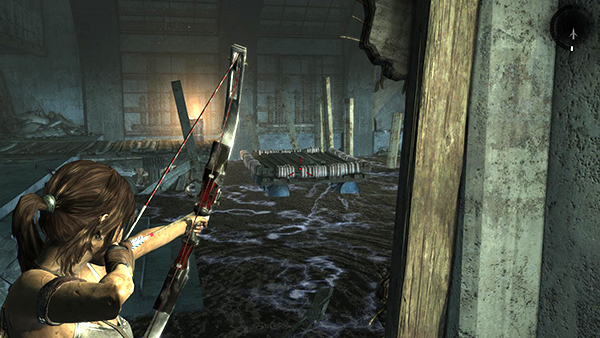
Then switch to the bow, shoot a rope arrow into the raft, and pull it across the pool toward you.
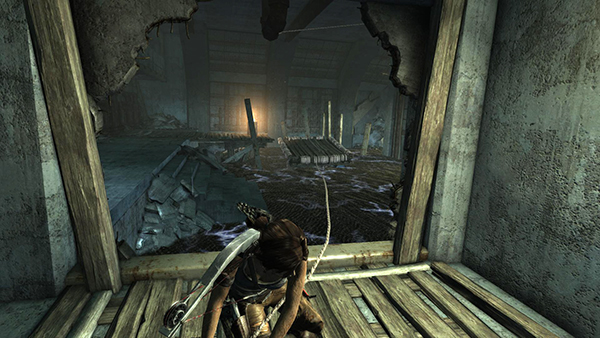
You may need to pull several times in order to position the raft between the steps on the left and the doorway where Lara is standing.
[Part 2 | Return to the Shipwreck Beach Walkthrough]
Copyright © 2013- - Stellalune (). All rights reserved. The screenshots and videos included here were made using Fraps. Feel free to copy or print this walkthrough for personal use. By all means, share it with friends, but please include this credit line so people can send me their feedback. No part of this walkthrough may be reproduced on another site without permission. Follow this link for details about this site's advertising and privacy policy.