Shipwreck Beach - Flooded Vault Challenge Tomb - Part 2
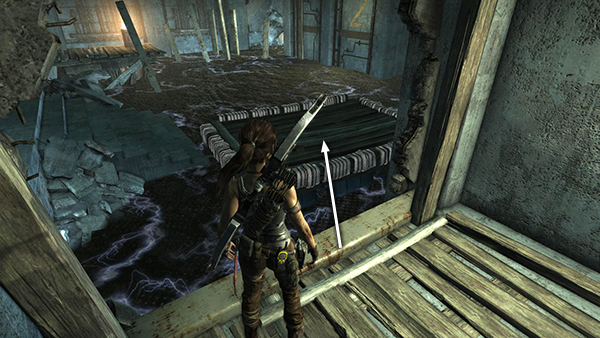
Jump from the doorway onto the raft.
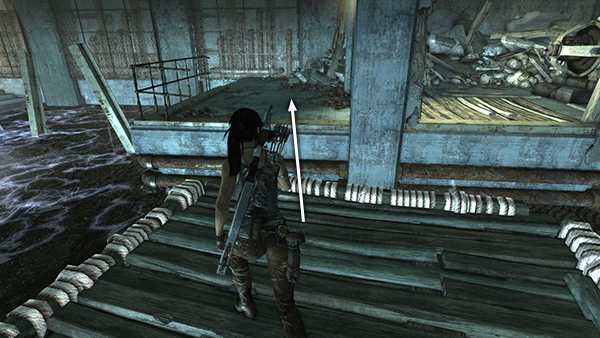
Then turn around and jump from the raft onto the ledge to the left of the doorway you just came from.
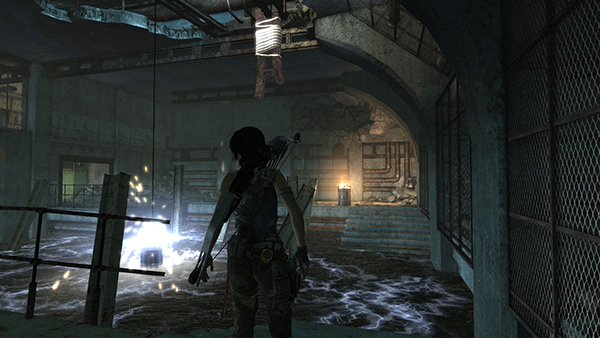
Move to the other side of this ledge, where the steps lead down into the electrified water. The steps on the other side of the pool are close, but not close enough to reach by jumping. You'll need to raise that big electric plug out of the water in order to cross safely.
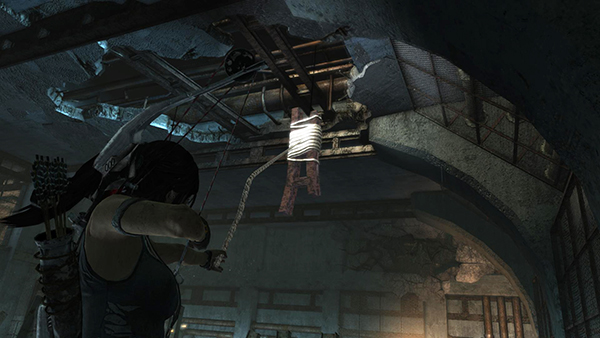
Shoot a rope arrow into the rope-wrapped girder dangling from the ceiling just to the right of the plug.
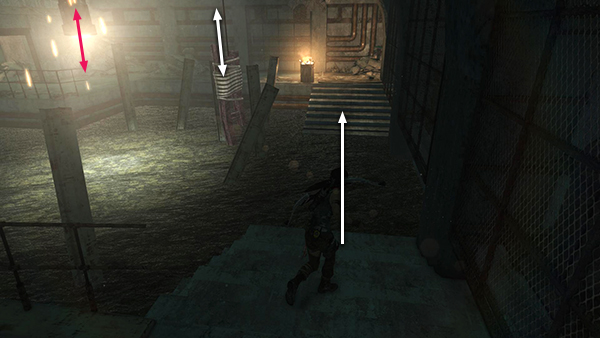
When Lara pulls, it raises the plug out of the water but only temporarily. Quickly cross the pool before the plug sinks back down, electrifying the water once again.
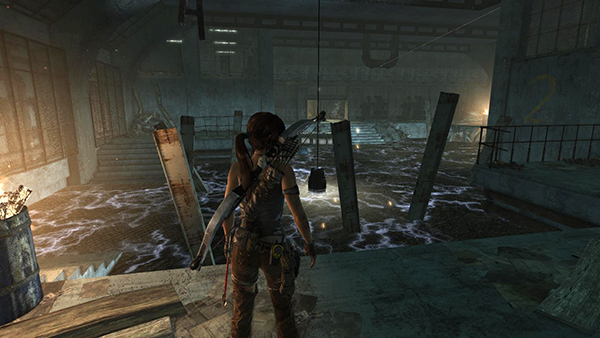
Move up the stairs and stand between the giant plug and the raft.
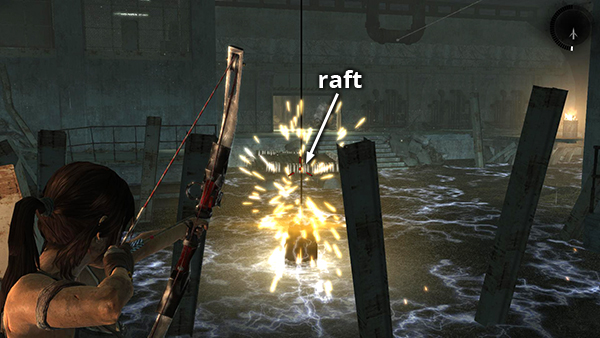
Use a rope arrow to pull the raft closer to the plug.
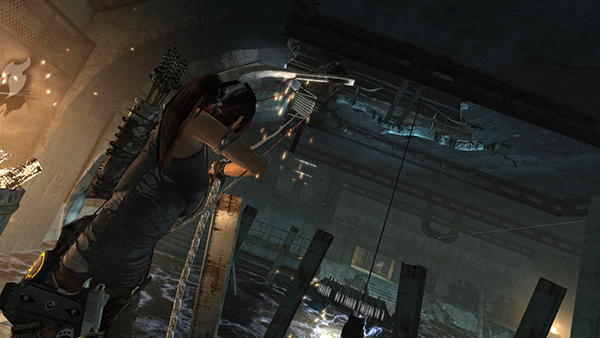
Shoot another rope arrow into the rope-wrapped girder to raise the plug out of the water.
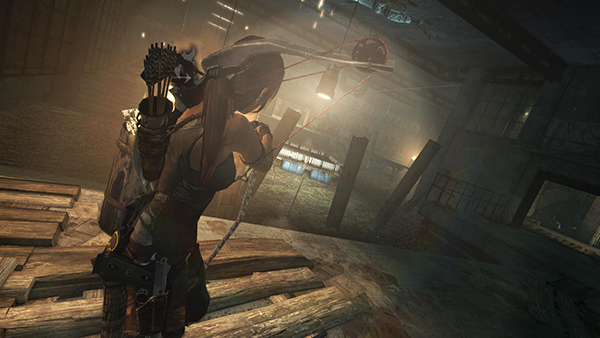
Then quickly aim at the raft again and shoot another rope arrow. The goal is to pull the raft under the plug before it can sink back into the water.
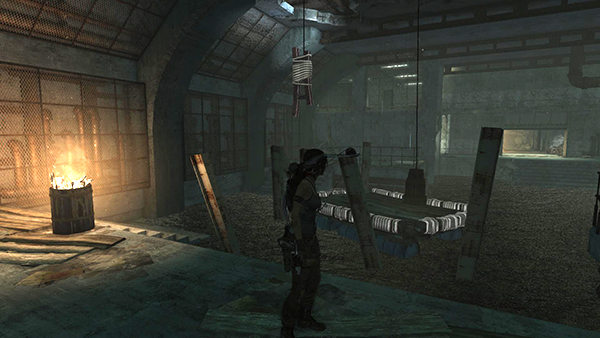
Once the plug is floating on the raft, the entire pool is safe to cross.
[Part 1 | Part 3 | Return to the Shipwreck Beach Walkthrough]
Copyright © 2013- - Stellalune (). All rights reserved. The screenshots and videos included here were made using Fraps. Feel free to copy or print this walkthrough for personal use. By all means, share it with friends, but please include this credit line so people can send me their feedback. No part of this walkthrough may be reproduced on another site without permission. Follow this link for details about this site's advertising and privacy policy.