Chasm Shrine - Room with Floor Grate and Dangling Cage - Part 2
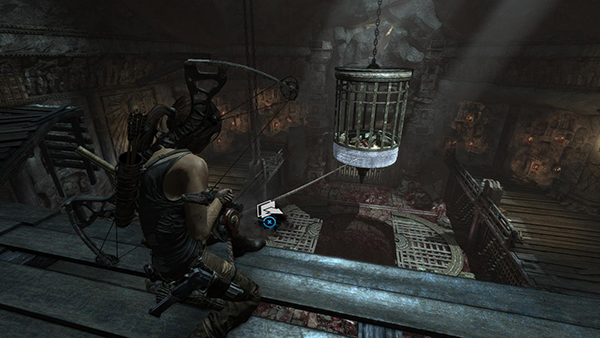
From this position, with Lara standing on the high ledge and the metal cage hanging between her and the exit, shoot a rope arrow into the rope-wrapped section at the bottom of the cage. Use the rope ascender to pull the cage toward you.
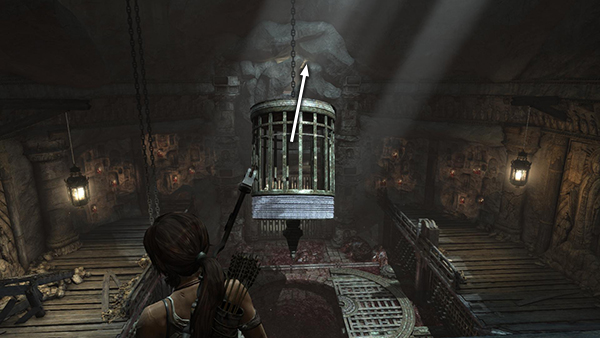
When it swings back...
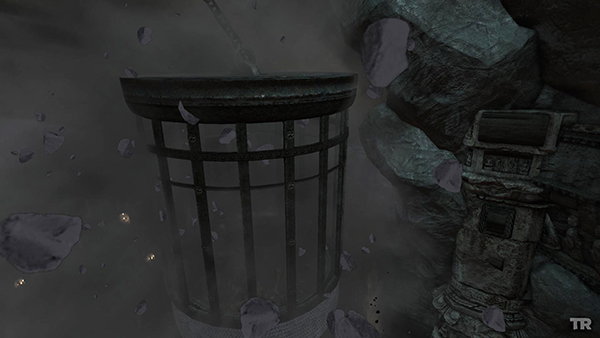
...it crashes through the wall above the exit...
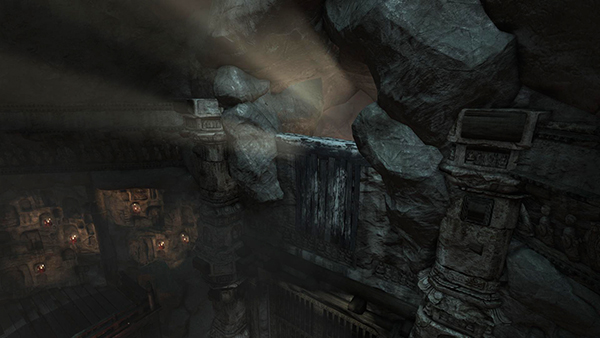
...creating an opening.
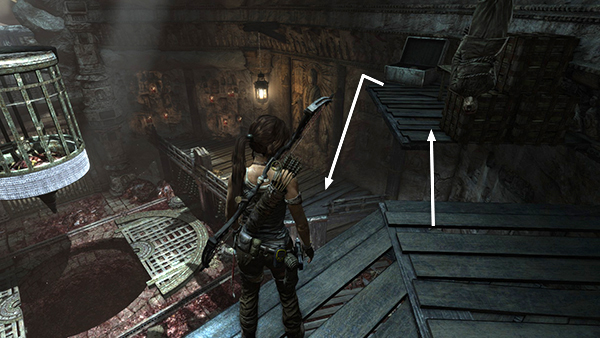
To get there you'll need to use the cage again. Start by jumping across the gap in the walkway on the right and then dropping down to the lower ledge—the one with the first wheel.
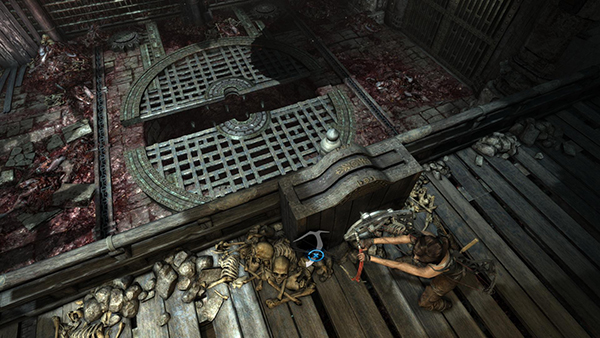
Turn it again to close the grate in the floor.
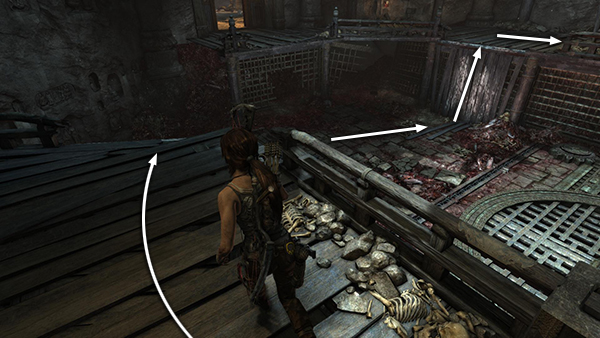
Move back to the other side of the room and climb up onto the other ledge.
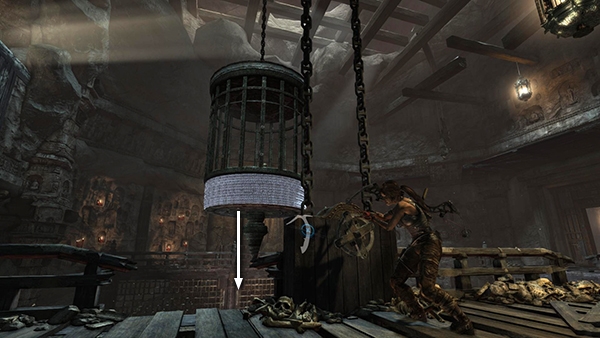
Turn the second wheel again to lower the cage to the floor.
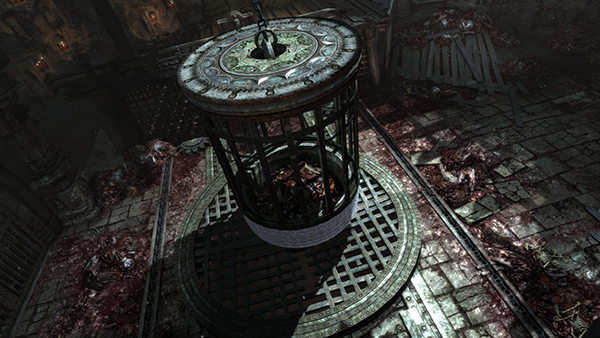
With the grate closed, it will not sink all the way back into the pit.
[Part 1 | Part 3 | Return to the Chasm Shrine Walkthrough]
Copyright © 2013- - Stellalune (). All rights reserved. The screenshots and videos included here were made using Fraps. Feel free to copy or print this walkthrough for personal use. By all means, share it with friends, but please include this credit line so people can send me their feedback. No part of this walkthrough may be reproduced on another site without permission. Follow this link for details about this site's advertising and privacy policy.