Chasm Monastery - Room with Huge, Hanging Bell - Part 3
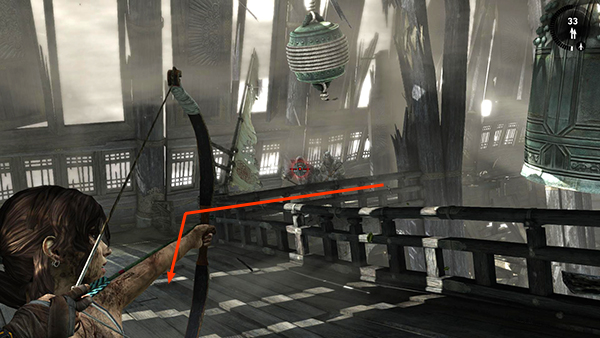
The destruction alerts more Solarii down below and they climb up via the ramp on the left to fight you. Try to take them out as they come toward you. There are 5 in all: 2 with bows and Molotov cocktails, 2 with axes and/or machetes, and one wearing light armor and carrying a pole arm.
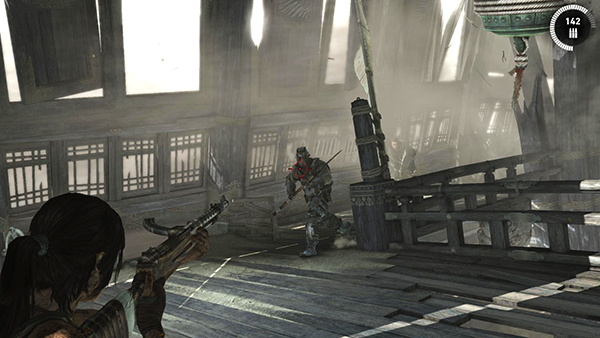
He is generally the second one to appear. Try to shoot him from a distance to damage some of his armor before he reaches you.
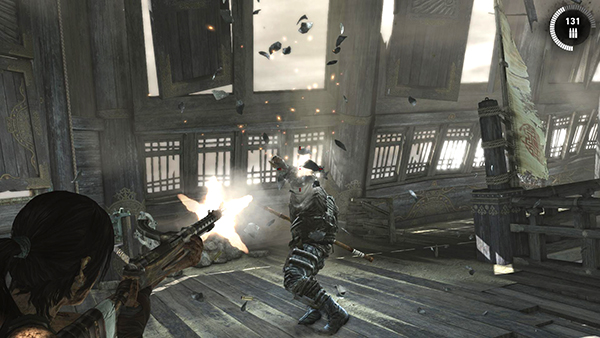
Here you can see his helmet shattered by Lara's rifle shots.
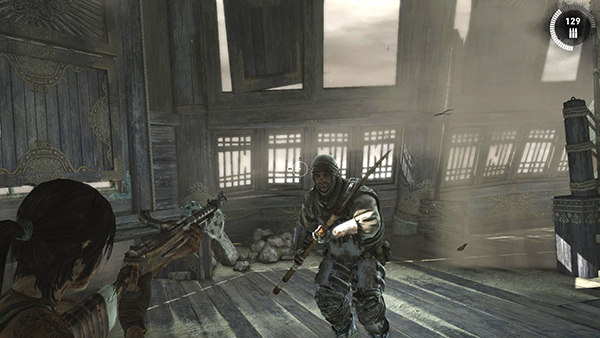
Now he's more vulnerable. Another headshot will take him out.
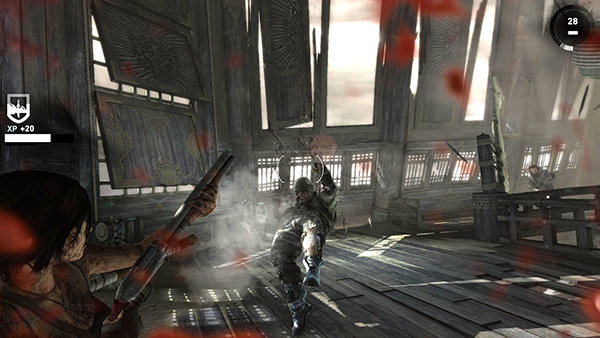
Or you can finish him off with the shotgun when he gets close. (You can also use the same dodge-and-counter maneuver you use for the guys with the shields, though I haven't shown it here.)
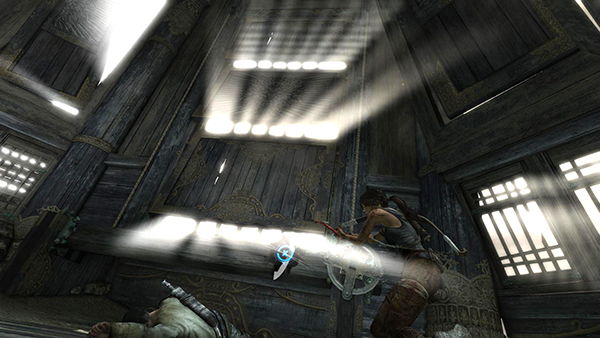
Afterward, loot the bodies for ammo, salvage and a BOW PART (1/3) from the guy with the pole arm as well. If you used up any of your shotgun or rifle ammo, pick up any of the boxed ammo you couldn't carry before.
NOTE: The on-screen message about this weapon part says "1/2 BOW PARTS." It is actually one of three needed for the next bow upgrade. If you miss this bow part, don't worry; you will receive it when you open the first salvage crate in the next area, Mountain Village Part 3.
Finally, re-open the first set of shutters so both sets are now open.
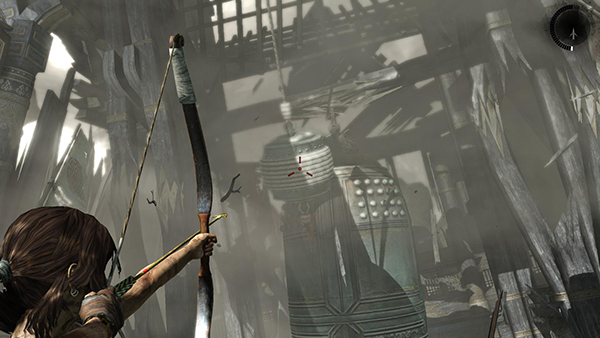
Stand facing the big bell and the huge statue beyond and shoot a rope arrow into the clapper once more.
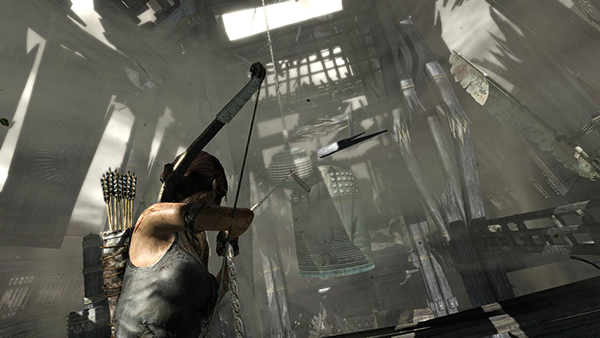
Lara will yank on the rope...
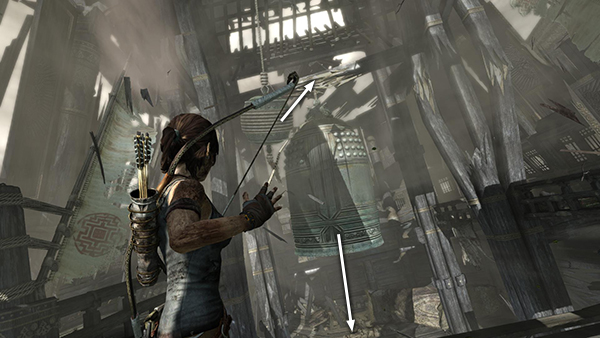
...and the wind coming in through both sets of shutters will swing the clapper into the beam above the bell, destroying the beam and dropping the bell through the floor.
[Part 2 | Return to the Chasm Monastery Walkthrough]
Copyright © 2013- - Stellalune (). All rights reserved. The screenshots and videos included here were made using Fraps. Feel free to copy or print this walkthrough for personal use. By all means, share it with friends, but please include this credit line so people can send me their feedback. No part of this walkthrough may be reproduced on another site without permission. Follow this link for details about this site's advertising and privacy policy.