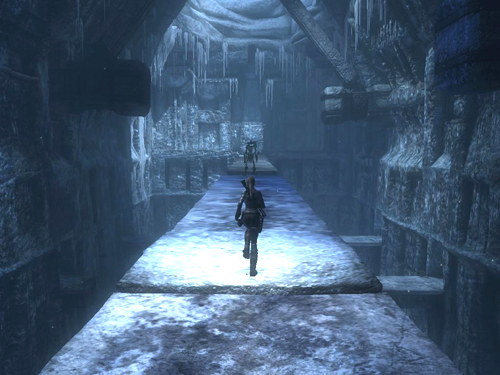
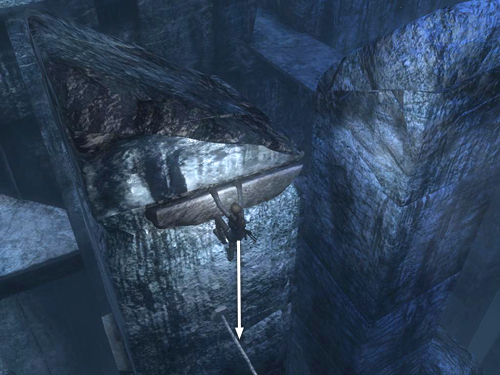
Step out onto the walkway and head toward the lone thrall. When Lara reaches the slightly elevated section of floor (as shown in the screenshot above), a cut scene shows the huge hammers above begin to work.
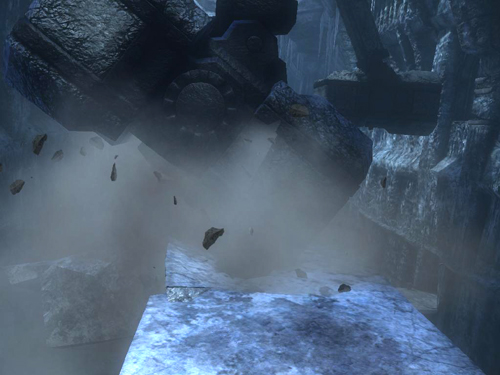
One of them swings down, smashing the walkway, and the hapless thrall in the process.
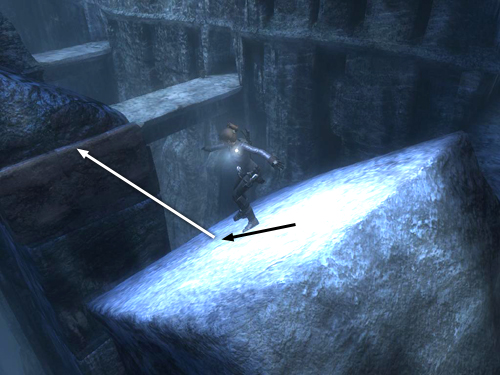
Without the rest of the walkway to support it, the section on which Lara is standing pitches forward. At this point time slows for a situational adrenaline sequence: Wait a second or two for Lara to slide forward along the tilting walkway. Then, just before she reaches the end, press Jump to make her leap forward and grab the handhold on the square pillar ahead. If you jump too soon or too late, Lara falls into the abyss and the game reloads at the previous checkpoint.
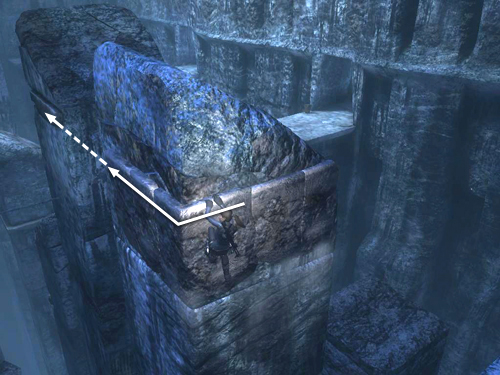
When you successfully make the jump, time goes back to normal, but you can't hesitate here. The handhold starts to crack, so quickly climb around the corner to the left before there's nothing left to hold onto. Tap Interact in time with Lara's movements to make her go faster. Then, when you reach the end, jump to the left to grab the handhold on the next pillar.
This one does not crumble, so you have a moment to catch your breath. Drop and grab the horizontal pole below. This pole is unstable and begins to break under Lara's weight.
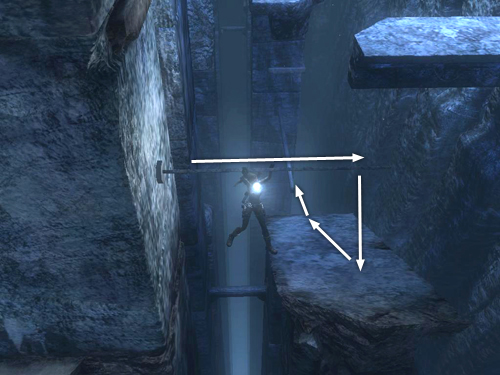
Swiftly climb out to the end before it breaks off. When it does, Lara will land on the angled column below and start to slide. Wait until she's almost at the bottom of the slope and then jump to land on the metal beam ahead. This beam is solid, so you now can relax and take your time.
[Return to the Valhalla Walkthrough]
Copyright © 2008- - Stellalune (). All rights reserved. The screenshots and videos included here were made using Fraps. Feel free to copy or print this walkthrough for personal use. By all means, share it with friends, but please include this credit line so people can send me their feedback. No part of this walkthrough may be reproduced on another site without permission. Follow this link for details about this site's advertising and privacy policy.
|