The following sequence is also shown in this gameplay video, along with the preceding timed run for the treasure 21.
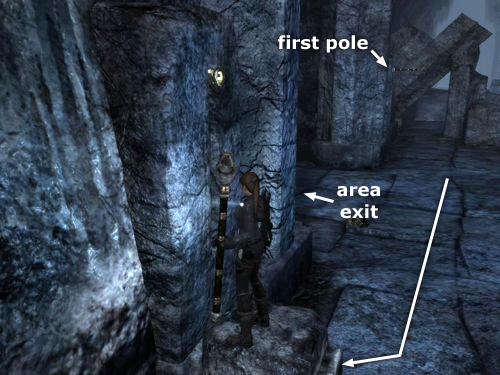
the stone block from beneath the pole toward the metal socket on the wall on the other side of the hallway that leads to the exit. Pick up the wooden pole lying on the floor, climb onto the block and insert the pole into the hole (Interact button).
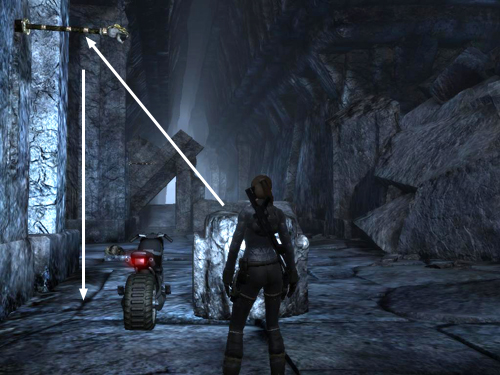
Hop down and pull the block away from the wall. Leave enough space between the block and the wall to park the motorcycle and still have room for Lara to drop from the pole to the floor (as shown in the screenshot above).
Now comes a more complicated timed ride. Remember the big door you saw on the other side of the maze (in area 4 on the map)? This level's RELIC is hidden behind that door (11 on the map). Pulling down this pole opens that door. This time, you'll have a little more than 35 seconds to get from the pole to the door before it closes. Once you have the block and bike in position, climb onto the block, jump to grab the pole and let Lara's weight pull it all the way down. (If you don't let the pole descend all the way, the door won't open at all.) A distant thump is audible, followed by rumbling as the door mechanism starts to work.
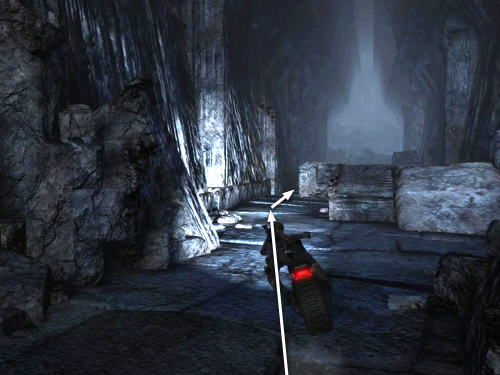
When the pole sinks to the bottom of the track, immediately drop down and get on the motorcycle. Race straight forward, under the stone arch and up the ramp directly ahead.
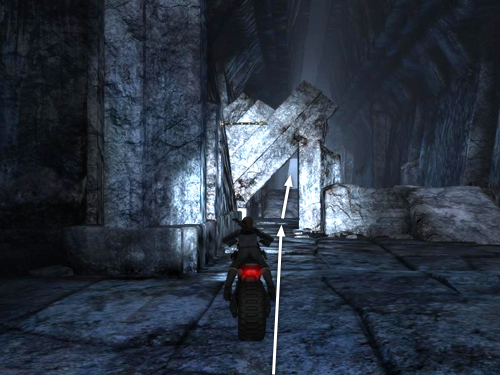
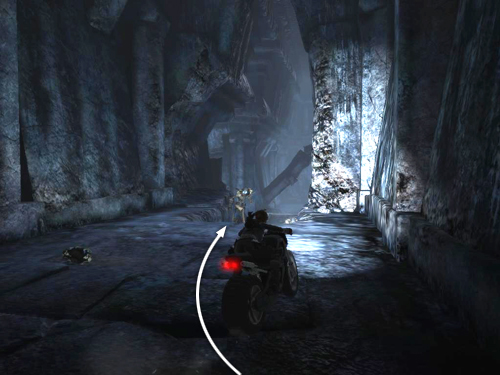
When you've cleared the rocks beyond the ramp, instead of continuing straight toward the first timed door, make a wide turn into the hallway on the right.
Aim for the left side of this hallway to avoid the rocks that partially block the way. (You could also use the stone ramp on the right to jump over the rocks, but I find it difficult to steer around the rocks near the corner and still get onto the ramp with enough speed to make the jump.)
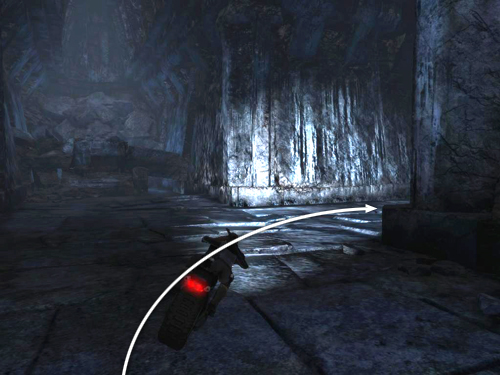
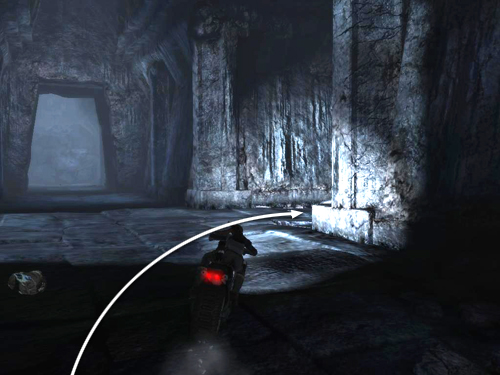
Beyond those rocks you'll see the dead-end with the low opening where you found treasure #17. Turn right into the hallway before you reach that dead end.
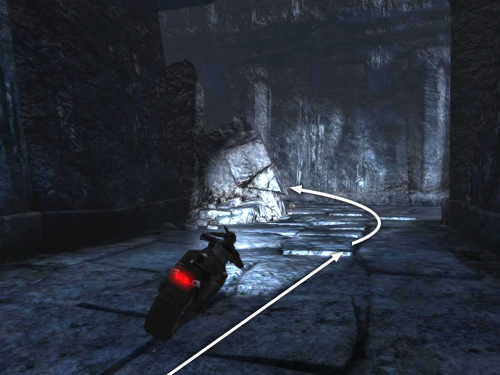
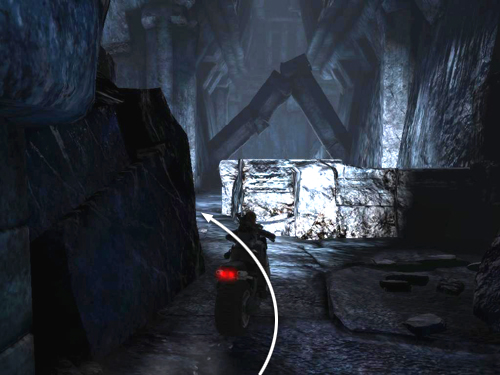
Continue straight on to the next T-intersection. Turn left there.

Go up the ramp and turn right.
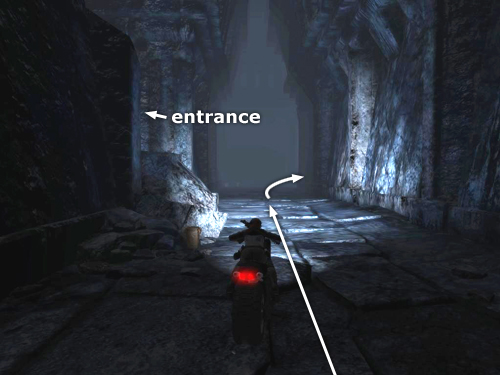
Continue straight ahead, passing the hall leading back to the entrance on the left. At the end of this hallway, turn right.
Just ahead is the ramp leading down toward the rocks and the relic room. Two of the 4 Viking thralls that had been inside the room will now have wandered into the hallway. Run over them only if they happen to be right in your path. Otherwise, just ignore them and keep going.
Continue down the ramp and veer to the left through the narrow gap between the rocks and the corner.
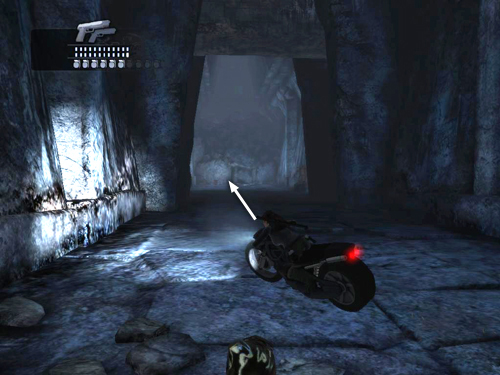
Then race forward to get through the door before it closes.
To recap, from the pole to the relic, it's straight forward, then right, right, left, right, straight, right and finally left to the door. The route is also marked with red dots on the map in the main walkthrough.
[Return to the Valhalla Walkthrough]
Copyright © 2008- - Stellalune (). All rights reserved. The screenshots and videos included here were made using Fraps. Feel free to copy or print this walkthrough for personal use. By all means, share it with friends, but please include this credit line so people can send me their feedback. No part of this walkthrough may be reproduced on another site without permission. Follow this link for details about this site's advertising and privacy policy.
|