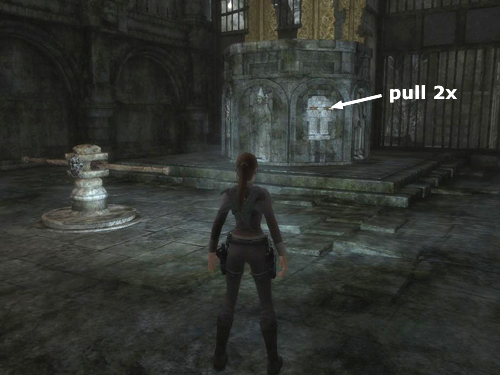
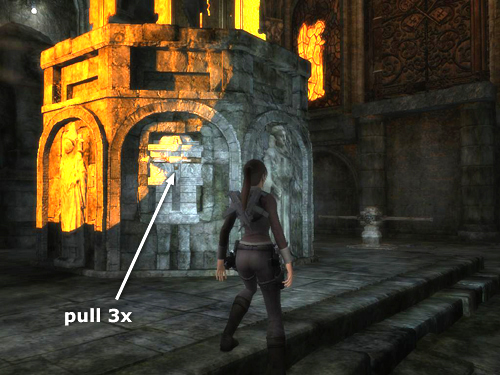
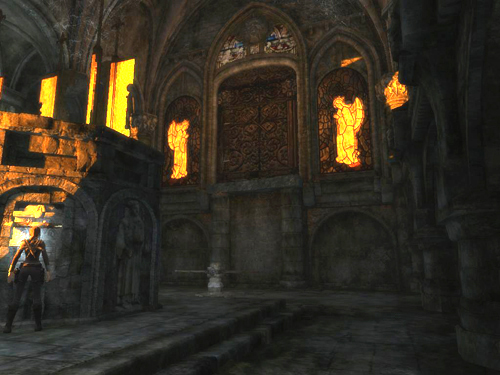
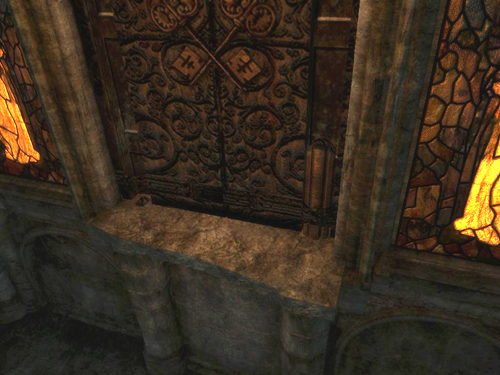
Croft Manor - Unlocking the Chapel Exit
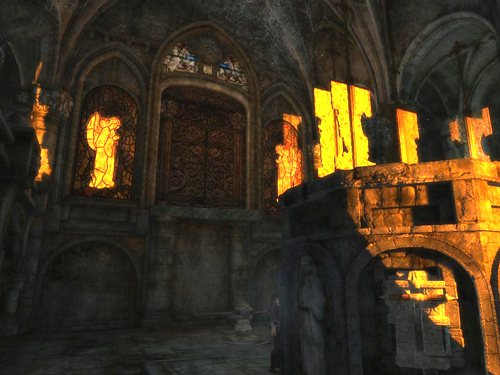
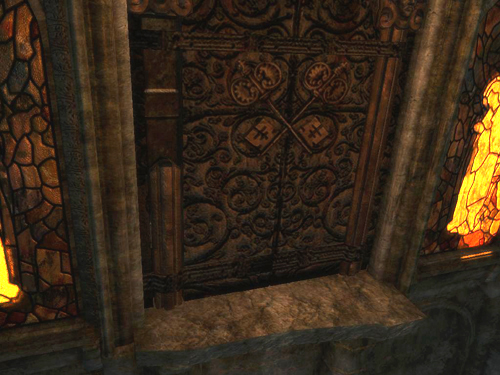
After lighting the furnace, as described in the main walkthrough in the section on the DAIS WITH THE STONE ANGEL, the switches here are functional. Solving the next puzzle will enable you to open the exit from the chapel, located high on the wall between the two stained glass windows.
[Part 2 - Timed Run | Return to the Croft Manor Walkthrough] Copyright © 2008- - Stellalune (). All rights reserved. The screenshots and videos included here were made using Fraps. Feel free to copy or print this walkthrough for personal use. By all means, share it with friends, but please include this credit line so people can send me their feedback. No part of this walkthrough may be reproduced on another site without permission. Follow this link for details about this site's advertising and privacy policy. |