Tomb Raider Legend Time Trial Tips - Level 7: Nepal
The following walkthrough was created by Eldin to help other gamers who might be having trouble beating the Legend time trials.
Before you start, be sure to review the General Time Trial Tips & Strategy if you haven't done so already. You can also find the regular walkthrough for this level here.
Time Limit: 13:40
If you've been playing the Time Trials in order, you will now have unlocked the "Bulletproof" cheat. Make sure to enable that since it is going to help you to bypass enemies in this level—well, most of them anyway. Choose the weapon you like the best.
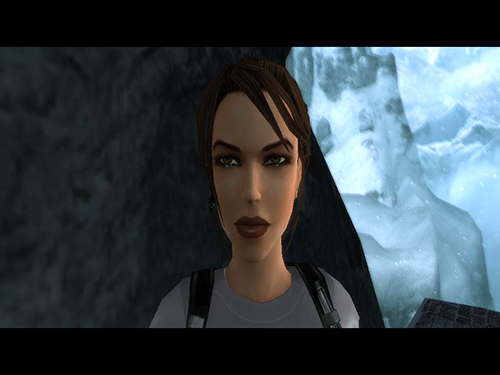
Make sure to tap Interact to "Fast Traverse" whenever Lara needs to climb along ledges, like this one at the beginning of the level.
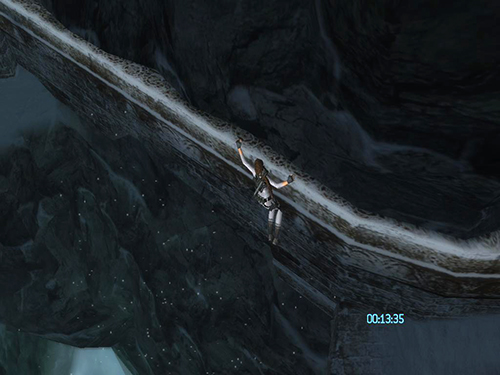
It helps to roll up this sloping ledge so Lara reaches the end faster.
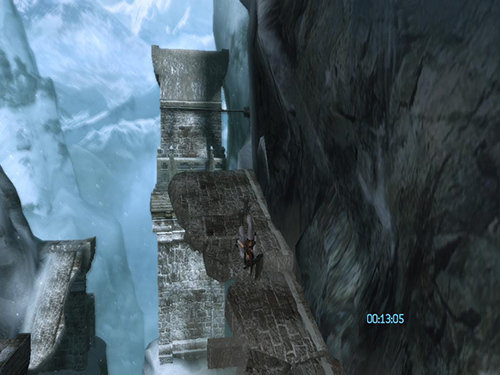
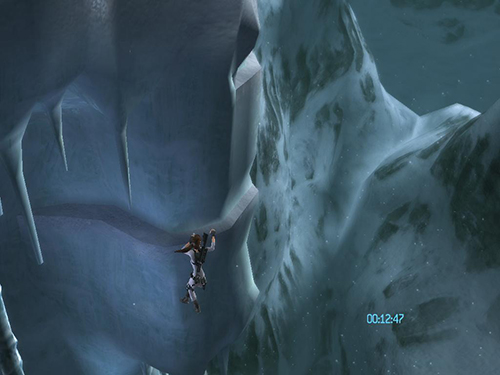
Again make sure to "Fast Traverse" on the ledges following the icicle climbing as well. At the top, roll through the tunnel to the next area.
NOTE: At this point you can take a nice shortcut. When you emerge from the tunnel onto the ledge overlooking the airplane, draw pistols and jump off the ledge where it juts out slightly. This spot is shown in the screenshot below.
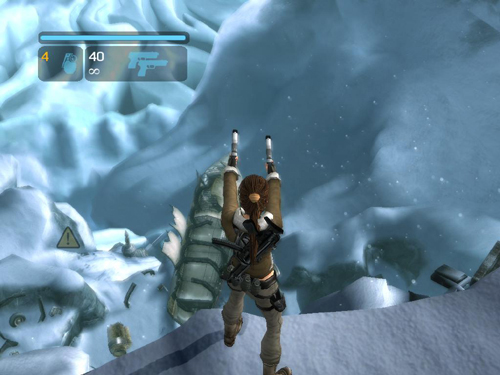
After somersaulting in the air. . .
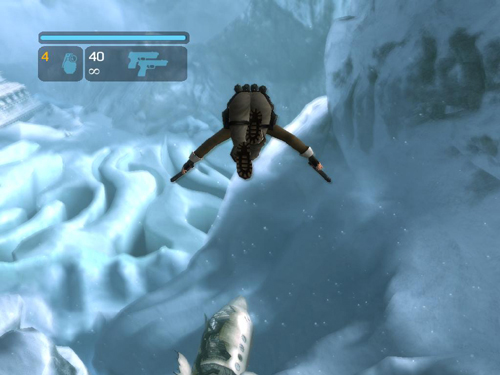
. . . Lara lands safely on the ledge far below. This technique is detailed in the main walkthrough and also shown in MMAN's speedrun video. –Stella
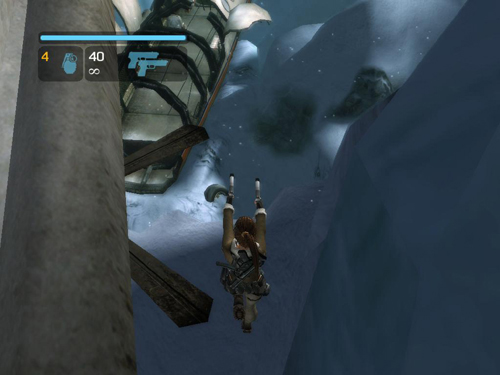
If this shortcut doesn't work for you, here are a few other time-saving maneuvers for taking the normal way down: When grapple swinging, try to jump forward after the first swing if possible.
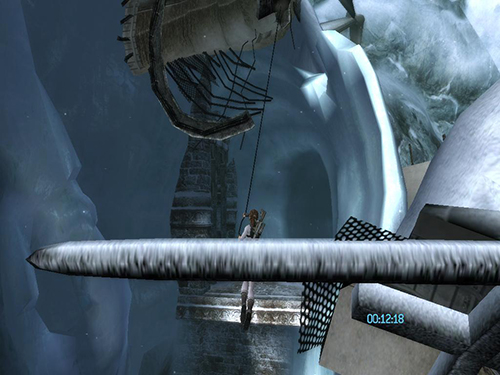
Drop down directly from this point, rather than jumping over to the ice wall. Lara will lose a little health, but gain a few seconds.
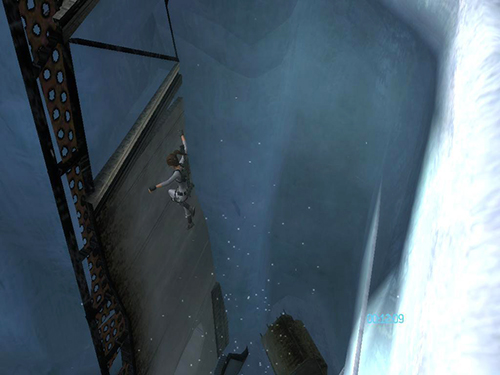
There is no need to use the left side to get down, you can jump from this point and land on the chunk of wreckage. Again Lara will lose a little bit of her health but not too much.
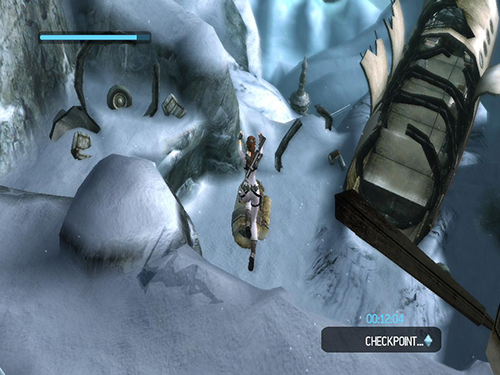
After the QTE and cutscene, comes the part with the icy slopes and break-away poles. The only thing you need to keep in mind here is to relax. Just focus. Even if you die, you should still have time to finish.
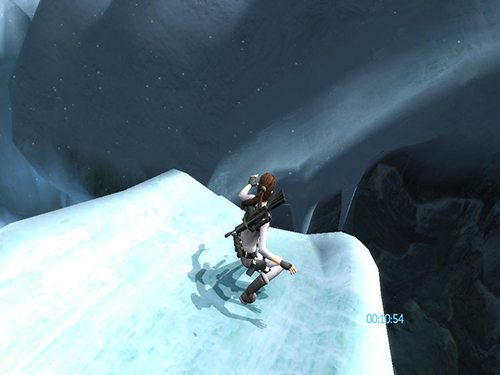
Roll into the cave and then just concentrate on the ice ledges and try not to fall. Once again, make sure to "Fast Traverse" along the ledges and you'll get through quickly.
NOTE: If you need to review, the main walkthrough covers the fastest route through the ice cave, though of course you'll want to skip the rewards. –Stella
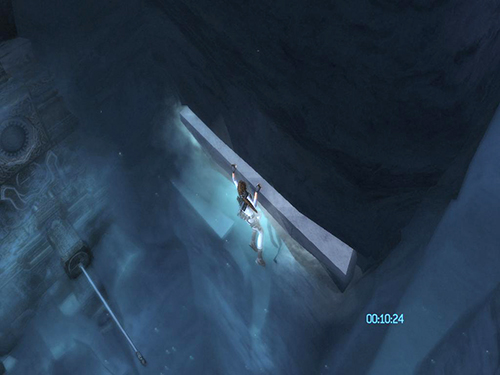
If you have the "Bulletproof" cheat enabled, there's no need to kill the enemies in the open area after the ice cave. So just bypass them all and continue on.
NOTE: If you have run out of health packs, you may want to take the time to kill a few enemies here in order to get some, since you'll need to use one or two in the caves ahead. –Stella
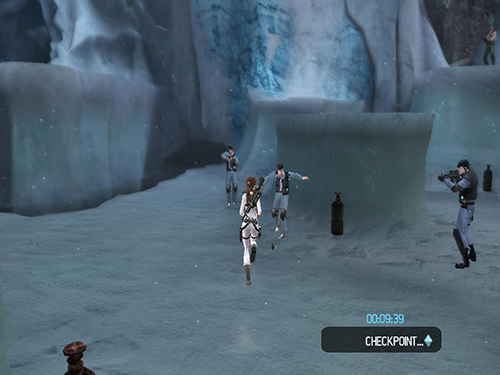
From this point you can jump or swan dive into the cave. Lara will lose a little health, but you'll gain a few seconds. If you feel like it, you can kill her at the next checkpoint and reload with full health.

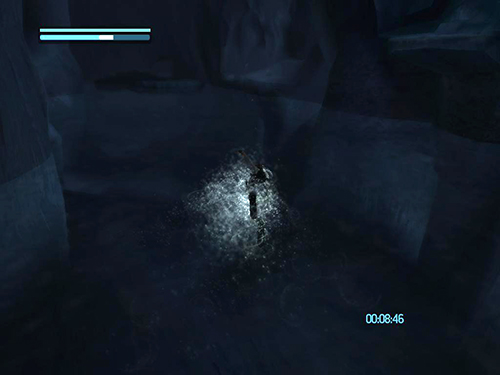
Roll through the cave until you reach the water.

As long as you have a little health to spare, there is no need to shoot the slab of ice above. Just jump into the water and climb onto the next floating piece of ice.

In the next room, there is no time to wait for chunks of ice to reach Lara. If you have 1-2 health packs you can pass this part by swimming through the water, tapping Interact to swim faster, and healing Lara along the way.
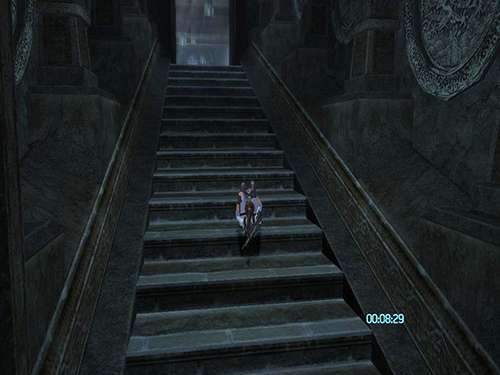
Roll up the stairs and past the leopard to the edge of the balcony.
Ignore the leopard and immediately jump off the edge and throw the grapple.
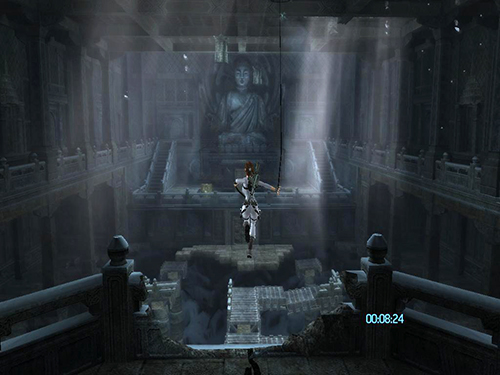
There is really no need to swing more than once. You can jump after the first swing and then grab the next grapple point and so on until you reach other side.
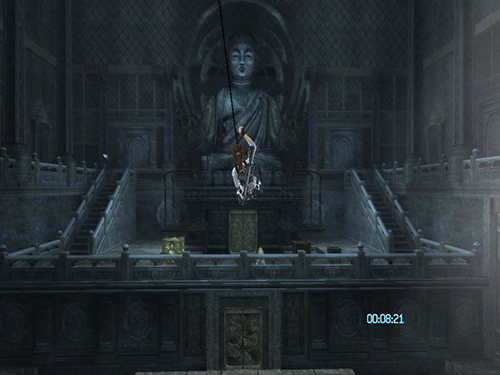
NOTE: Instead of solving the balance puzzle in the usual way, Lara can grapple the golden block up onto the ledge. This takes a little finesse, but if you practice it first, it can save a lot of time. You can also ignore the second leopard if you swing directly onto the upper ledge. Check the main walkthrough and MMAN's speedurn video for details. —Stella
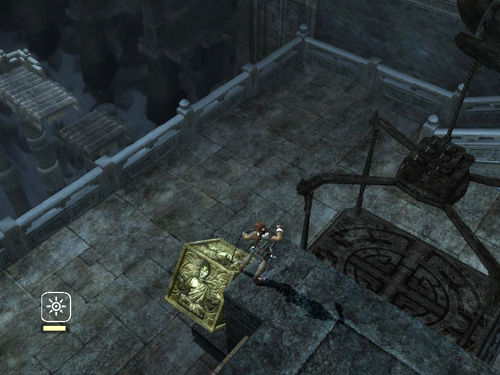
If you can't manage to grapple the block onto the ledge, just try to stay calm and complete the puzzle as quickly as you can.
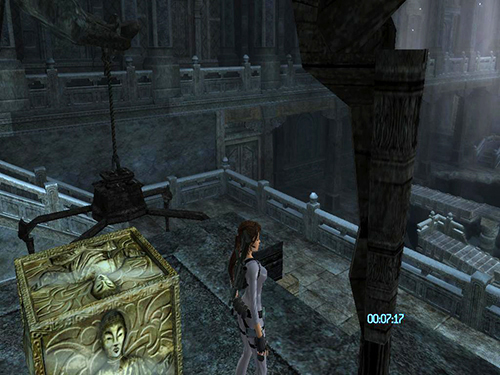
NOTE: Roll down into the Excalibur room, skip the cutscene, and then roll to the door you must blast open with the sword. Rolling lets you move faster and avoid the leopard if you didn't kill it earlier. –Stella
Now just finish the level as usual. Do not worry about dying. As long as you have done well up to this point, even if you die a few times, there will still be time to finish.
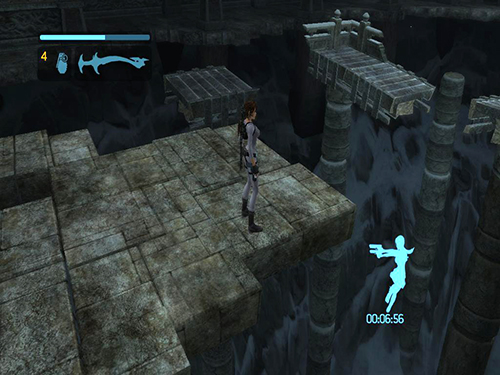
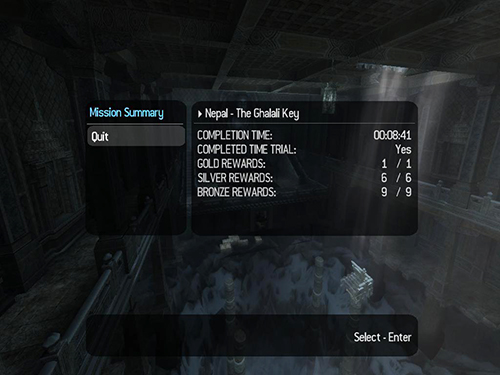
Nepal complete!
Time trial walkthroughs copyright © 2012 Eldin Mostic. Stella's Tomb Raider Site copyright © Stellalune ( ). I (Stella) have added a few additional tips to Eldin's, including one or two shortcuts with my own screenshots, plus a few from MMAN's speedruns. Feel free to copy or print this walkthrough for personal use. By all means, share it with friends, but please include this credit line so people can send me their feedback. No part of this walkthrough may be reproduced on another site without permission. Follow this link for details about this site's advertising and privacy policy.