Tomb Raider Legend Time Trial Tips - Level 6: England
The following walkthrough was created by Eldin to help other gamers who might be having trouble beating the Legend time trials.
Before you start, be sure to review the General Time Trial Tips & Strategy if you haven't done so already. You can also find the regular walkthrough for this level here.
Time Limit: 27:00
As soon as level starts, grapple and pull the vent, grab the crate and climb to the upper level.
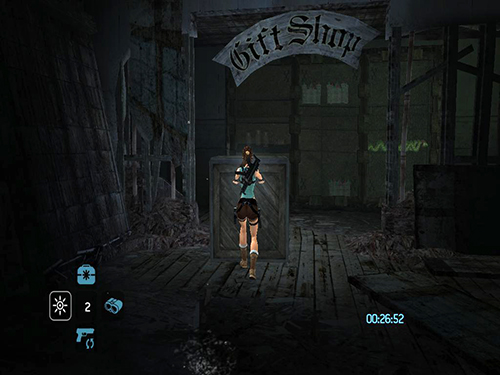
Shoot out the next vent and roll through the opening. It's always faster to roll than to crawl through small holes, like this one.
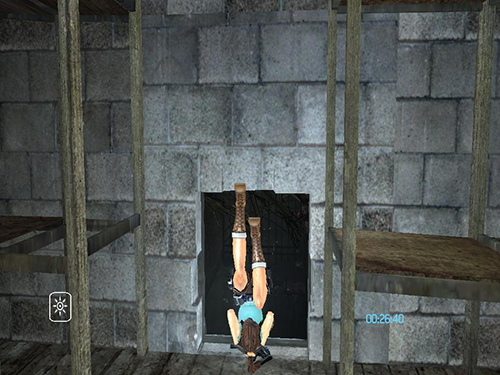
Tap Interact in time with Lara's movements to "Fast Traverse" while Lara is on the wall.
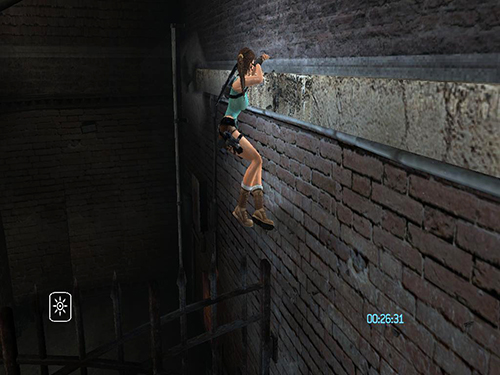
When you are in the linear areas where there is nothing important to do, make sure to roll or Swan Dive through them in order to cover more ground faster.
NOTE: In this areas like this, with portcullis-style doors, you can also save a few seconds by rolling under the door as soon as it starts to open, instead of waiting for it to open wide enough to run through. –Stella
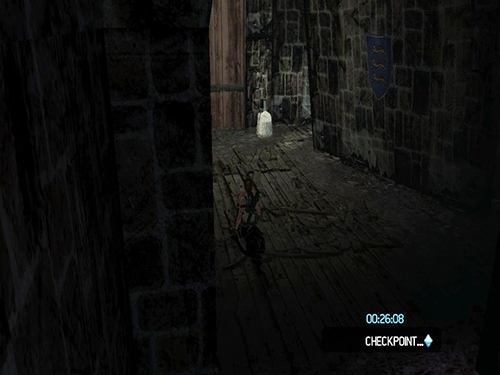
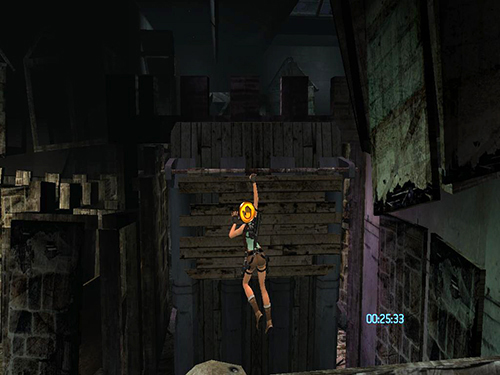
At this spot, as soon as Lara grabs this wooden bridge, jump back to the pole. There is no need to wait; the bridge will lower all the way even if Lara doesn't hang on.
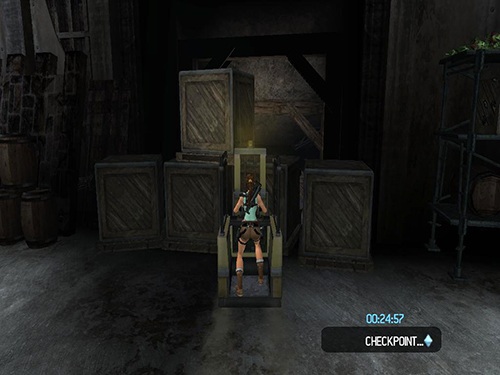
Don't bother moving the crates; just get on the forklift and barge through to the ramp. Here it's faster to smash through the two stacked crates in the middle, rather than then single ones on each side.
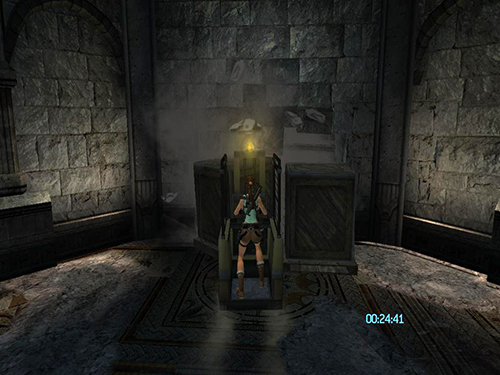
In the room at the bottom of the ramp, turn left and crash through between the two crates in front of the breakable wall. It's not necessary to move the crates first.
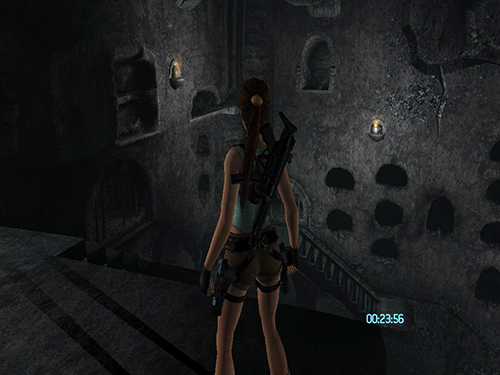
In the tall room with the broken stairs, it is really important to relax if you can. If you start to panic, you will fail. Even if you fall once or twice, you should still have enough time to finish.
NOTE: There are also several minor shortcuts you can take in this room. Check out the various on YouTube by searching for "Tomb Raider Legend England speed run" or "Tomb Raider Legend England time trial".
As always, you should tap Interact to traverse faster while Lara is on the wall.
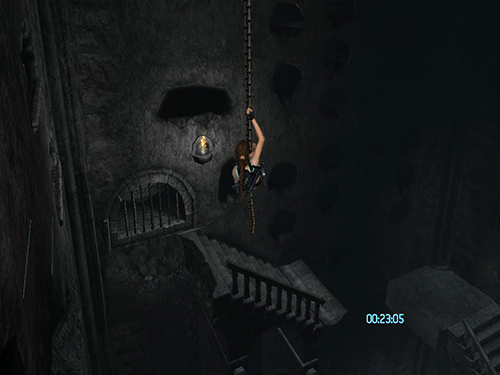
From this rope/chain there is no need to grab the wall, just swing and jump to land on the broken stairs.
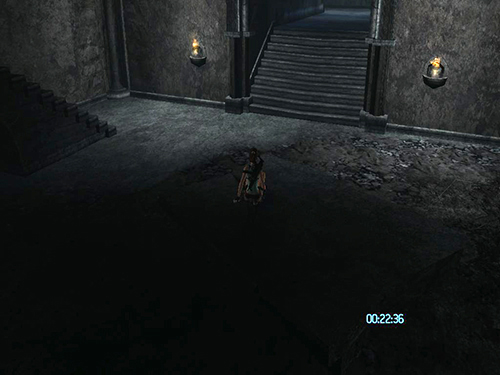
Once you reach the ground, continue on by rolling across the floor and up the small stairs.
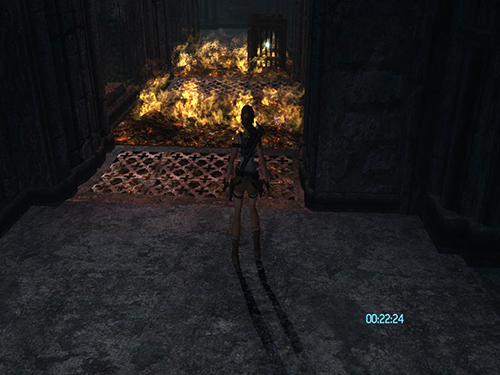
Skip the crates on the first two flame traps. Just move fast and step only on the grates, not on the coals. You'll still want to drag the first crate along with the grapple to cross the second flame trap and then use to jump over the gate. Once you open the gate, pull the first crate through into the room with the blades and then use that same crate to pass through both sets of blades.
Push that same crate onto the last flame trap, where you'd normally use two crates.
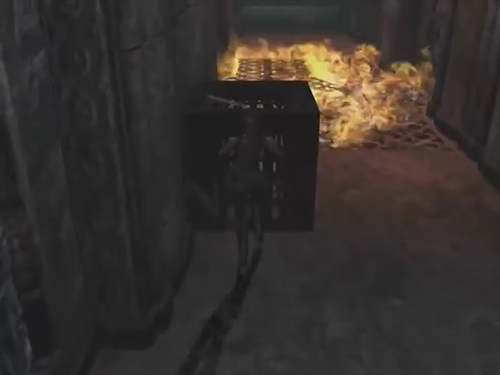
Then take a running swan dive from the top of the crate to clear the flames. Lara will lose health, but this is much faster.
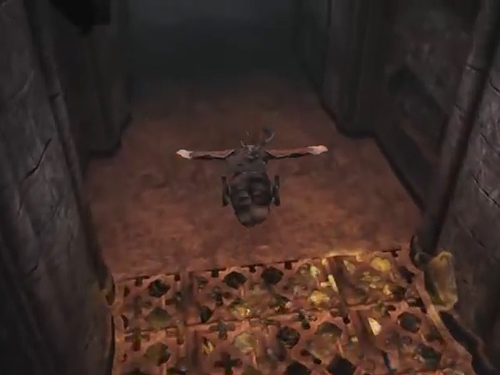
Pull the lever and roll through the hallway to the flooded room.
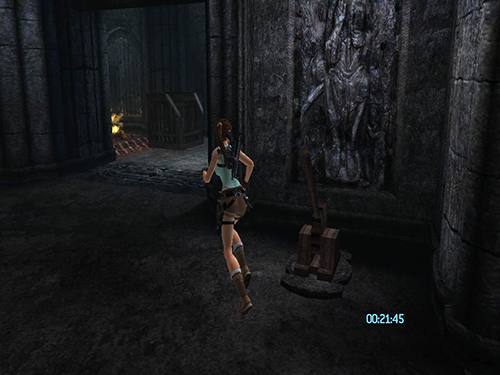
Make sure to swim faster while Lara is in the water by tapping Interact.
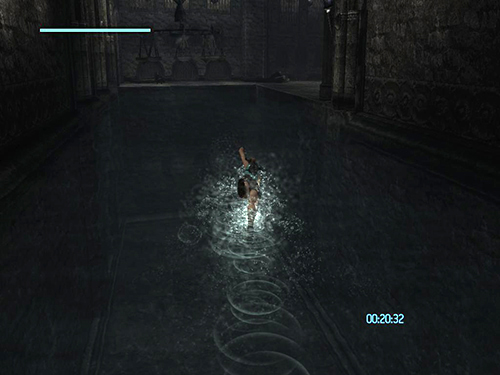
After releasing the coffin and grappling it onto the pressure pad, as usual, Swan Dive from the top of the stairs to descend faster. Then roll along the hallway to the next area.
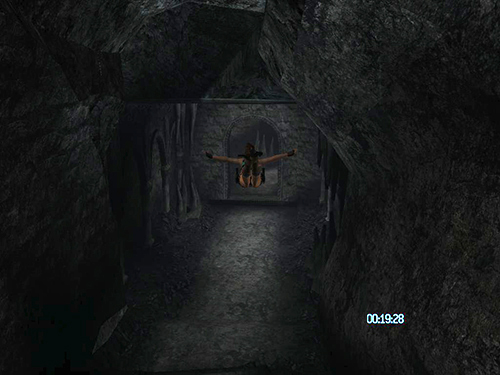
In the flooded maze, don't bother with anything that isn't essential. Your primary goal is to activate the two levers underwater starting with the first one at the beginning.
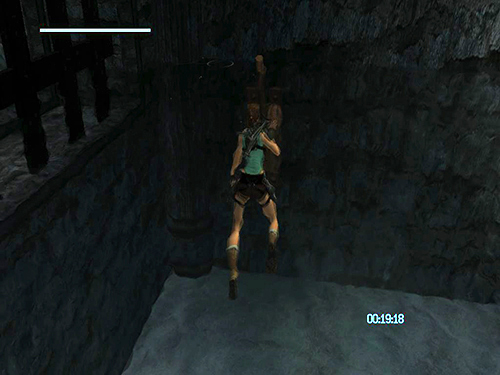
Again, tap Interact to swim faster.
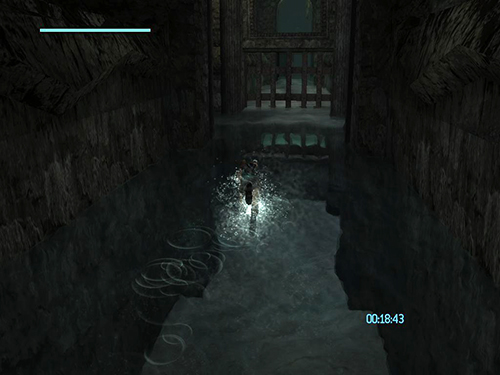
Instead of just floating along with the current, use the grapple while Lara is standing on the coffin to move it along faster.
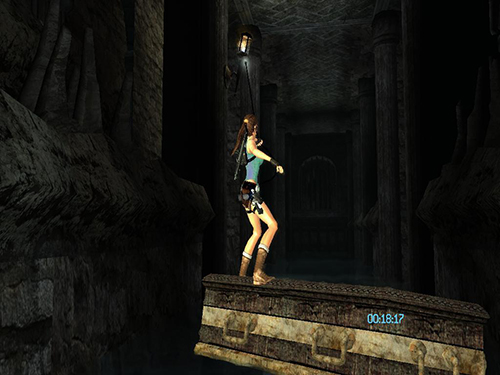
NOTE: When you reach the serpent's pool, tap Interact as you swim to cross the pool more quickly. As far as we know, there's no shortcut into the tomb, but you can save a few seconds by jumping directly from the ledge below the light handholds to grab the ledge with the chain.
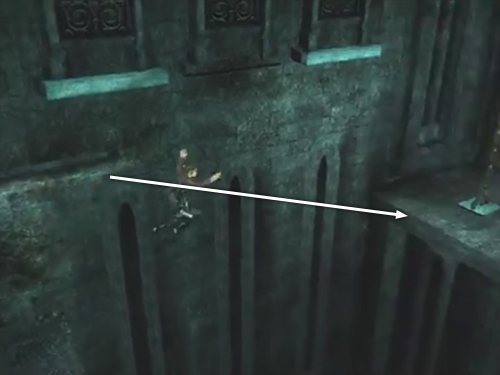
Then tap Interact to climb the chain faster. Then, when you reach the roof, roll across and drop down through the hole.
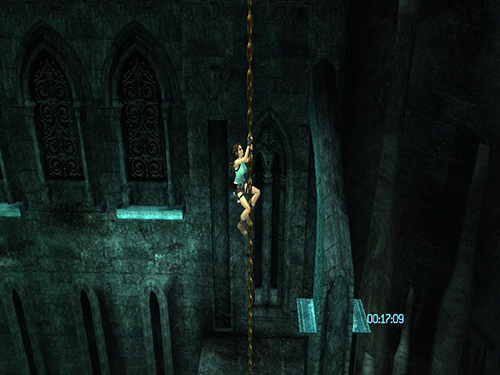
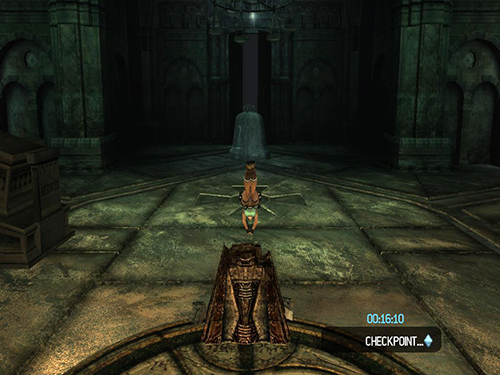
Do the bell and chandelier business as usual. Then, after the last cutscene before fighting the serpent roll or "Swan Dive Jump" out of the tomb to the point near the right bell where the battle will start.
Time trial walkthroughs copyright © 2012 Eldin Mostic. Stella's Tomb Raider Site copyright © Stellalune ( ). I (Stella) have added a few additional tips as notes in italics. Feel free to copy or print this walkthrough for personal use. By all means, share it with friends, but please include this credit line so people can send me their feedback. No part of this walkthrough may be reproduced on another site without permission. Follow this link for details about this site's advertising and privacy policy.