Archaeological Dig - Basic Puzzle Door Solution
IMPORTANT: If you want the "Jackpot!" achievement/trophy, follow the slightly more complicated solution here.
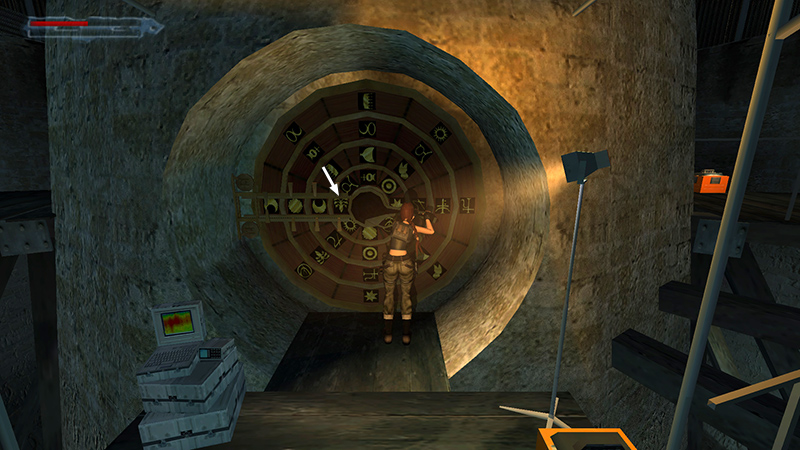
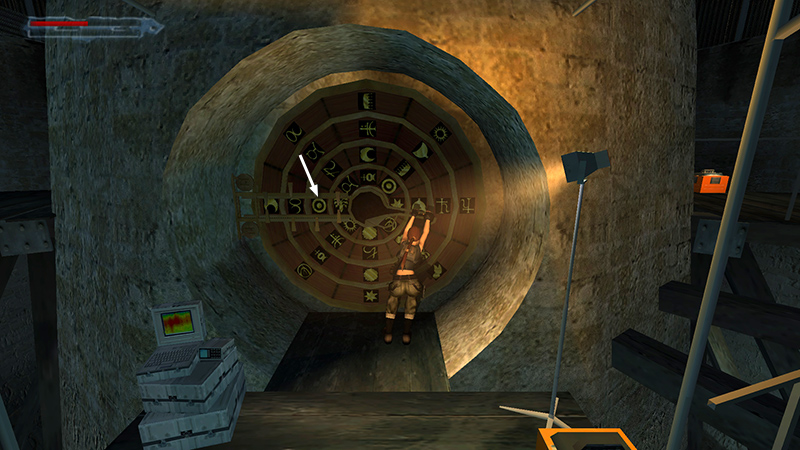
As you approach the SYMBOL WHEEL, you unlock a new notebook entry (34/62): "Refer to field notes for diagram of the lock mechanism."
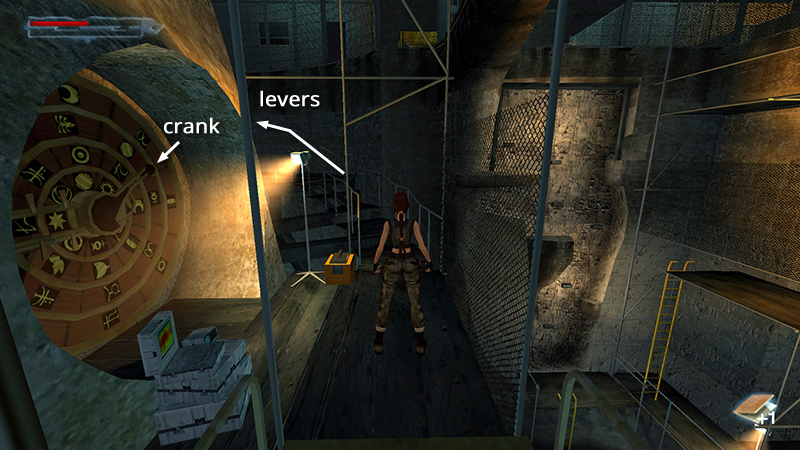
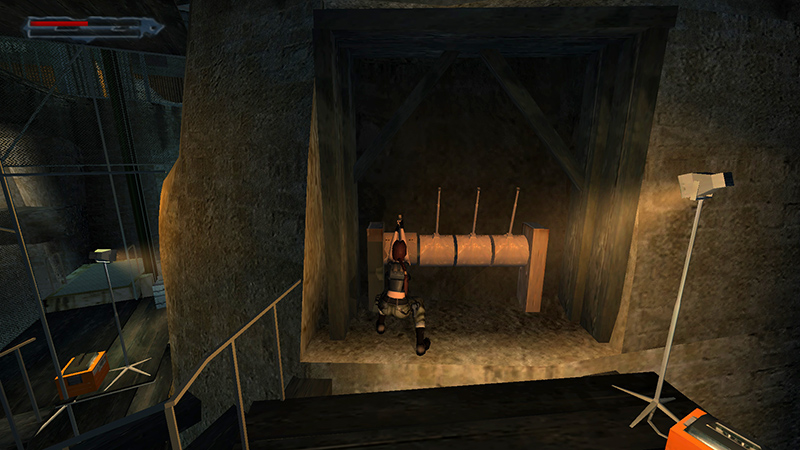
To solve the puzzle, you need to manipulate the puzzle wheel and the 4 levers around the corner to the right. The crank at the center of the wheel rotates the symbols. Each of the levers allows you to lock one of the symbols in place. The goal is to get the correct sequence of symbols lined up between the metal brackets on the left side of the wheel.
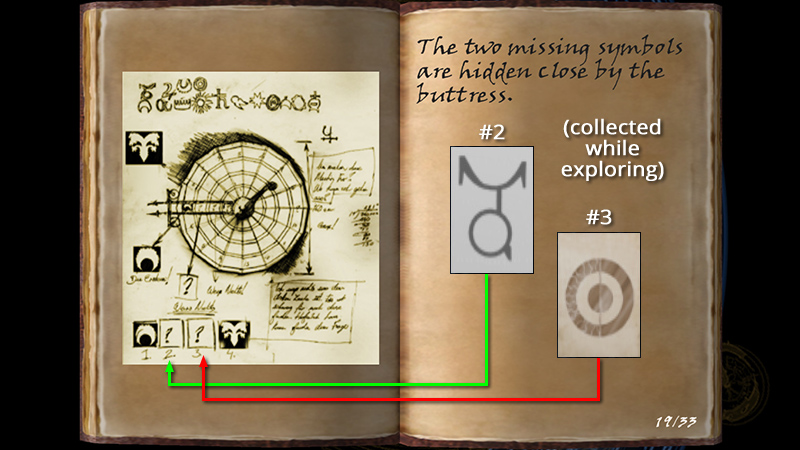
You (hopefully) located two of the symbols earlier. The printouts should be in the Items section of your Inventory. The other two are among Von Croy's notes, on page 19 of the Notebook in your Inventory. You should now have all four symbols. (According to Werner, the FIRST ANCIENT SYMBOL you discovered will be third in the puzzle sequence. The SECOND ANCIENT SYMBOL will be third in the sequence.)
If you make a mistake, just use the levers to unlock any/all of the rings and try again. If you manage to solve the puzzle but don't unlock the achievement/trophy, you'll need to reload an earlier save and try again.
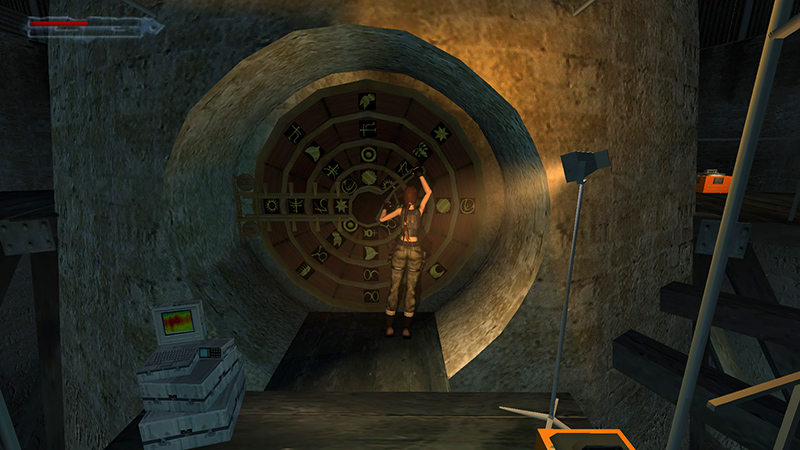
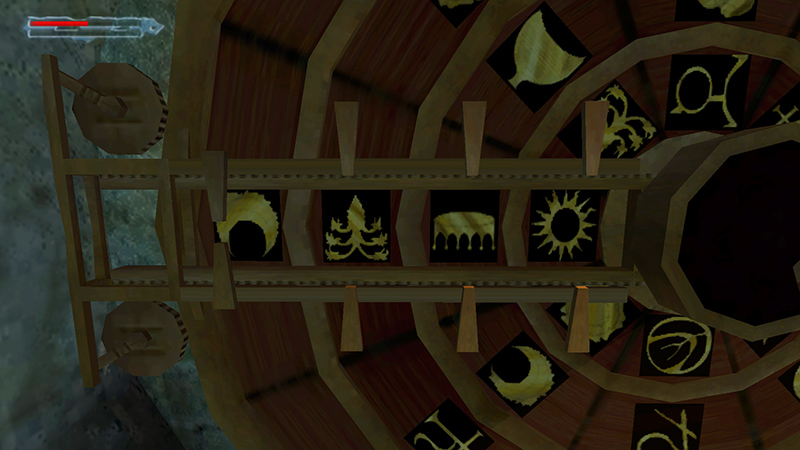
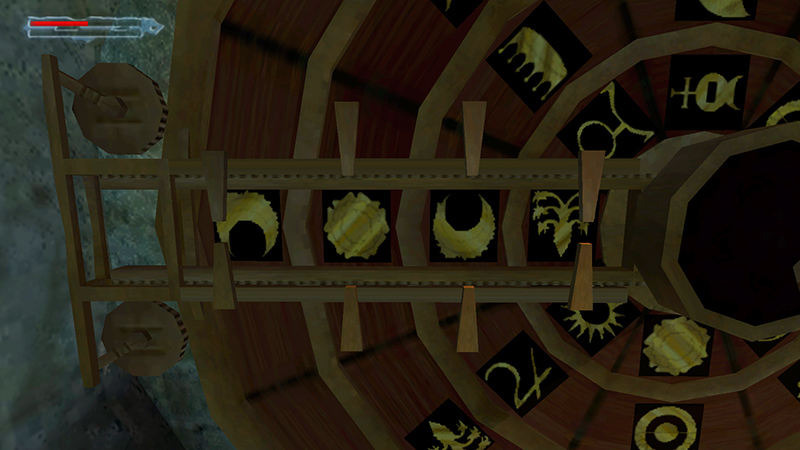
Here is the configuration before moving any of the symbols. The correct symbol for the first position is the Moon/Silver, so use the crank three times...
...to move the outer ring until the Moon is selected (i.e., positioned between the metal brackets on the left). The other rings also move, but this doesn't matter. We're concentrating on the outer ring for now.
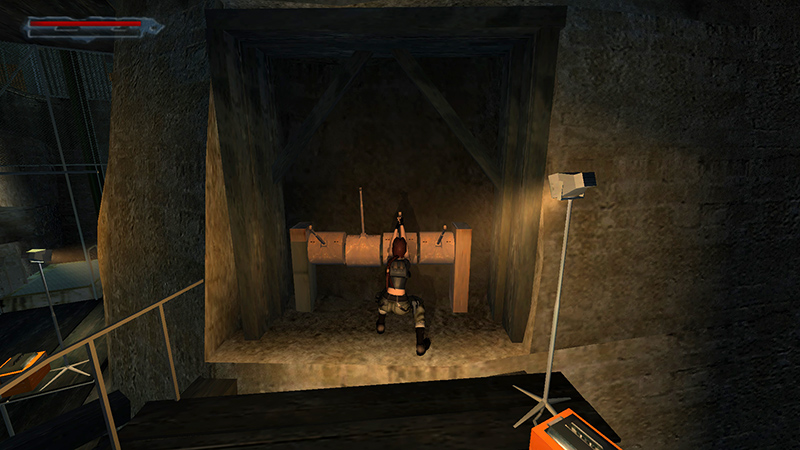
Follow the walkway around to the 4 levers, and use the leftmost lever...
...to lock the first ring in place.
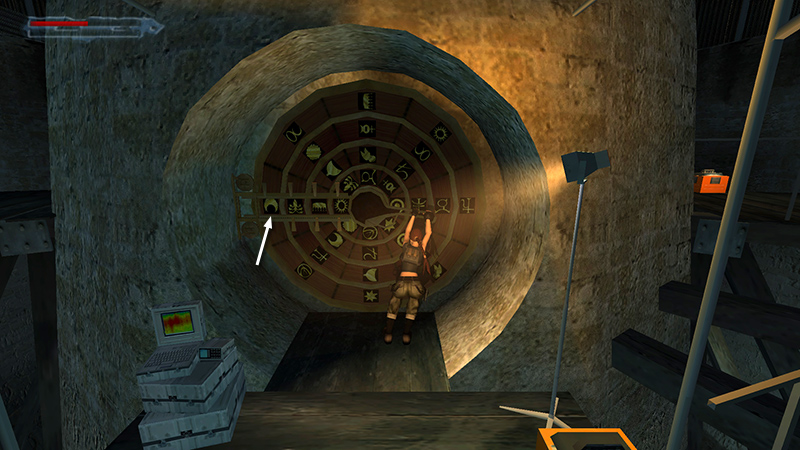
Return to the puzzle and use the crank once so the fourth symbol in Von Croy's notes (the plant looking thing with the 6 fronds) is selected in the inner ring.
Go around to the levers and pull the rightmost lever...
...to lock the inner ring in place.
Use the crank twice to rotate the third ring so the Sun/Gold symbol from your notes is selected.
Use the second lever from the right...

...to lock the third ring in place.

Now when you use the crank one last time, the second symbol from your notes moves into position on the second ring.
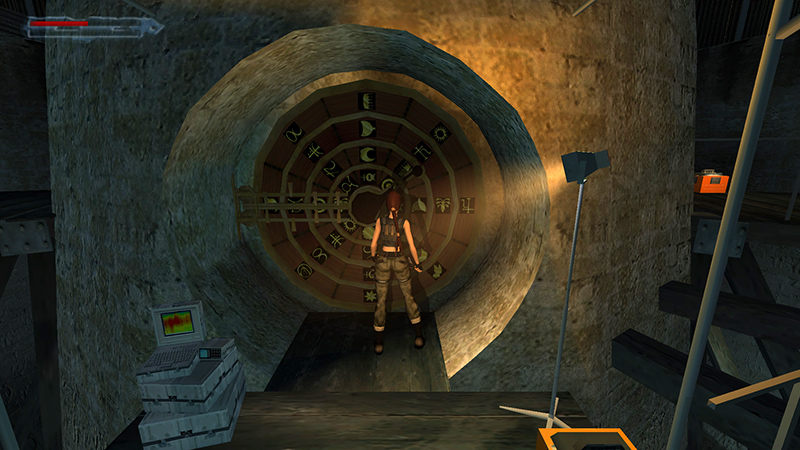
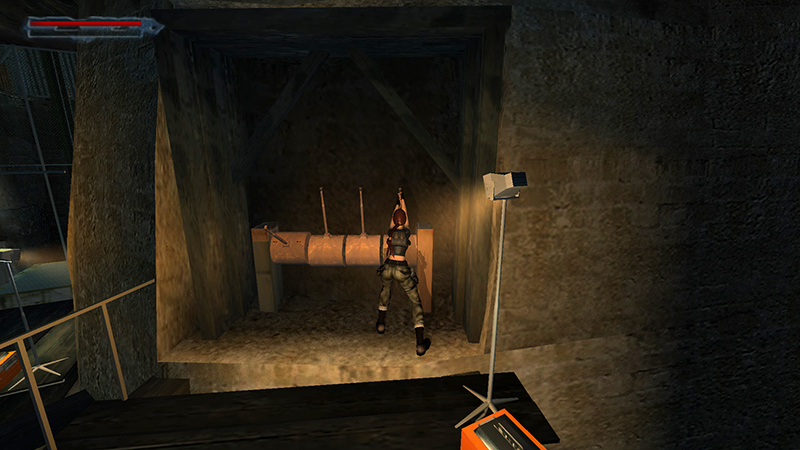
The mechanism activates...
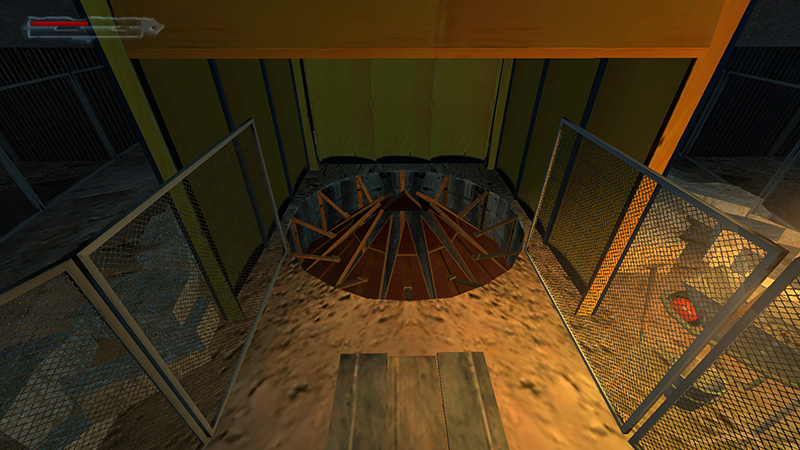
...and the ancient trapdoor opens.
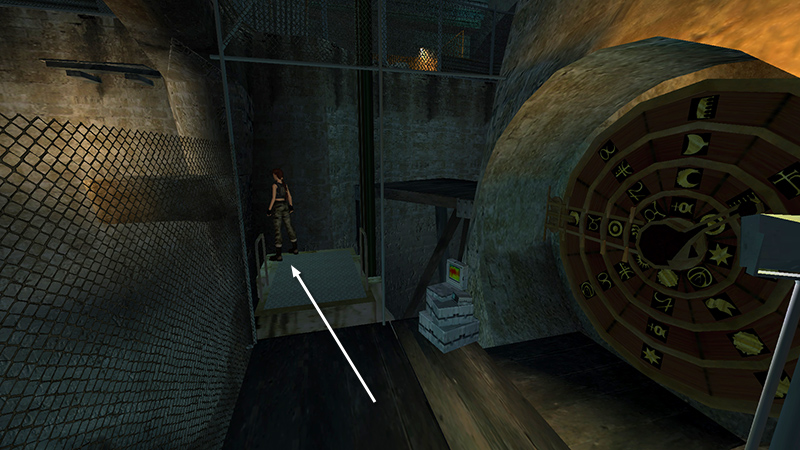
Return to the lift platform.
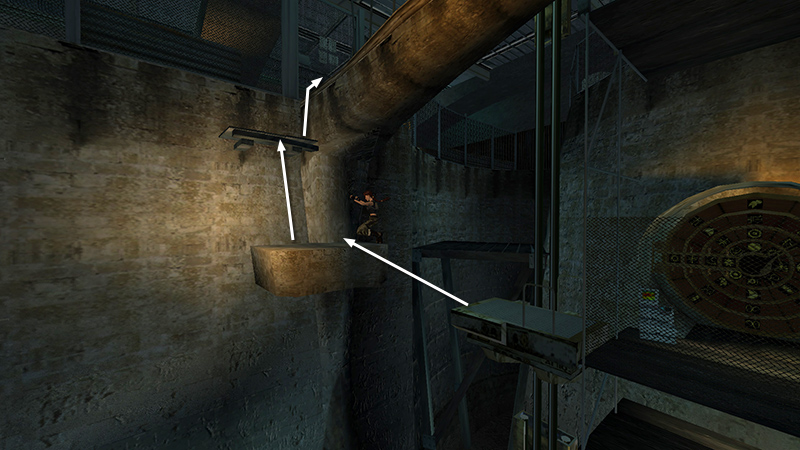
Jump back to the stone ledge below the walkway. Climb onto the wooden platform, then the walkway.
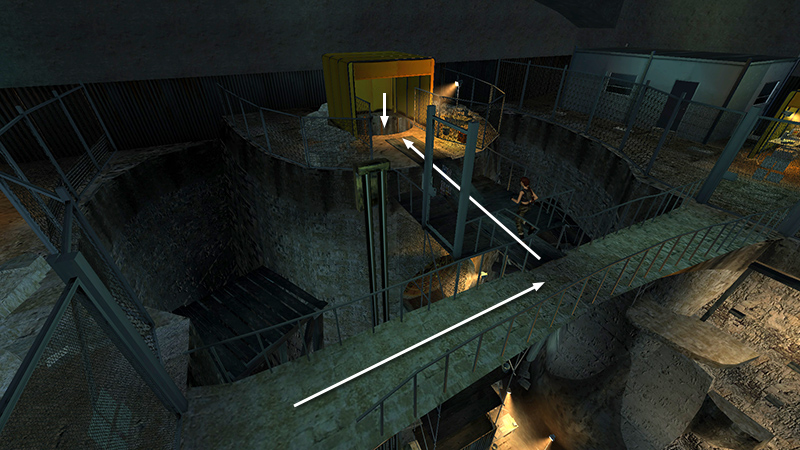
Head past the lift control to the open trapdoor and drop into to the next level.
DARK MODE: I plan to add optional dark mode for these pages, but my current priority is updating the walkthroughs. Meanwhile, may I suggest a reputable dark mode browser extension, such as Dark Reader? (Download only from trusted sites, like darkreader.org or your browser's official add-on/extension site.)
Walkthrough text and diagrams copyright © Stellalune (email ). Feel free to copy or print this walkthrough for personal use. By all means, share it with friends, but please include this credit line so people can send me their feedback. No part of this walkthrough may be reproduced on another site without permission.