Archaeological Dig - Starting Area
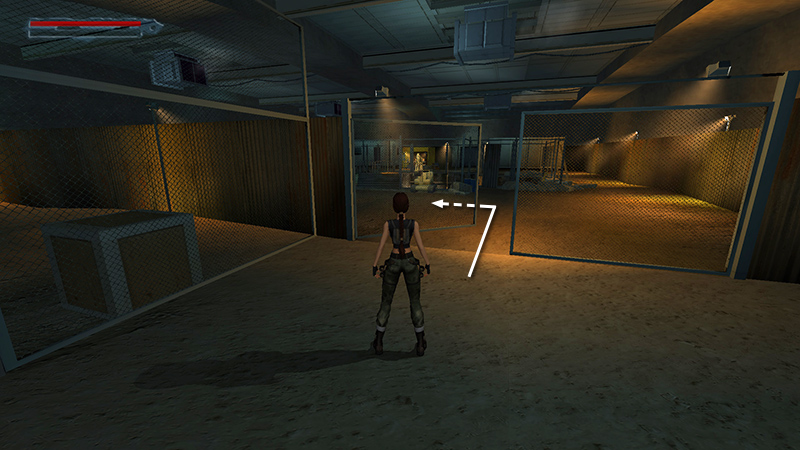
Go through the gap in the fence, turn left...
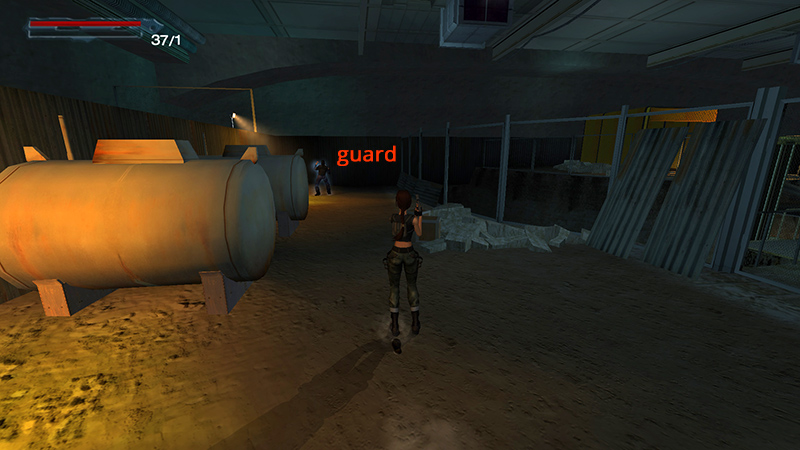
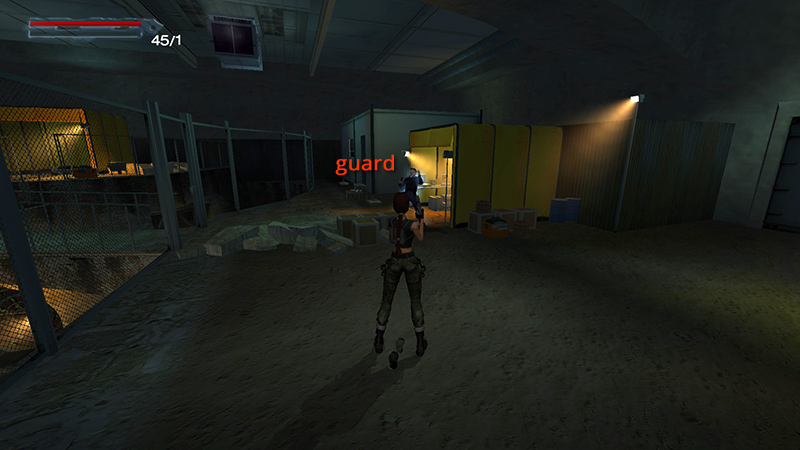
...and take out the armed guard (1) on patrol here. You don't have to use stealth anymore, but you can. You probably also have plenty of power cells for the K2, so go ahead and use them.
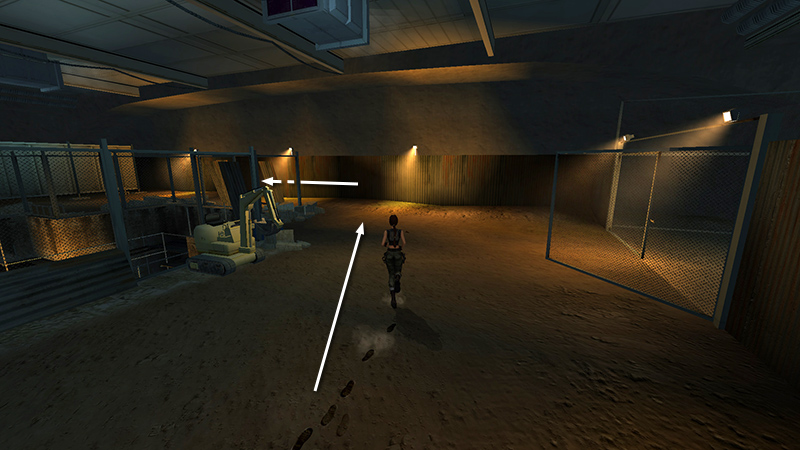
Turn around and head back the way you came. When you reach the wall, turn left and head toward the temporary buildings.
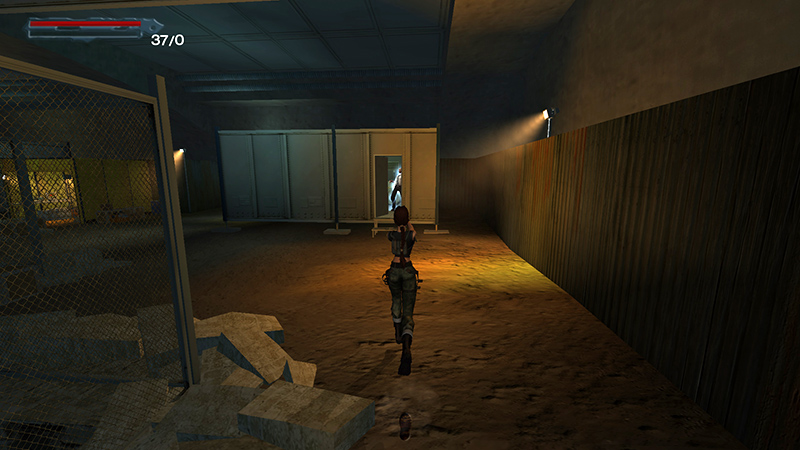
A guard with a taser (2) emerges as you approach. When you kill or tase him...
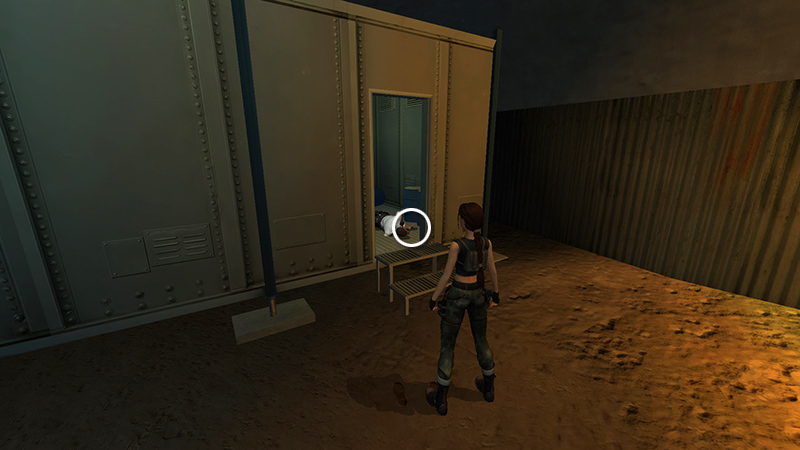
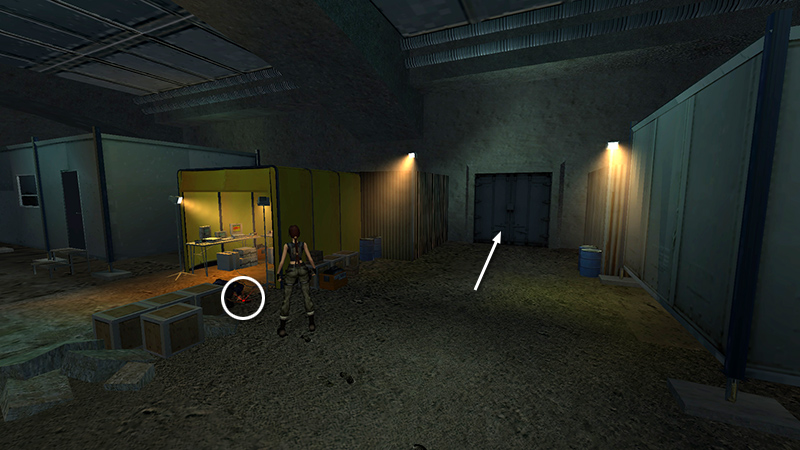
...he drops an Impactor battery (1).
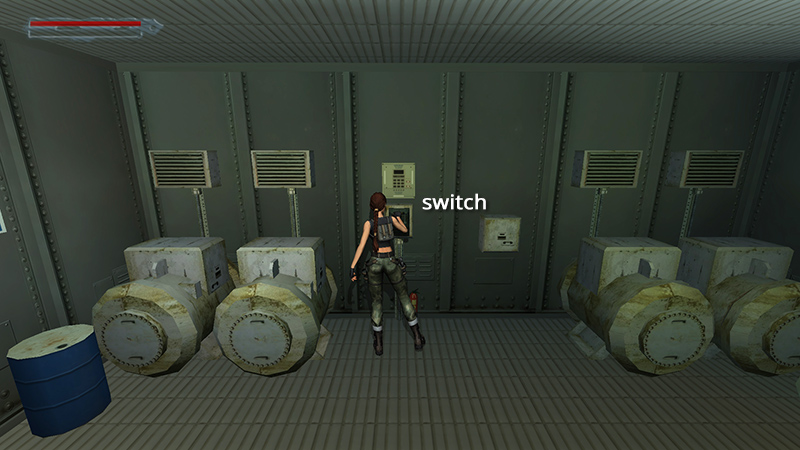
Use the switch inside the building he came from to turn on the power.
This activates the ventilation system, turns on a machine elsewhere, and powers up a hydraulic lift in the excavation area.
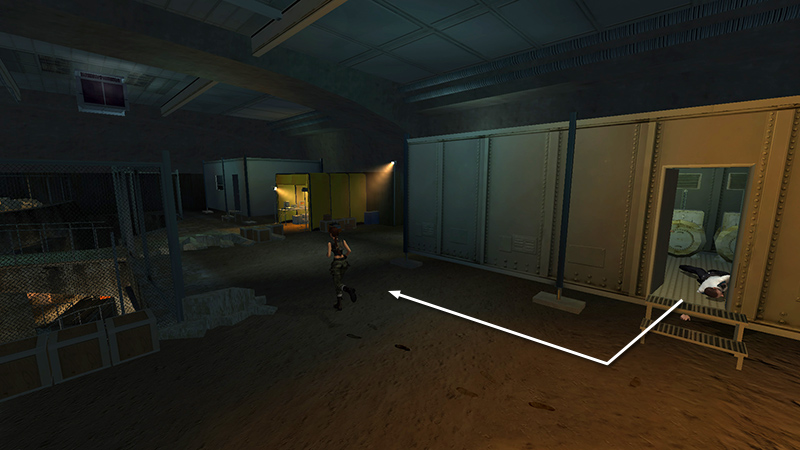
Exit and go right.
There's another guard with a gun (3) under the yellow tent. Deal with him.
Pick up the M-V9 clip (2) he drops and then go through the big metal doors between the first building and the yellow tent.
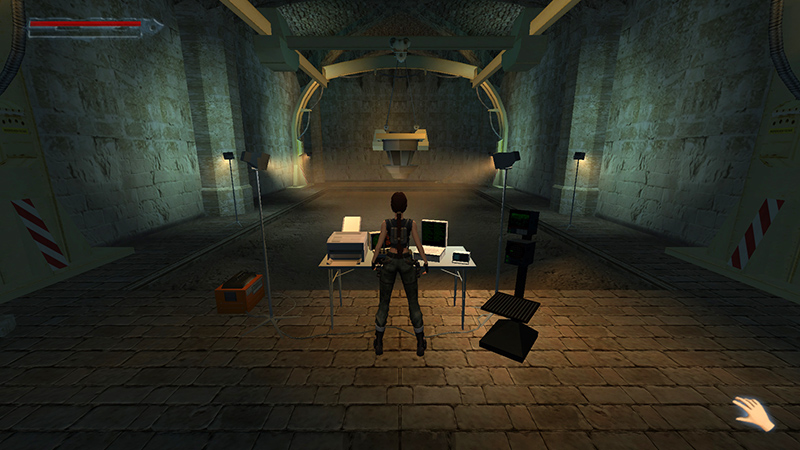
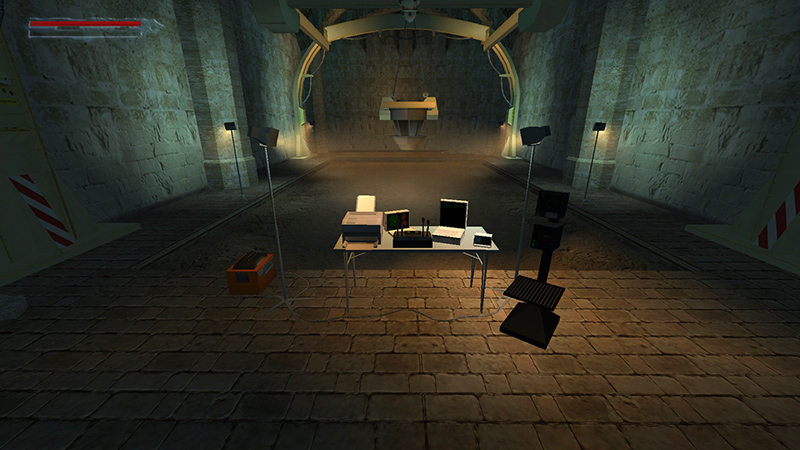
If you've turned on the power (above), you can use the GPR machine. Face the desk with the controls and press Action.
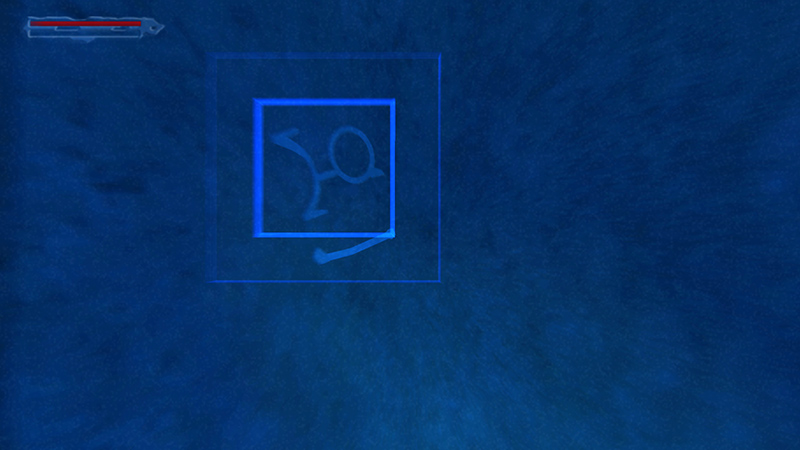
Use the direction keys or left stick to move the scanner. Lara can see bones and other objects beneath the surface. Scan near the top left to locate an ancient symbol. When you have seen it, press Esc on keyboard or Roll on controller to disengage from the machine.
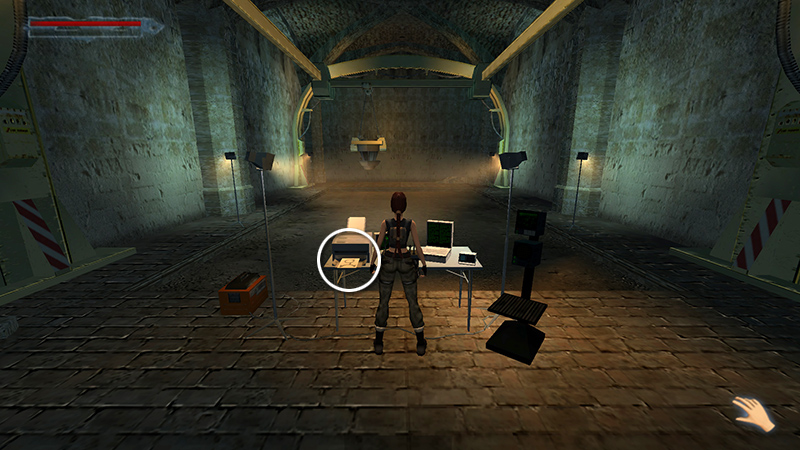
Be sure to pick up the FIRST ANCIENT SYMBOL COPY (3) from the printer on the left side of the desk. Then you'll have it in your inventory for reference.
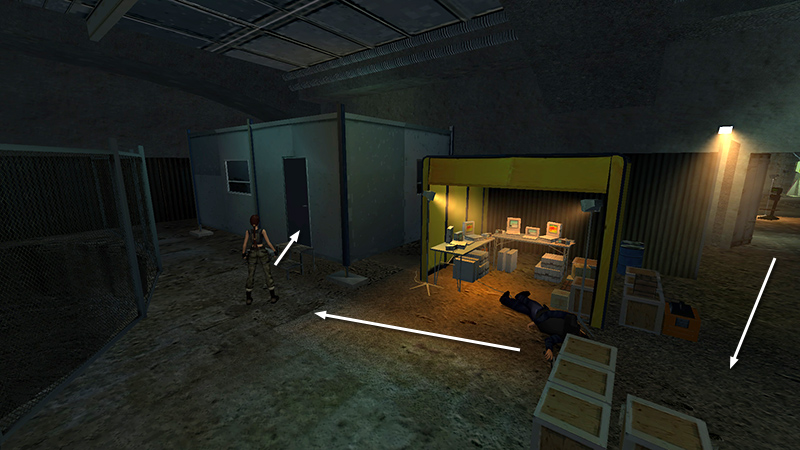
Exit the GPR room and head to the right. Beyond the yellow tent is a second temporary office.
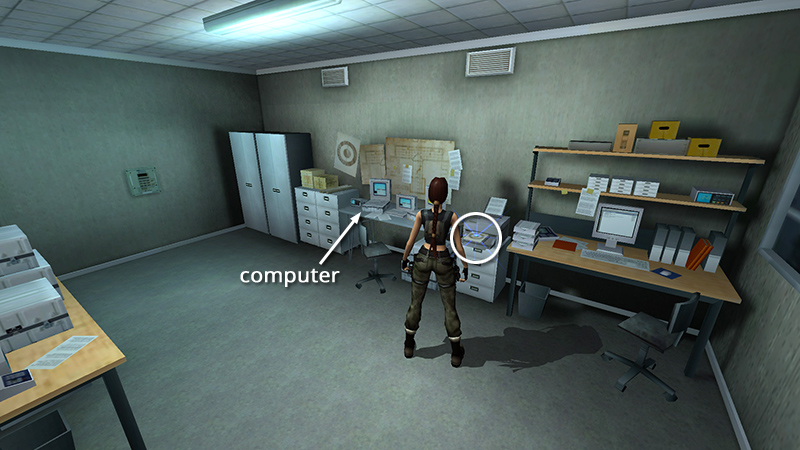
Go in and pick up a printout of the SECOND ANCENT SYMBOL TRACING (4), which resembles a bullseye. Examine the computer terminal on the desk to the left to find some information about the Nephilim race, a now-extinct hybrid of human and angel. Then go back outside.
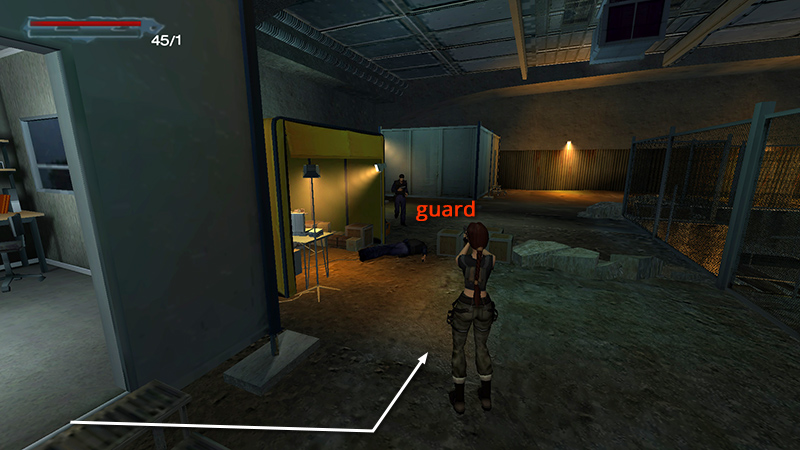
Another armed guard (4) approaches from the left left to ambush Lara. Kill him.
DARK MODE: I plan to add optional dark mode for these pages, but my current priority is updating the walkthroughs. Meanwhile, may I suggest a reputable dark mode browser extension, such as Dark Reader? (Download only from trusted sites, like darkreader.org or your browser's official add-on/extension site.)
Walkthrough text and diagrams copyright © Stellalune (email ). Feel free to copy or print this walkthrough for personal use. By all means, share it with friends, but please include this credit line so people can send me their feedback. No part of this walkthrough may be reproduced on another site without permission.