Trajan's Markets - Flooded Tunnels
After finding and using the VALVE WHEEL to turn off the underwater fan, as shown in the previous section, you return to the SEWERS. Swim down through the opening just above the now-inactive fan.
Continue down and forward.
At the bottom, the passage widens. Go through through the square opening ahead on the left.
Continue to a small room where you can get air and a large medipack (24) (57/239).
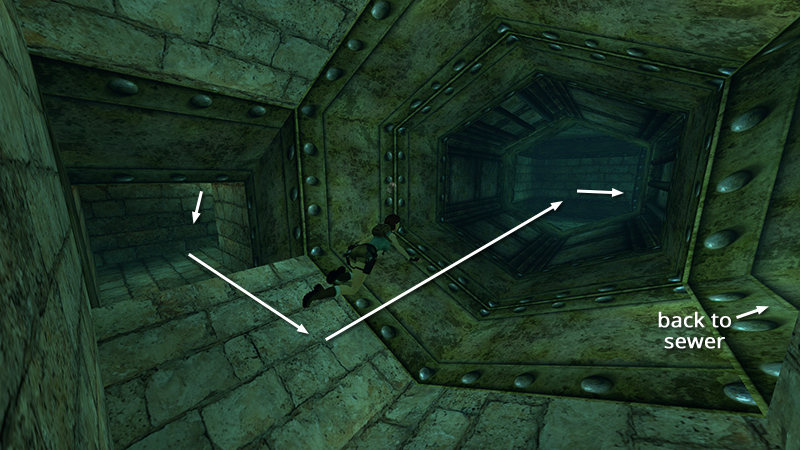
Jump back in the water and follow the narrow passageway back the way you came. When you reach the wider, hexagonal tunnel, turn left. Follow the wide tunnel forward, then right.
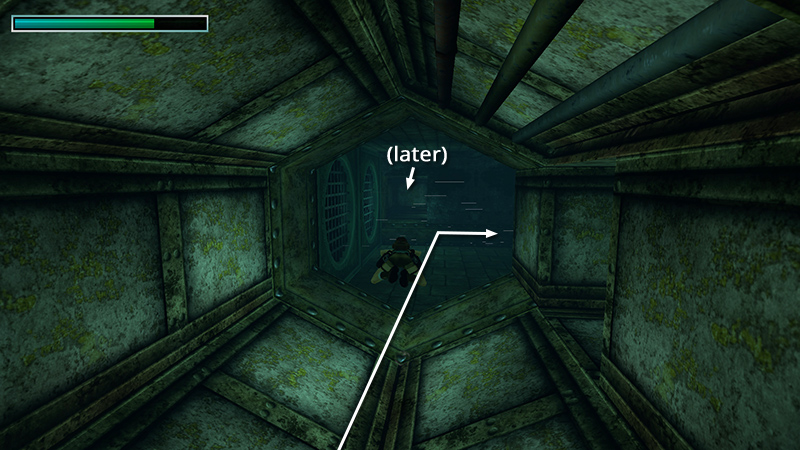
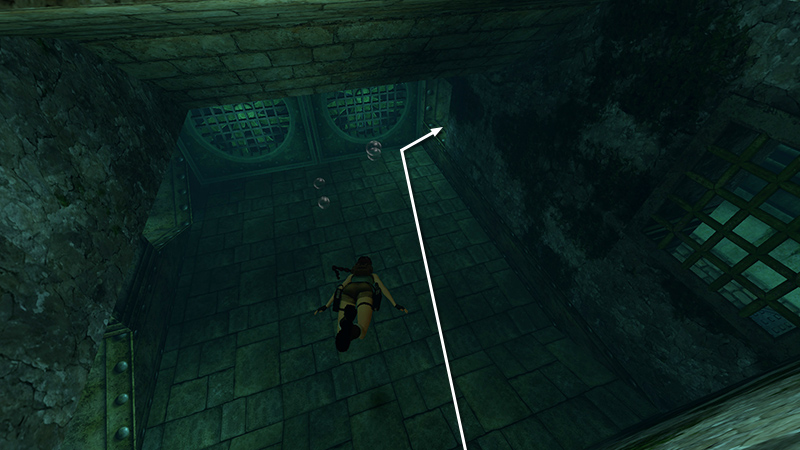
Ignore the next small opening on the right. Ahead, on the left wall, are two large fans. There's a small, square opening just beyond the fans, but the current prevents you from reaching it. Swim in front of the fans and let the current carry you to the right.
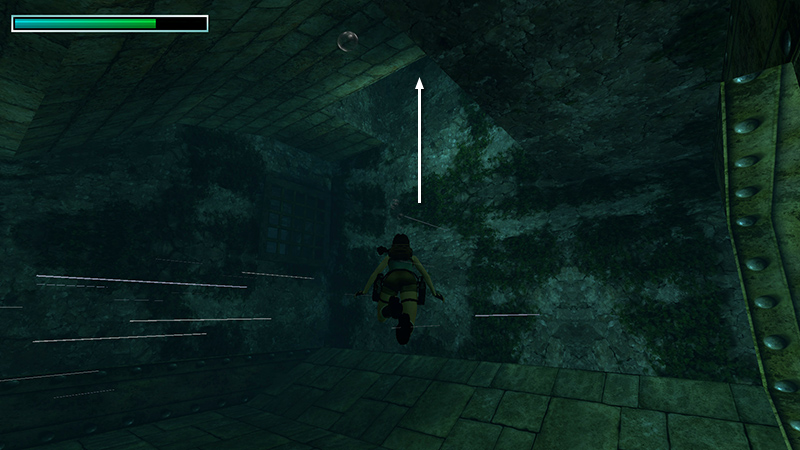
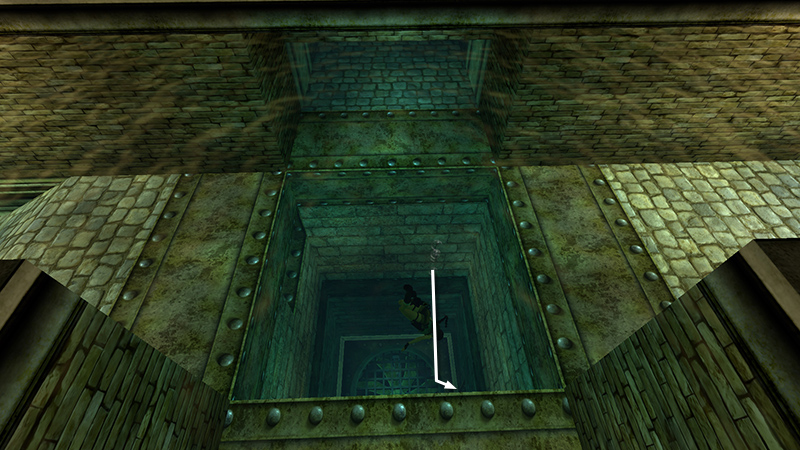
When you reach the wall opposite the fans, swim up through the opening in the ceiling.
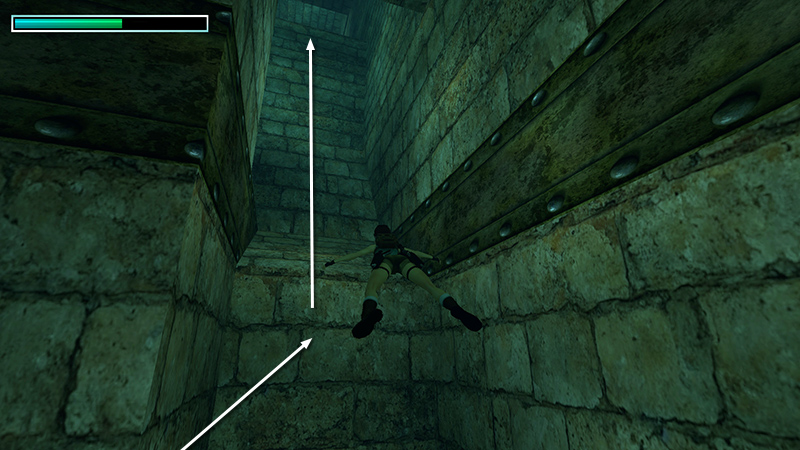
Continue upward until you can surface.

Climb out of the water in a small room with a SECOND RED MACHINE. Turn the wheel to deactivate the fans and open a gate elsewhere. (Again, there's no cutscene showing this.)
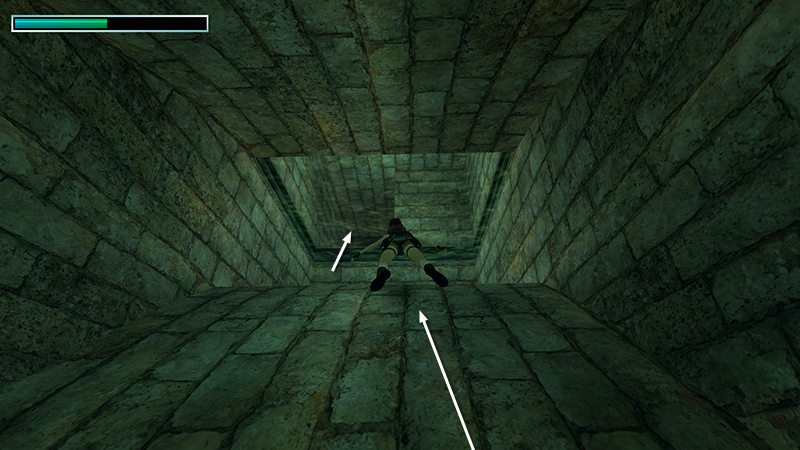
Swim back down toward the fans, then through the small, square opening to the right of them.
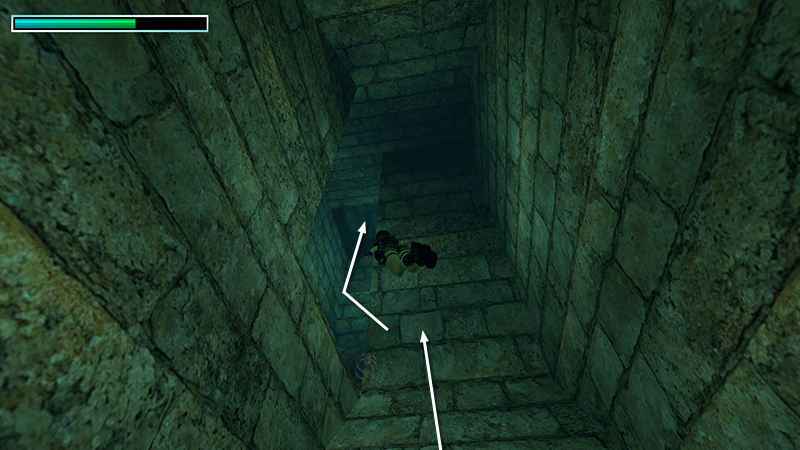
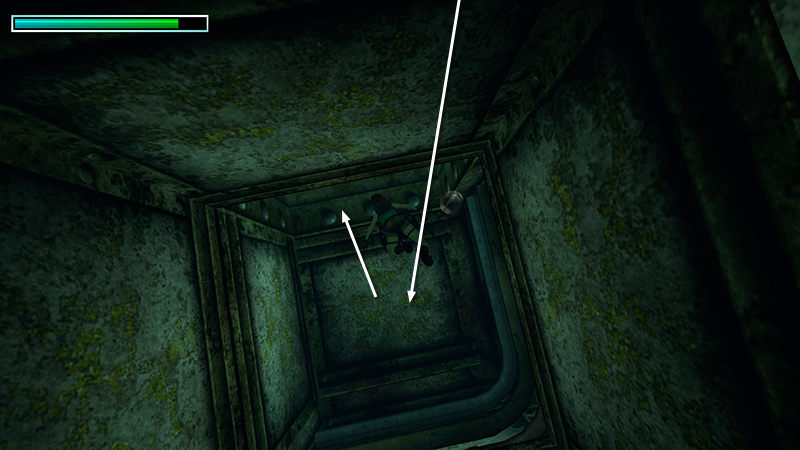
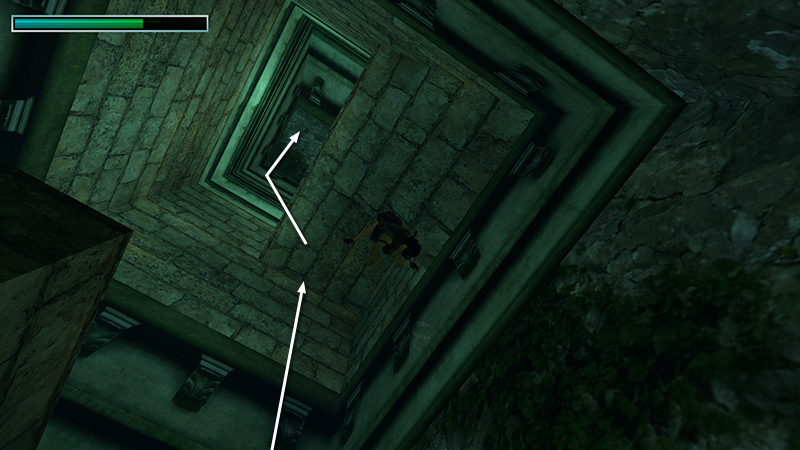
Follow this passage through a series of twists and turns, always upward...
...
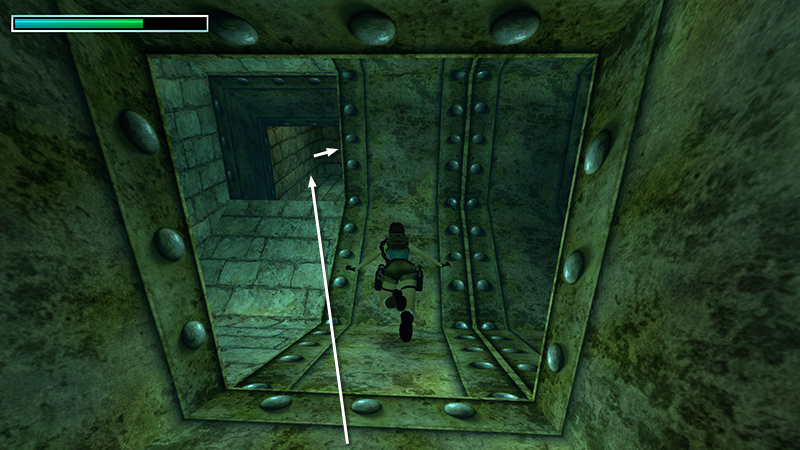
...to another pool where you can surface.
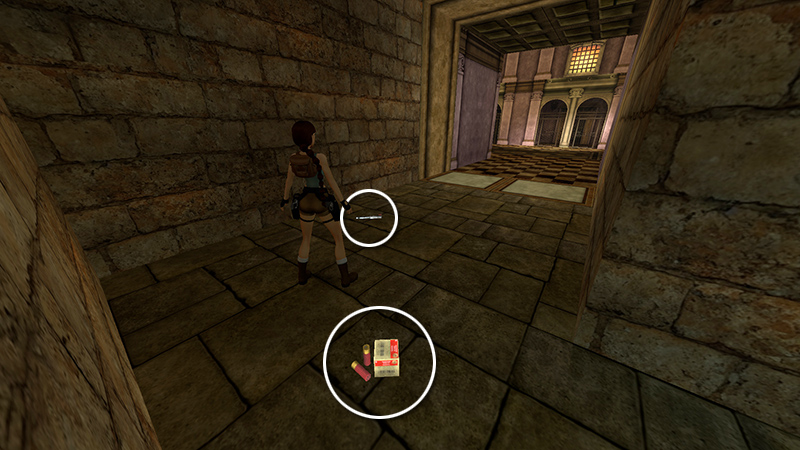
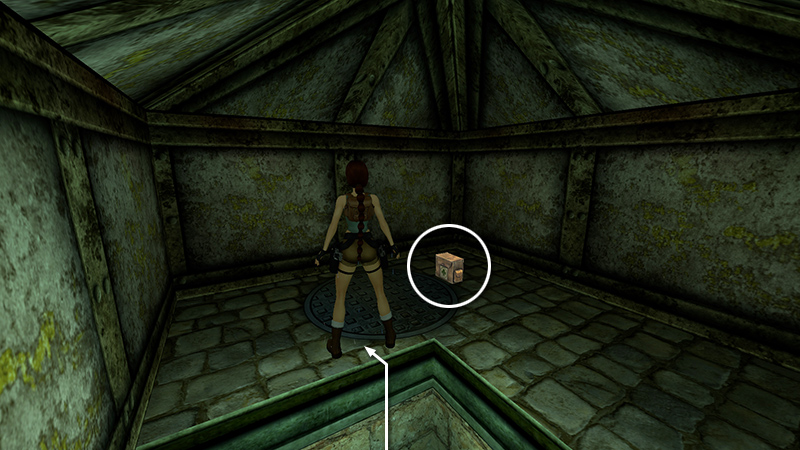
Climb out of the water and pick up the SHOTGUN and some normal shotgun shells (25-26) (58-59/239). (Insert meme about finding lots of goodies just before a big fight. Don't stress, though. You've got this.) When Lara approaches the gun, the gate closes behind her. Save the game, then start forward.
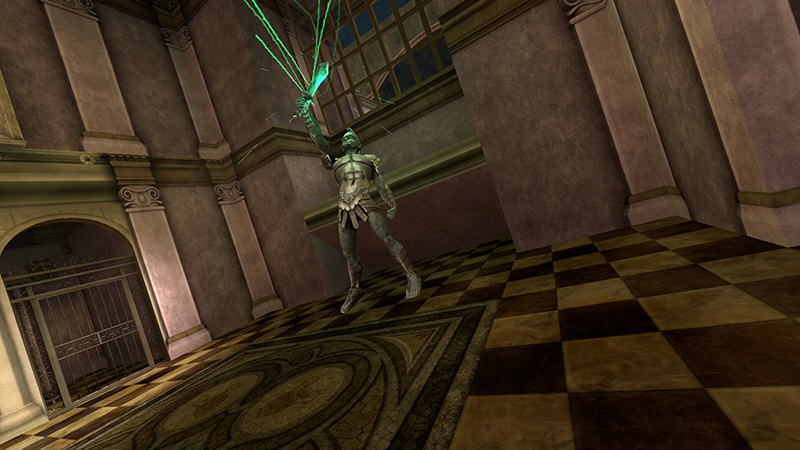
Cutscene: A statue of a Roman centurion comes to life.
DARK MODE: I plan to add optional dark mode for these pages, but my current priority is updating the walkthroughs. Meanwhile, may I suggest a reputable dark mode browser extension, such as Dark Reader? (Download only from trusted sites, like darkreader.org or your browser's web store.)
Walkthrough text and diagrams copyright © Stellalune (email ). Feel free to copy or print this walkthrough for personal use. By all means, share it with friends, but please include this credit line so people can send me their feedback. No part of this walkthrough may be reproduced on another site without permission.