Trajan's Markets - Rope and Gear Rooms
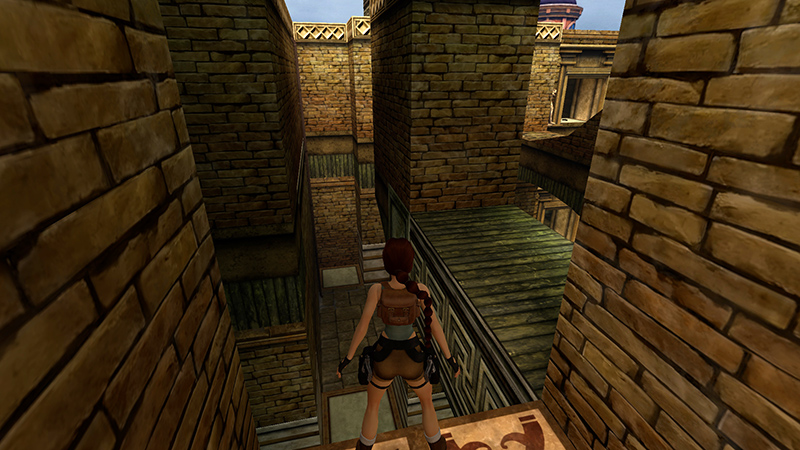
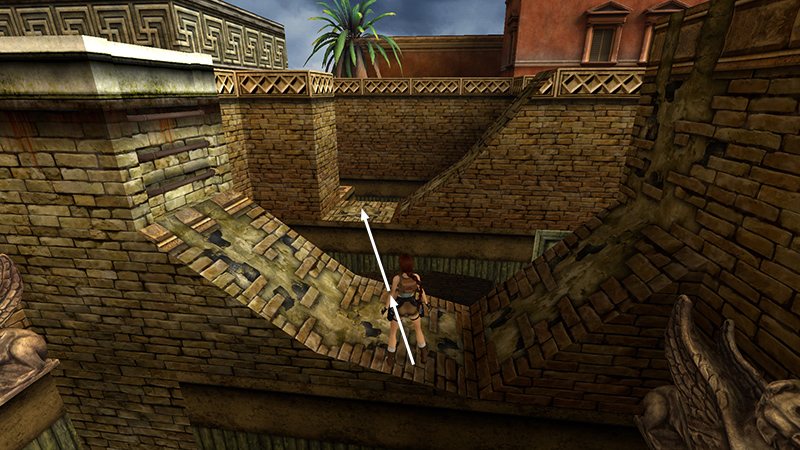
After climbing through the ruined buildings, as shown in the previous section, Lara ends up on this ledge overlooking an enclosed area with various ledges and doorways.
Drop down to the floor.
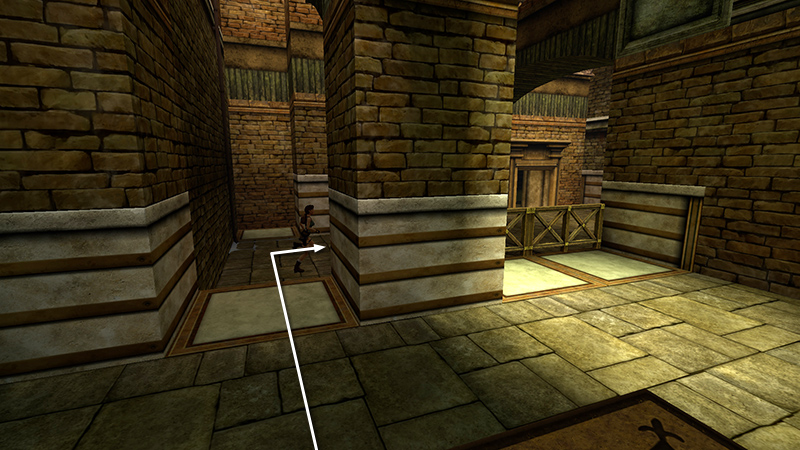
Move out into the open and head to the right.

Continue past a doorway with a ramp inside. (We'll return there shortly.)

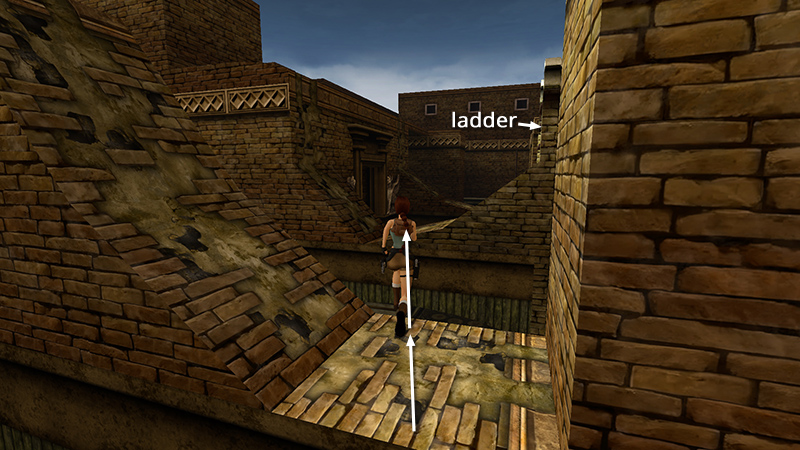
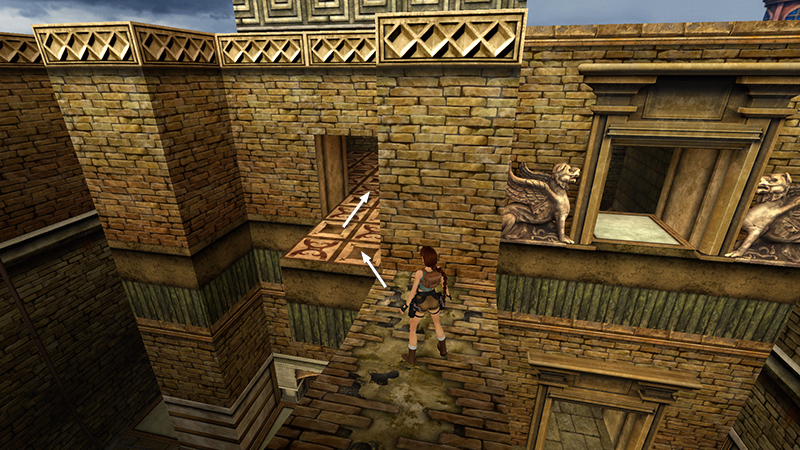
Climb the ladder on the back of the square pillar just beyond that doorway.
At the top, climb around the corner to the left...

...let go, and slide onto the flat part of the ledge.
Turn right (so the ladder is on Lara's left) and take a running jump to the next ledge.
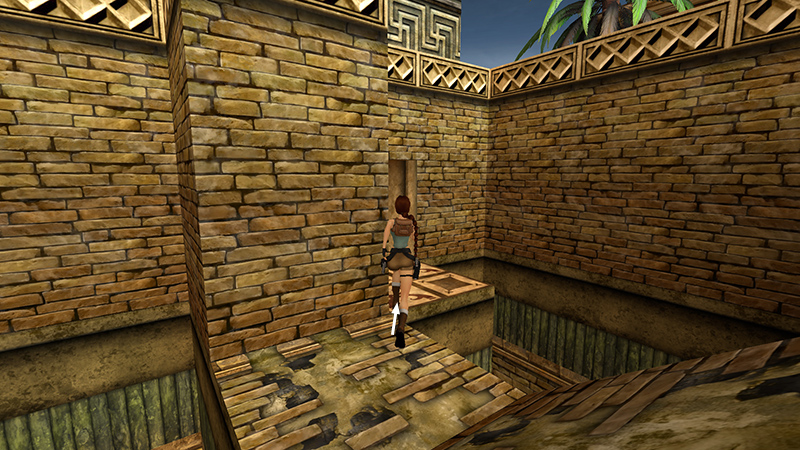
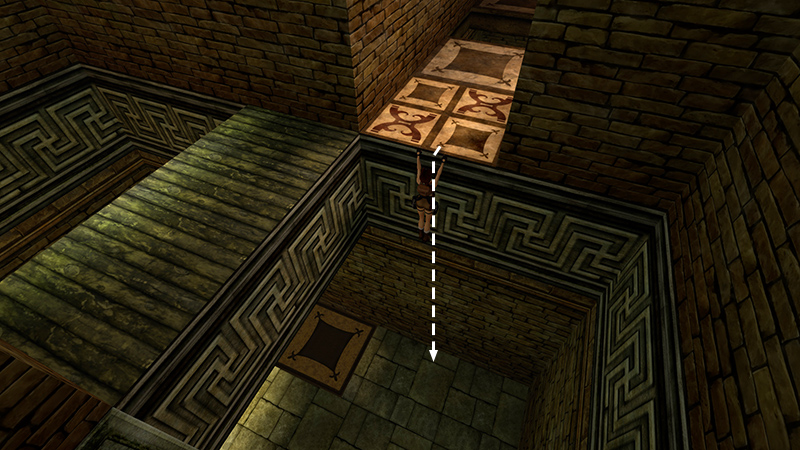
Jump past the square pillar on the left onto the ornately tiled ledge beyond it. (Or carefully run across at the corner, where the gap is smallest.)
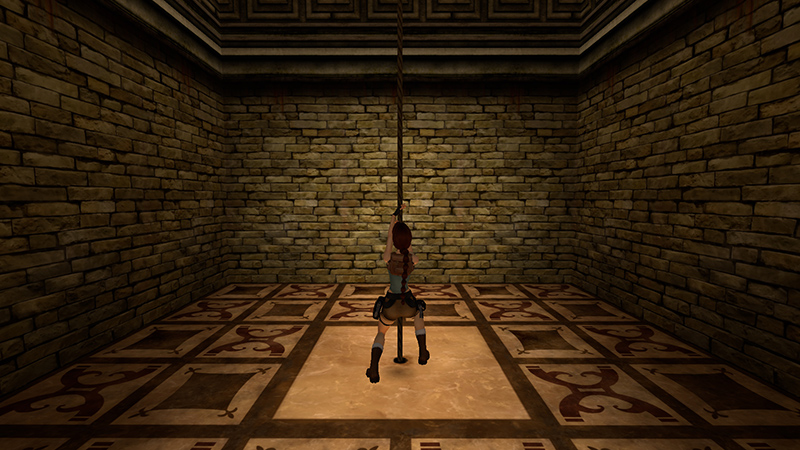
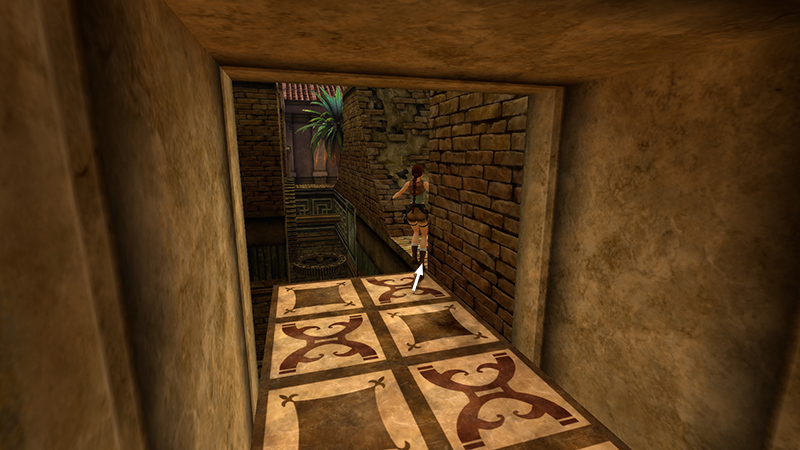
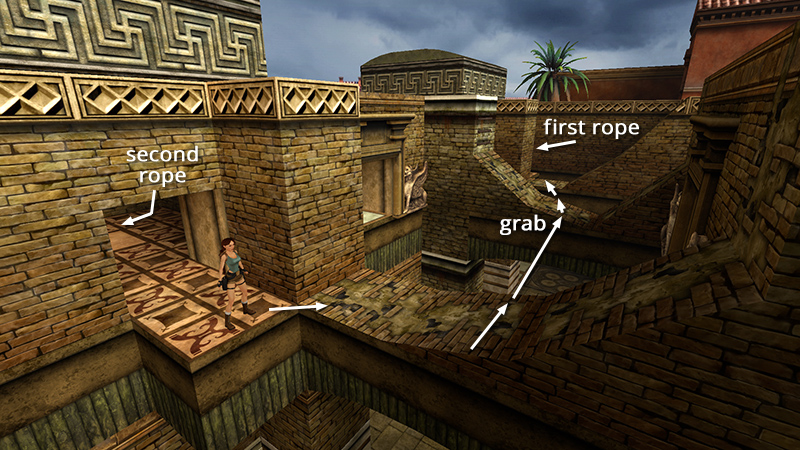
Enter the FIRST ROPE ROOM and pull the vertical rope once (stand facing it and press Action) to operate the gear mechanism.
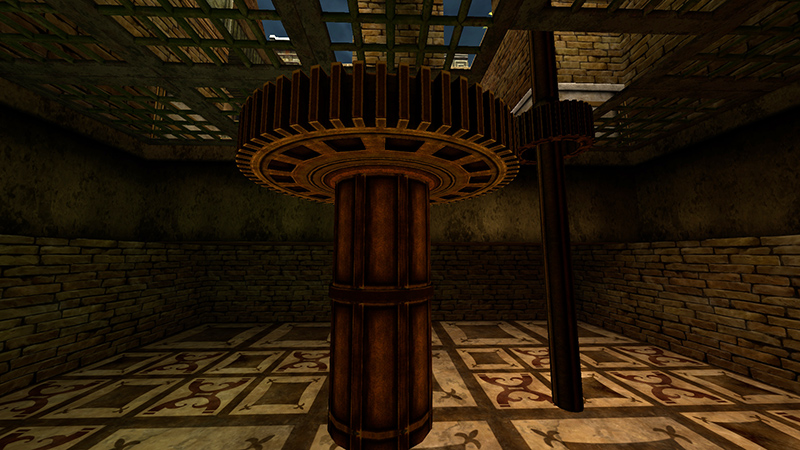
Cutscene: One of the huge gears rises to connect with another.
Exit the rope room and return to the ledge just ahead on the right. (Either run across the gap at the corner or jump onto the slope and slide onto the ledge.)
Then take a running jump back to the uneven middle ledge (near the ladder).
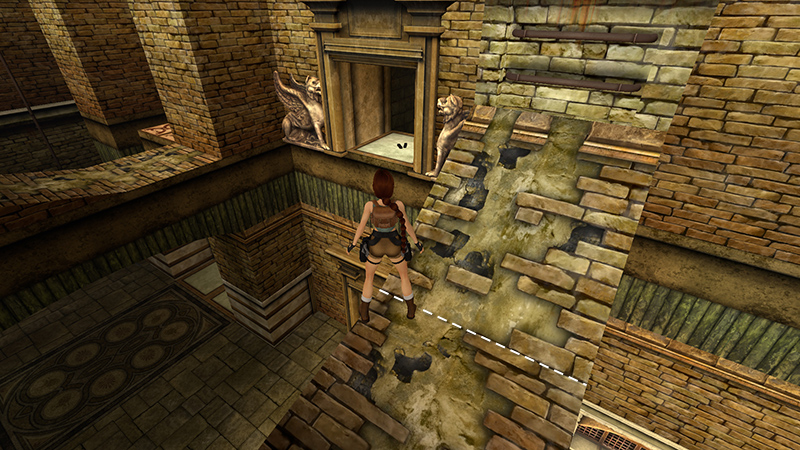
Next, you're headed for the windowsill with the Uzi ammo, ahead on the right, between the two carved gryphons. To nail this tricky jump, walk Lara to the corner nearest that windowsill and pivot so she's facing it squarely.
Hop back once. Then hold Walk and take an additional step back.

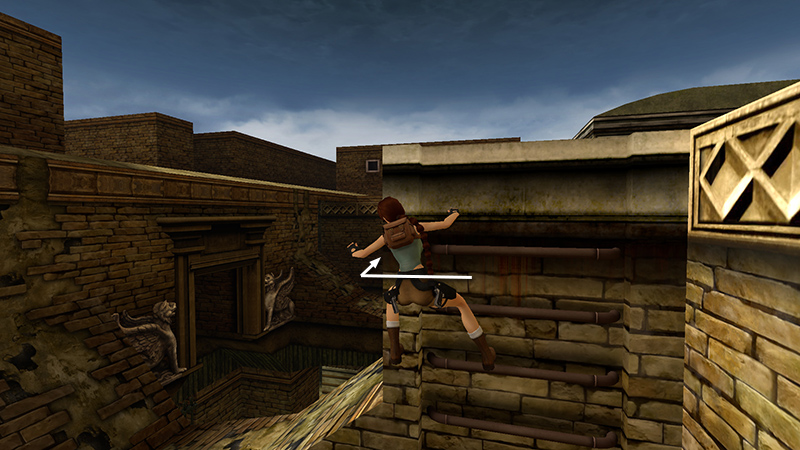
Now, when you take a running jump, Lara will clear the slope below the ladder...
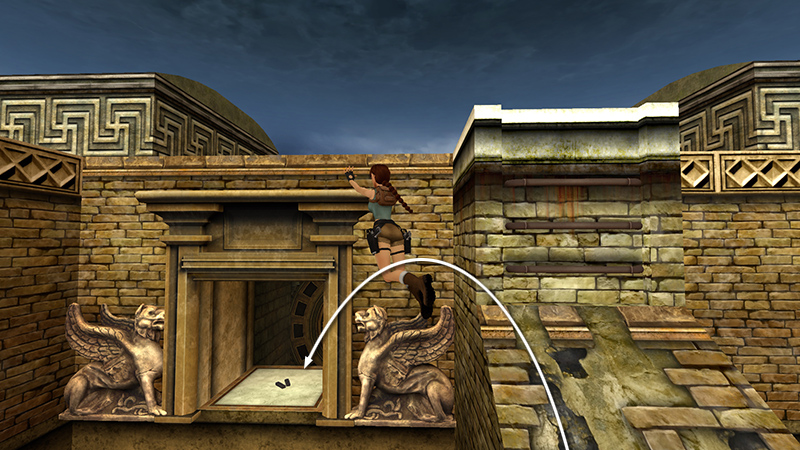
...sail through the air...
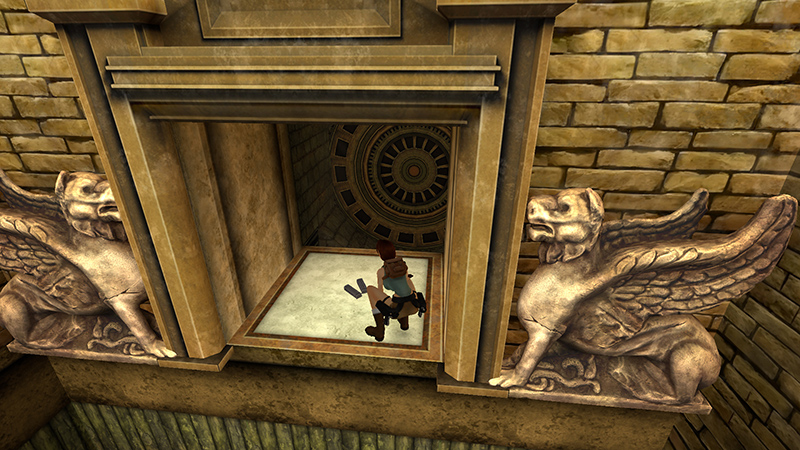
...and land in the opening. (You don't have to hold Action during this jump, but it doesn't hurt.) Pick up the Uzi ammo (8) (41/239), but don't drop down.
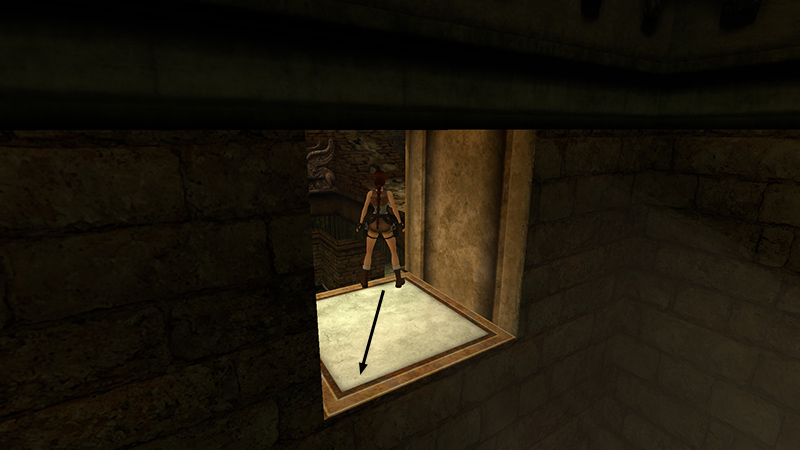
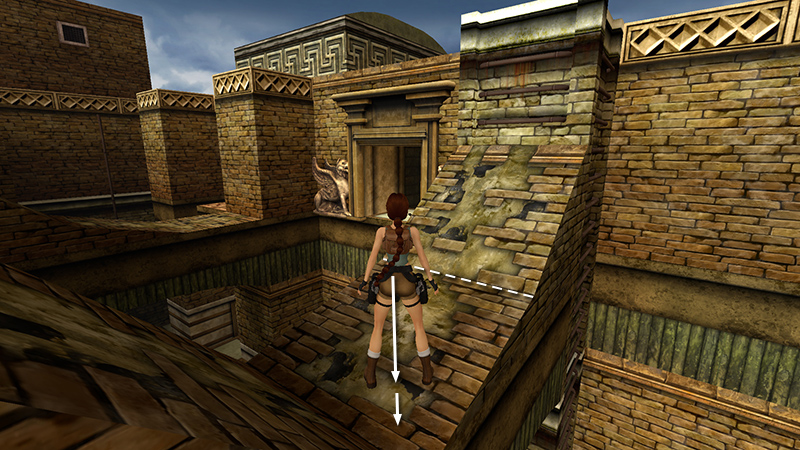
Turn around to face out over the open area. Walk to the right corner of the window and angle Lara toward the ledge ahead on the right. Hop back.
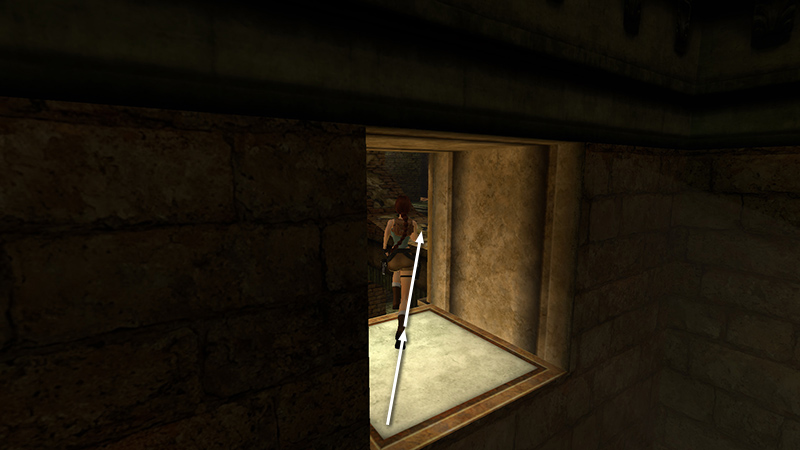
Then take a running jump to land there.
Turn right. Then jump around the square pillar (or run across at the corner) onto the ornately tiled ledge. Enter the SECOND ROPE ROOM.

Pull the rope once. If you've already used the rope in the FIRST ROPE ROOM (above), the machine begins to move.
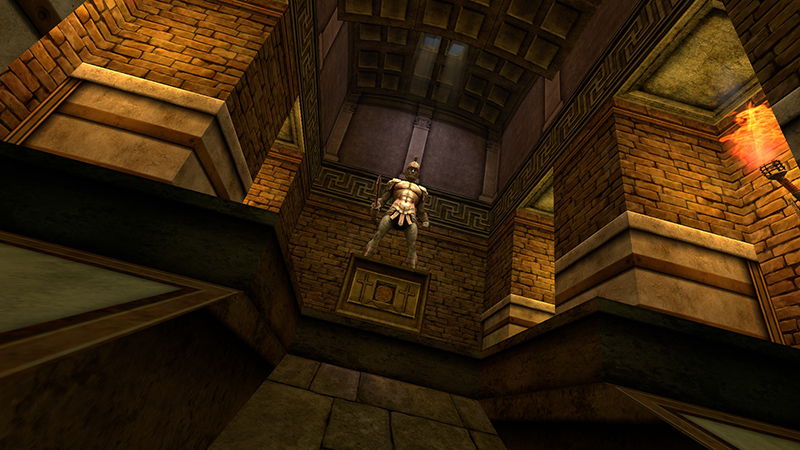
Cutscene: The gears turn, and the huge, circular door rolls aside, revealing a bronze-armored centurion statue.
NOTE: Until you use the first rope, pulling the second rope will have no effect. So if you missed the first rope, make your way across the ledges to the other corner room. Use the rope there. Then return to the second rope and use it to open the big, round door.
DARK MODE: I plan to add optional dark mode for these pages, but my current priority is updating the walkthroughs. Meanwhile, may I suggest a reputable dark mode browser extension, such as Dark Reader? (Download only from trusted sites, like darkreader.org or your browser's web store.)
Walkthrough text and diagrams copyright © Stellalune (email ). Feel free to copy or print this walkthrough for personal use. By all means, share it with friends, but please include this credit line so people can send me their feedback. No part of this walkthrough may be reproduced on another site without permission.