Trajan's Markets - Larson (again) and Gargoyle Gate
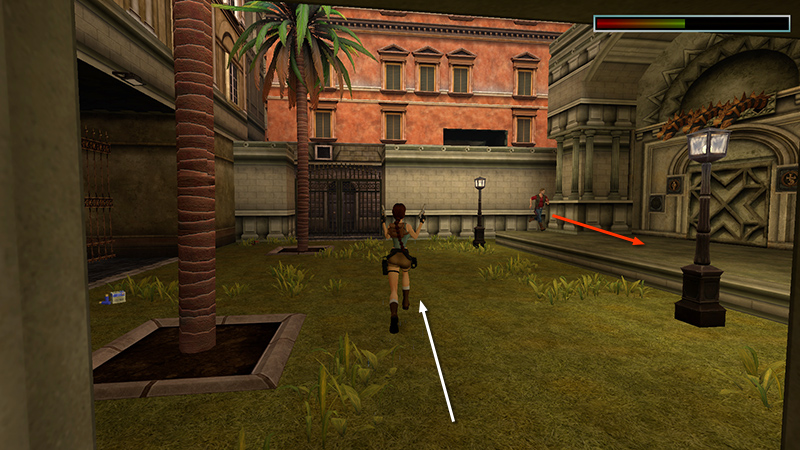
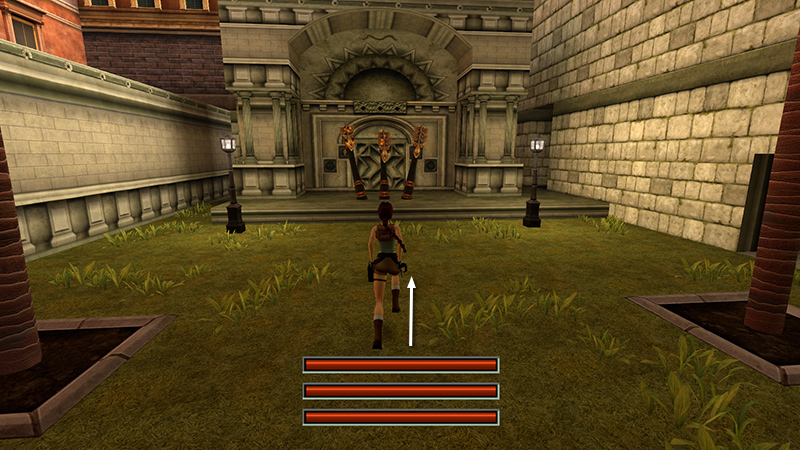
After obtaining the third secret and the VENUS SYMBOL, as shown in the previous section, Lara returns to the GARDEN WITH THE THREE GARGOYLE HEADS, where she meets Larson (2) (7/62) once more. As soon as the cutscene ends, draw pistols, run forward...
...face Larson, and start shooting. Larson stays in one place, in front of the gargoyle gate. So if you side flip back and forth while firing, Lara will take little or no damage, and he should go down fairly quickly. (Or, if you prefer, four shotgun blasts at medium-close range should take care of him.)
NOTE: Most of my health loss in these screenshots was from the centurion, not Larson.
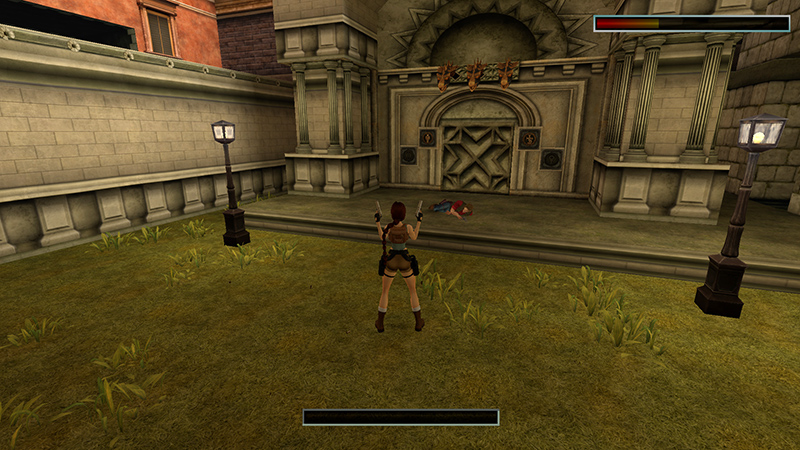
When he falls, there's a short pause before the next cutscene starts. Heal if necessary, but unless you're desperate for shotgun ammo, there's no need to rush around collecting the last few items. You can use pistols in the next fight, and there will be time for pickups afterwards.
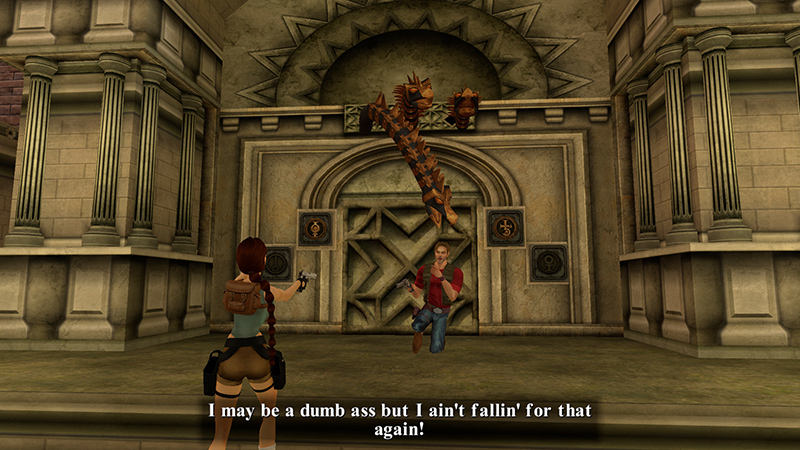
Cutscene: Lara tries to warn Larson about the gargoyles, but he's too smart to fall for her tricks. The gargoyles, however, are just a little smarter. One of them chomps on Larson and tosses him aside. Then all three focus on Lara.
As soon as the second cutscene ends, save in a new slot, so you won't have to fight Larson again if Lara is killed by the gargoyles. You can quick-save periodically during the upcoming fight if things are going well, but don't overwrite the manual save. Then, if you accidentally quick-save in a bad spot, you'll still have a fall-back save. There are a few additional notes in the main walkthrough.
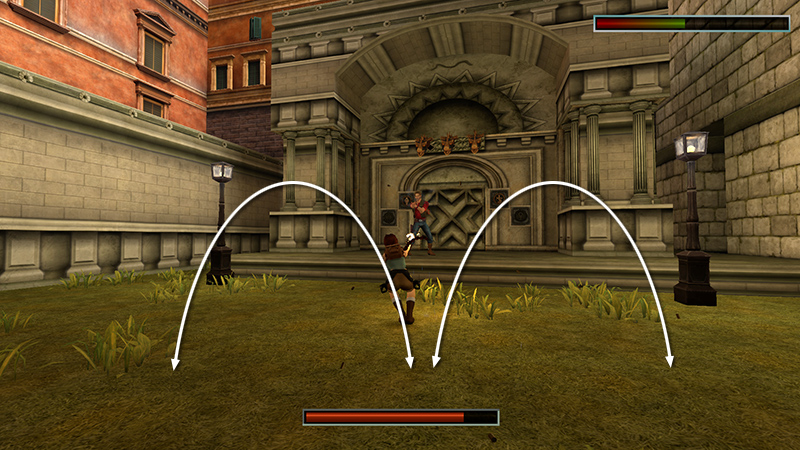
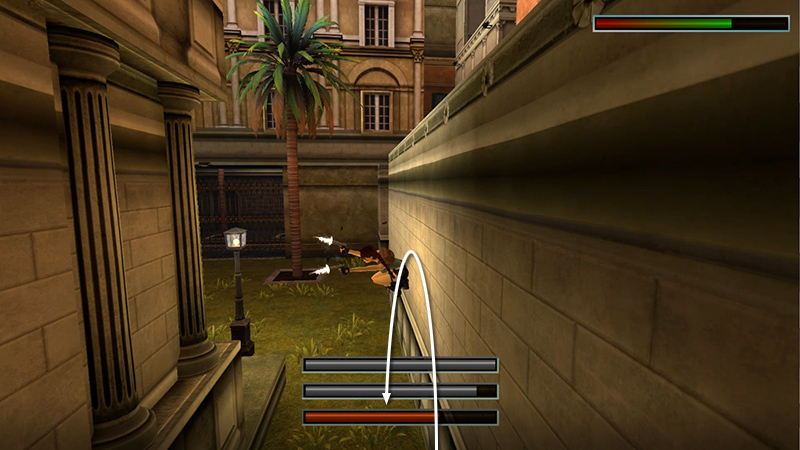
Run forward a few steps to position Position Lara just forward of the two palm trees but not too close to the gargoyles.
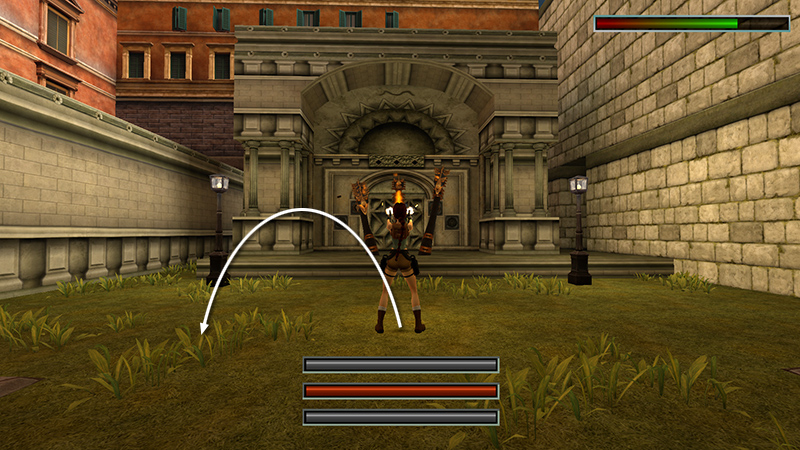
Draw pistols and hold Action to fire continuously at the 3 mechanical gargoyles (hazards not official kills) as you flip to one side...
...then back to the center. Flip to the other side...
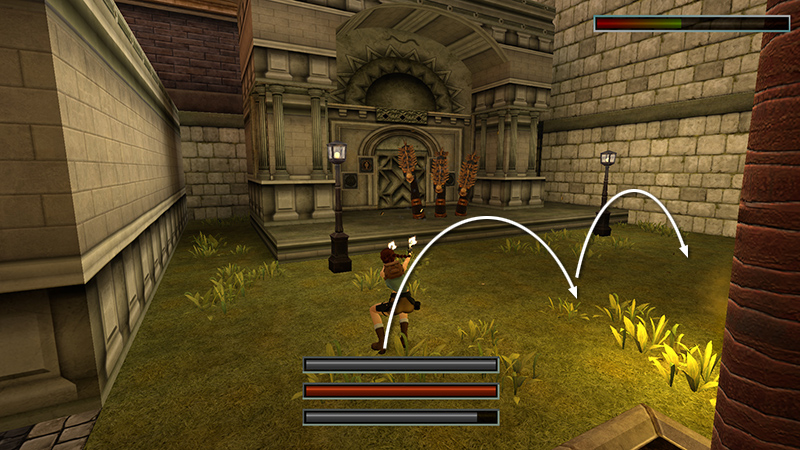
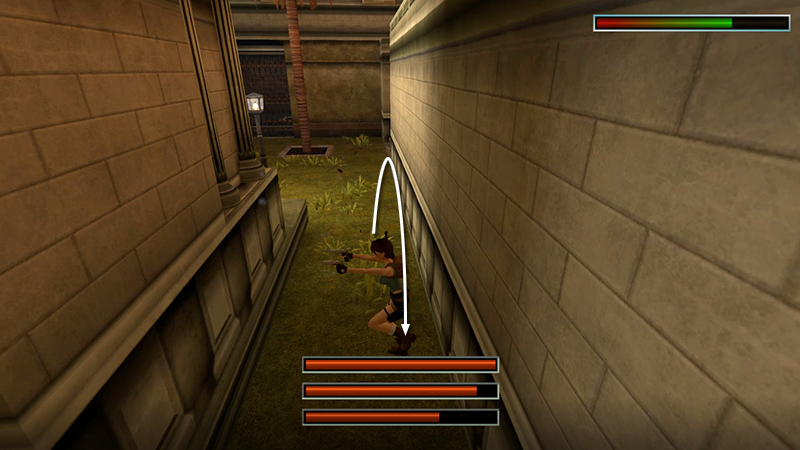
...then back to the center. Repeat, and repeat, and repeat, adjusting your position if necessary so Lara stays in the open area between the gargoyles and the palm trees.
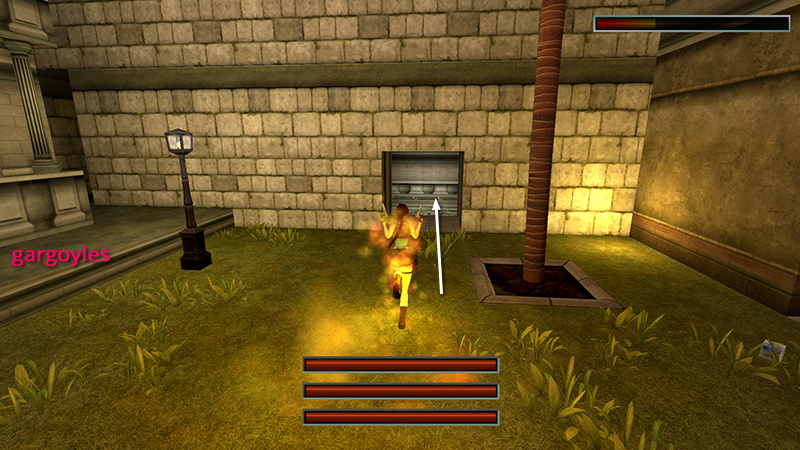
Keep moving in order to avoid the gargoyles' fireballs. If one of them hits Lara, she'll ignite. You can then jump into the pool off to the right to put out the flames, but you'll need to heal to stay alive as you run for the water. You're probably better off avoiding this altogether.
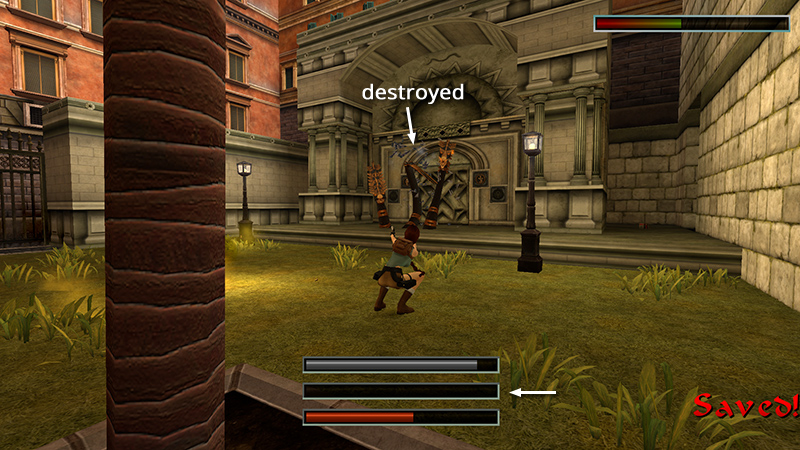
Pause if you need a break. Heal during the fight if necessary. (0 and 9 are the keyboard hotkeys for small and large medipacks.) Keep this up until each gargoyles' health bar is depleted, at which point it will seize up and explode.
If things are going well, quick-save each time you destroy one of the heads. Just don't overwrite your manual save.
Keep this up and eventually you'll destroy all three gargoyles. Good job!
- OR -

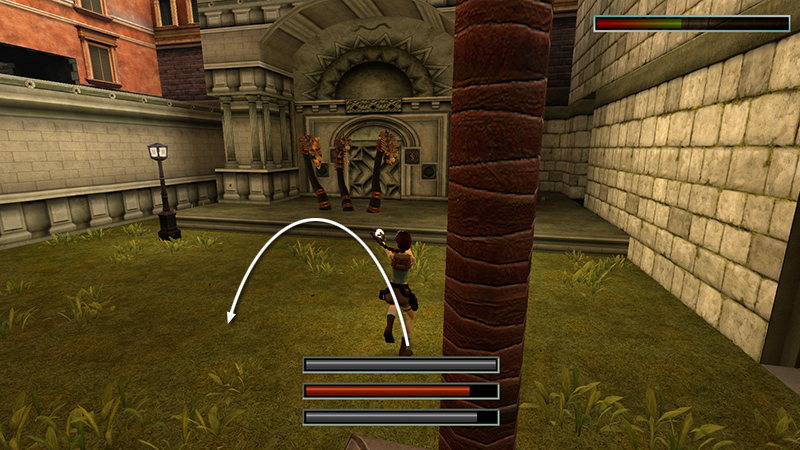
Alternatively, run forward and hide behind either side of the gargoyle building. Lara is safe here from the fire breath. (There are a few pickups back there; we'll cover them shortly.)
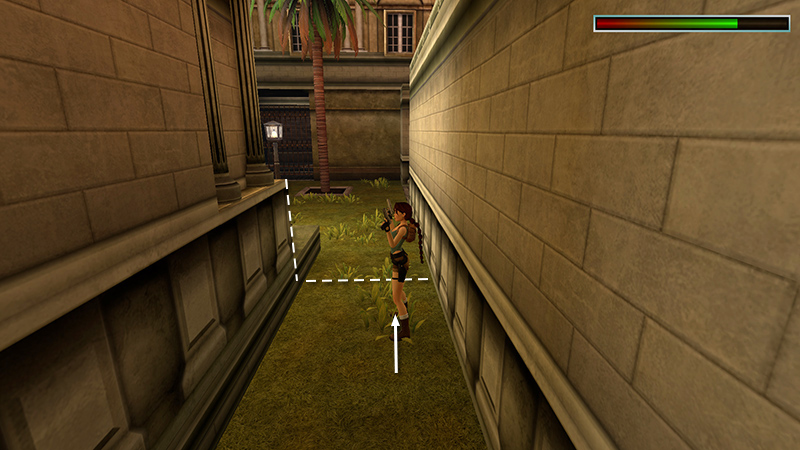
Position Lara facing the wall of the gargoyle building and sidestep toward the front until she's a few steps away from the corner.
Now side flip out from behind the building while firing.
Then side flip back behind the building. Gradually chip away at them. Keep this up and eventually you'll destroy all three gargoyles. Again, if things are going well, quick-save each time you destroy one of the heads. Then you'll have less to redo if Lara does catch fire.
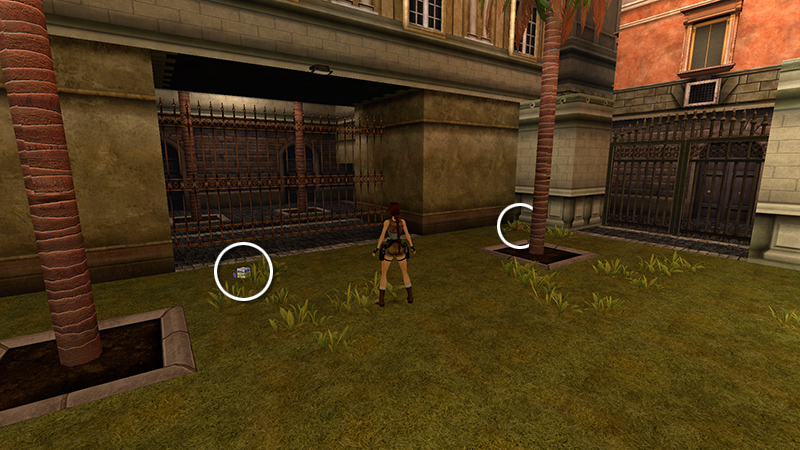
When you've destroyed all three gargoyles, go after the final pickups: regular and wideshot shotgun ammo (32-33) (65-66/239) on the ground opposite the gargoyle gate...
...more wideshot shells (34) (67/239)...

...regular shells and a large large medipack and more (35-36) (68-69/239) behind the building.
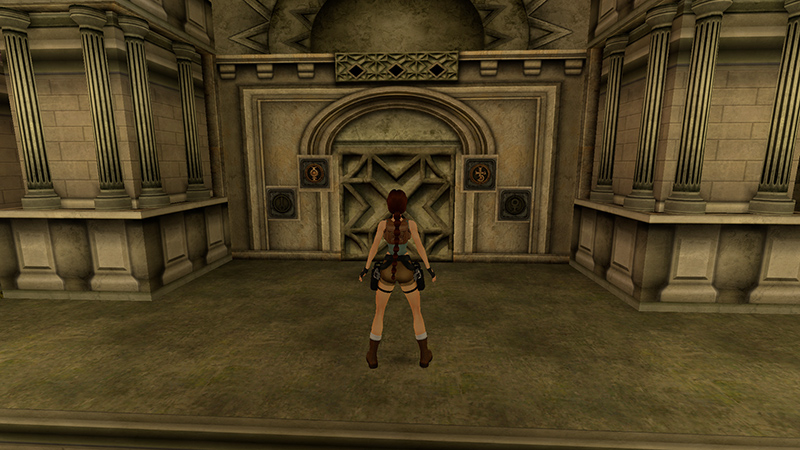
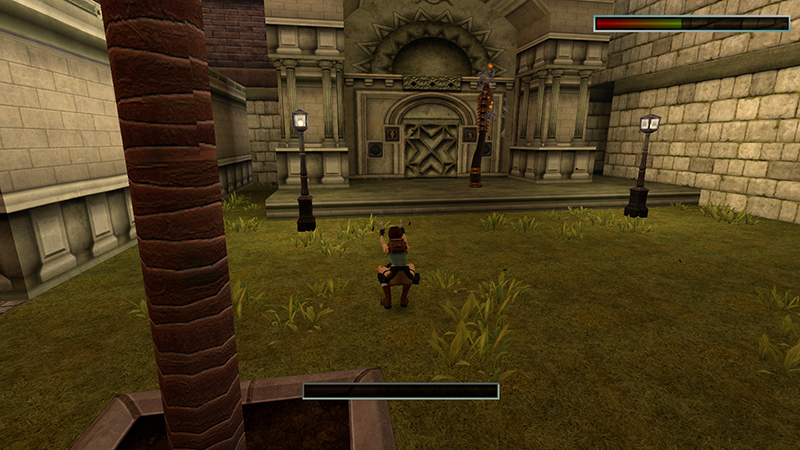
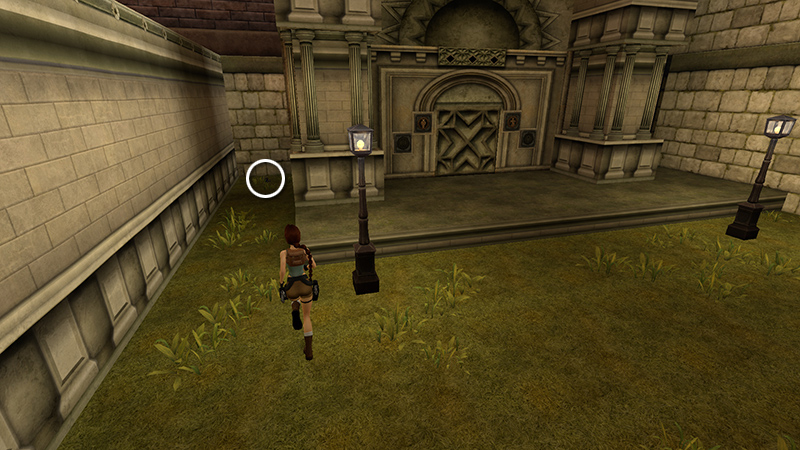
Place the VENUS and MARS SYMBOLS in their receptacles to open the gate. Make sure you have everything...
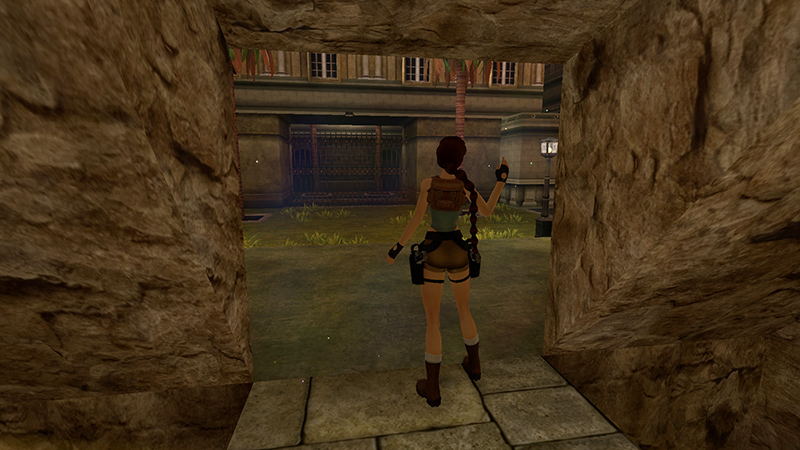
...because once you pass through the doorway, a sparkly force field prevents you from returning to the garden.
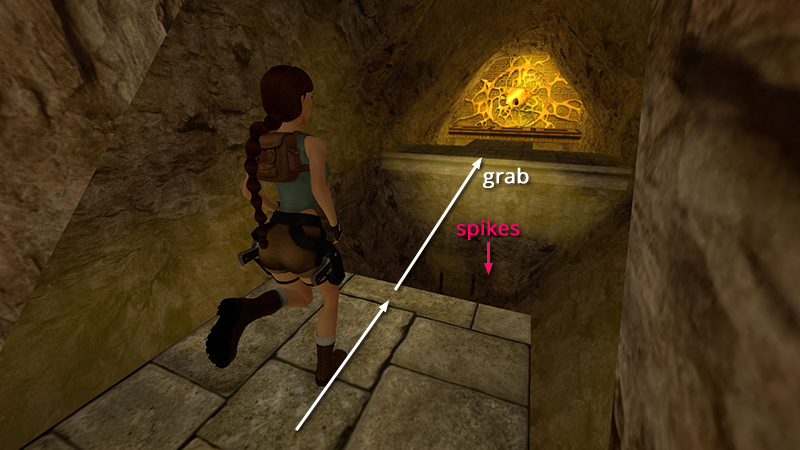
Take a running jump over the spike pit to grab the ledge in the middle of the cave. Pull up.
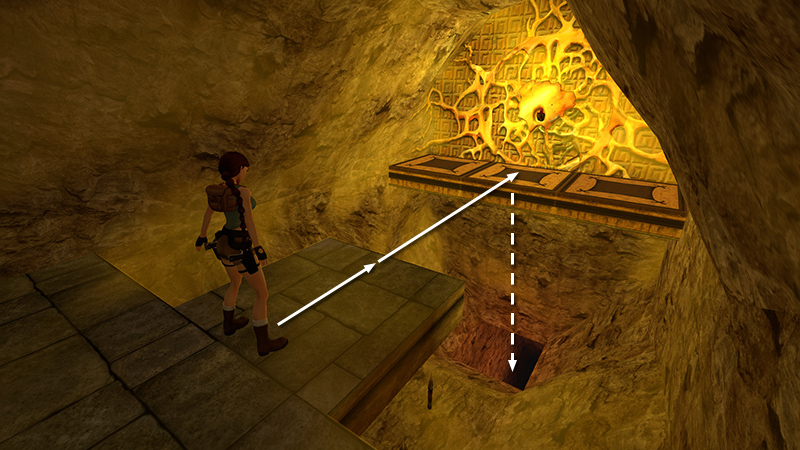
Take another running jump to the ledge near the fabled PHILOSOPHER'S STONE. In typical Tomb Raider style, the ledge collapses before Lara can take the stone, and she slides into the next level.
DARK MODE: I plan to add optional dark mode for these pages, but my current priority is updating the walkthroughs. Meanwhile, may I suggest a reputable dark mode browser extension, such as Dark Reader? (Download only from trusted sites, like darkreader.org or your browser's web store.)
Walkthrough text and diagrams copyright © Stellalune (email ). Feel free to copy or print this walkthrough for personal use. By all means, share it with friends, but please include this credit line so people can send me their feedback. No part of this walkthrough may be reproduced on another site without permission.