Red Alert! - Shooting Ranges
IMPORTANT: Save the game before beginning each of the two shooting ranges. You have only one chance to complete each one perfectly. You may also want to save in a separate slot before you enter the second range, in case you change your mind. Once you enter the second range, you're locked in until you complete it.
You must complete the first range in order to open the ARMORY and proceed in the level. As long as you destroy all the targets, this will happen. Completing the first range under the time limit will also open the door to the second shooting range. Completing the second range is optional but will enable you to get SECRET #2.
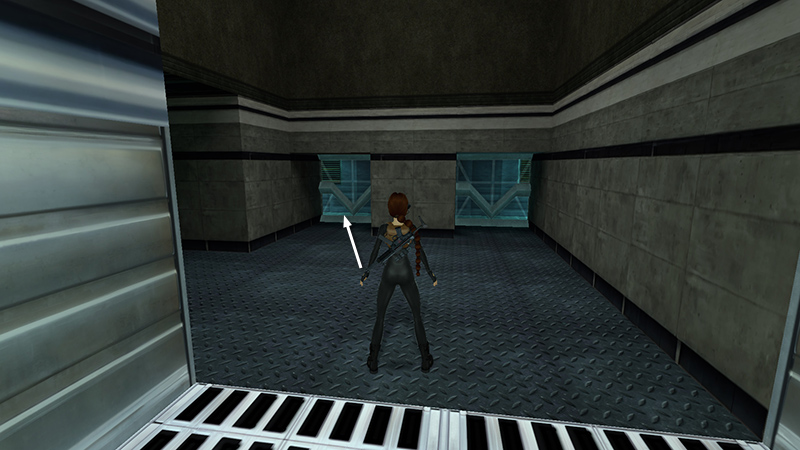
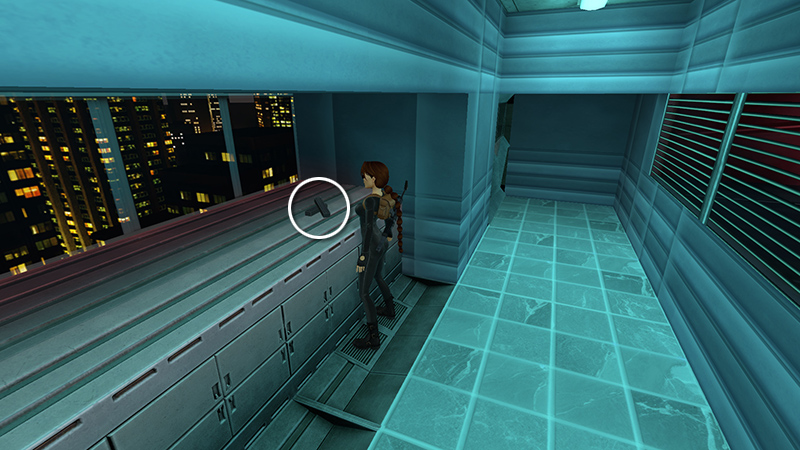
In the last section, you navigated a laser-trapped corridor and rode the elevator to a new floor. Across from the elevator are two glass doors. These lead to the SHOOTING RANGES. The one on the right doesn't open yet, so go through the door on the left.
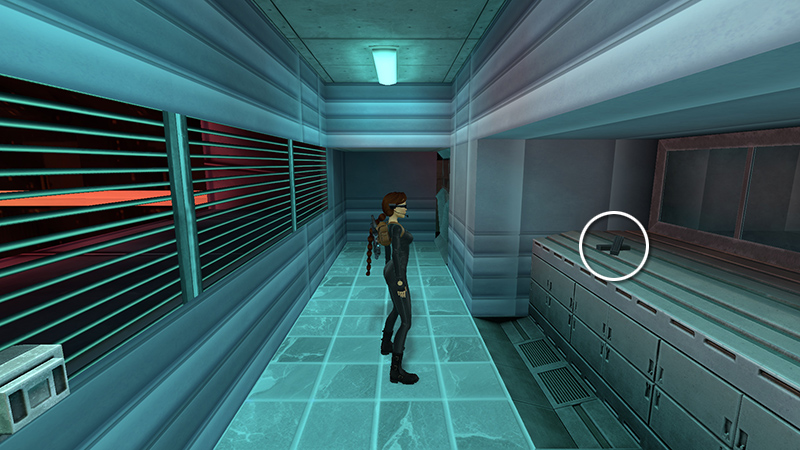
Pick up the HK clips (5) (223/239) on the shelf and get ready for some target practice.
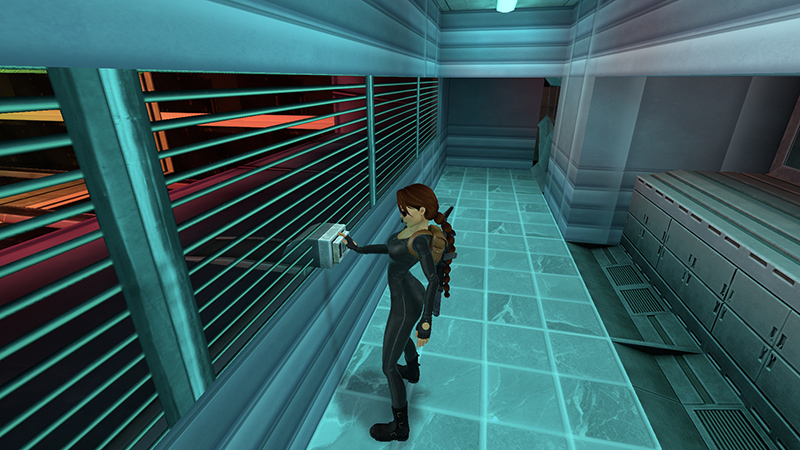
Save the game if you haven't already. Press the button to activate the targets.
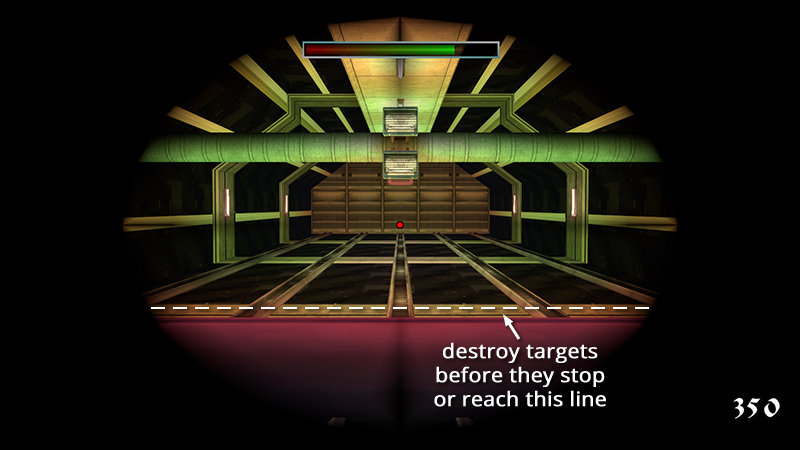
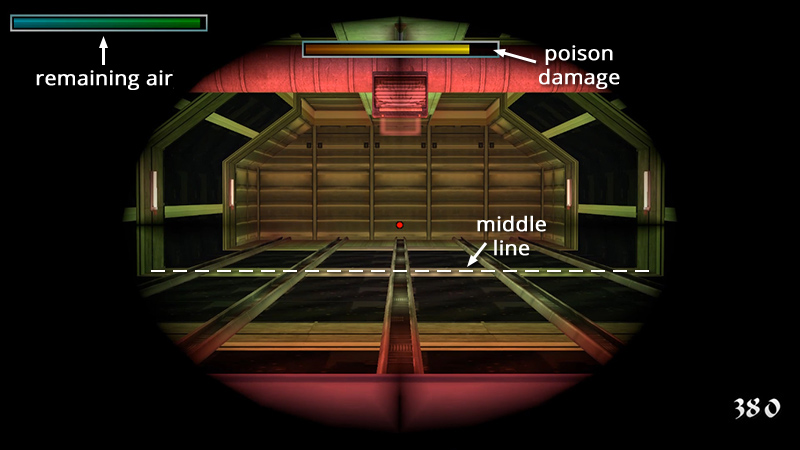
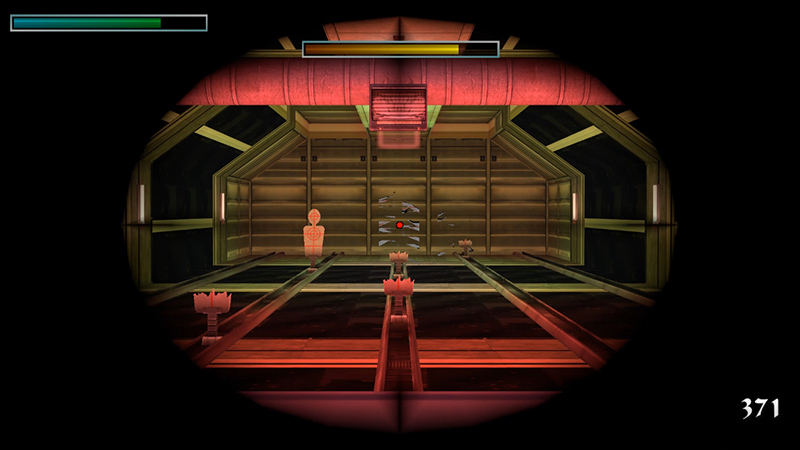
Ready the HK in sniper mode (see the note below) and use the scope to aim along the center line. Five targets will pop up and move toward you. In order to open the second shooting range, you need to destroy each target before it reaches the line on the floor nearest the window or stops moving. So shoot them in this order:
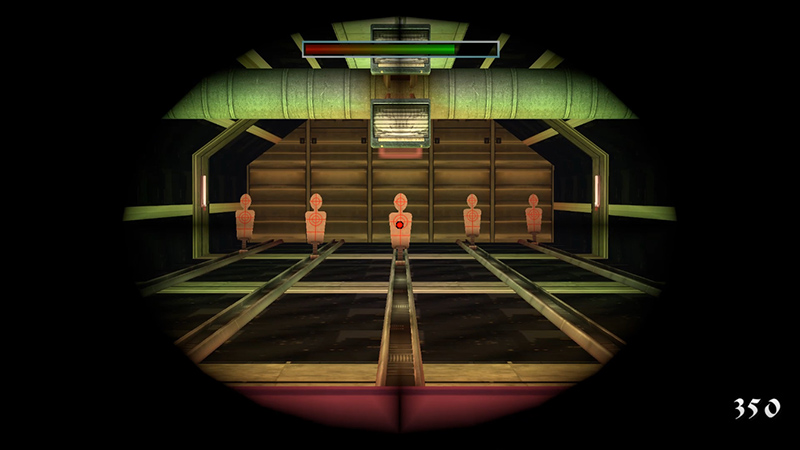
Center...
...left...
...far left...

...right...
...far right.
NOTE: If you're struggling here and have ammo to spare, you can use burst mode and just sweep across the targets. This burns ammo more quickly but gives you a greater chance to hit each target. Just be sure not to waste bullets, since you'll need them later in the level.

Before overwriting your previous save, exit the FIRST SHOOTING RANGE, turn left, and make sure the door to the SECOND SHOOTING RANGE is open. If it isn't, reload and try the first range again. Save again before entering the second range. Once you enter the second range you'll be unable to exit until you complete it flawlessly.
Inside, pick up more HK ammo (6) (224/239) on the shelf.

Quick-save either before or immediately after pressing the button.
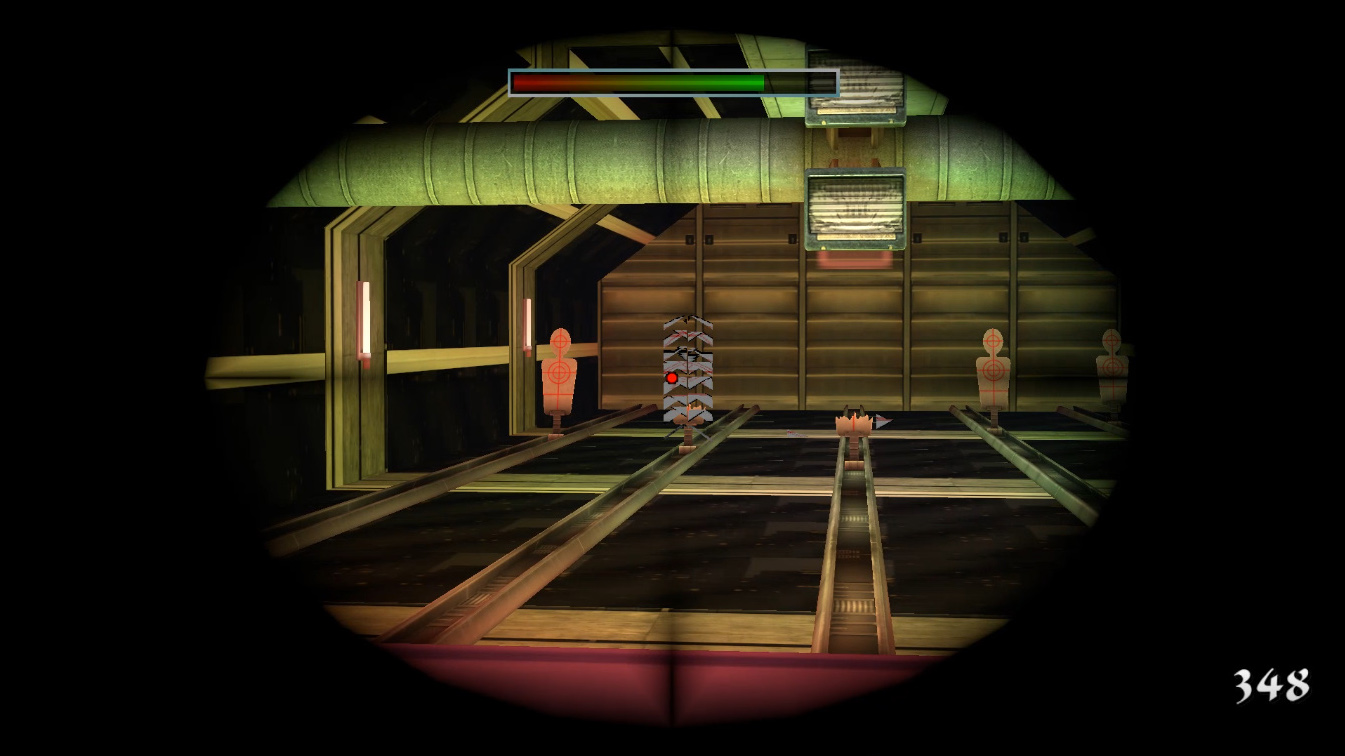
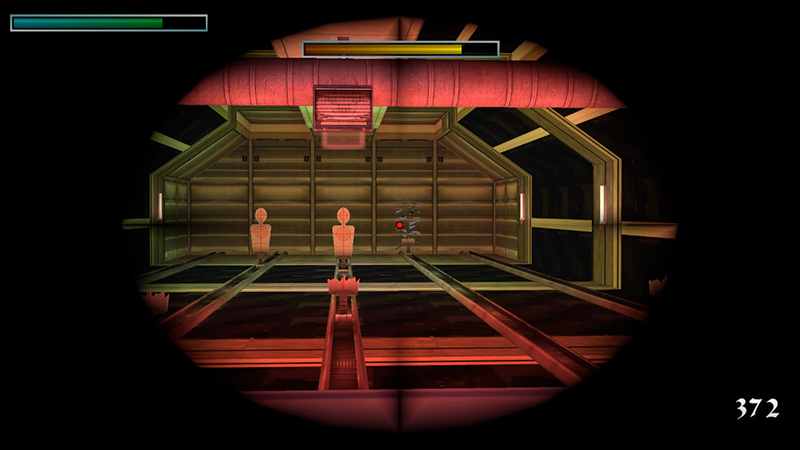
Poison gas begins to leak in as soon as you activate the range. If you don't shatter all targets before they cross the middle line, Lara remains trapped here and dies. Aim at the wall beyond the center track, activate the scope, and zoom in a little if you like. The first seven targets pop up one or two at a time. Try to anticipate where each target will be and aim there, rather than reacting as they pop up. The sequence is as follows:
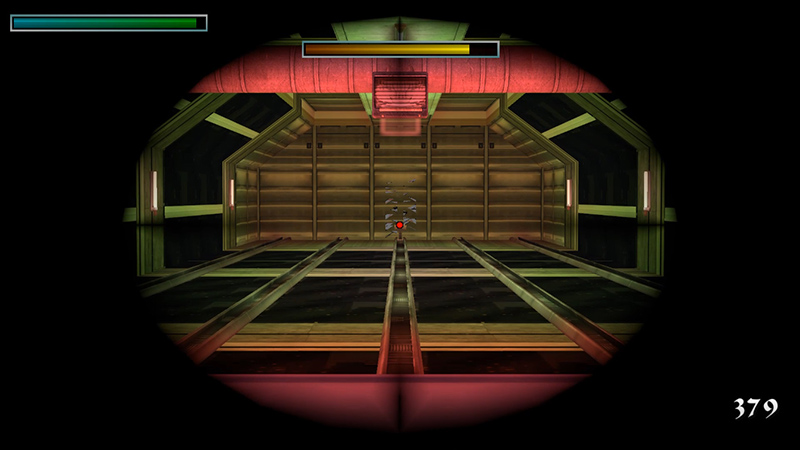
Center...
...left...

...far right...
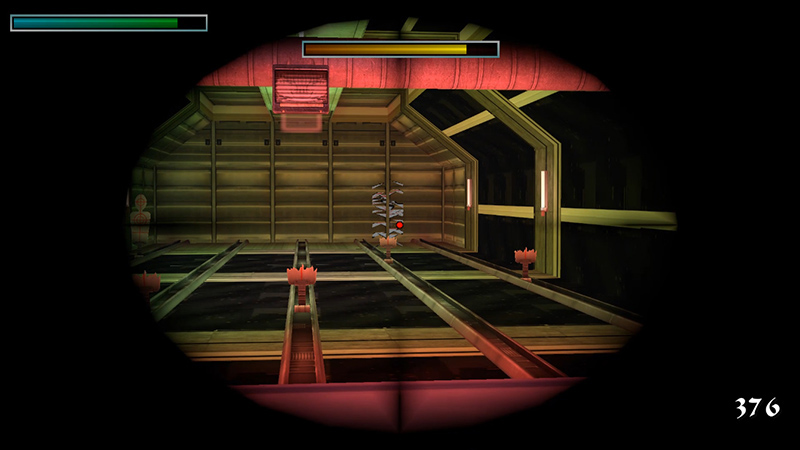
...right...
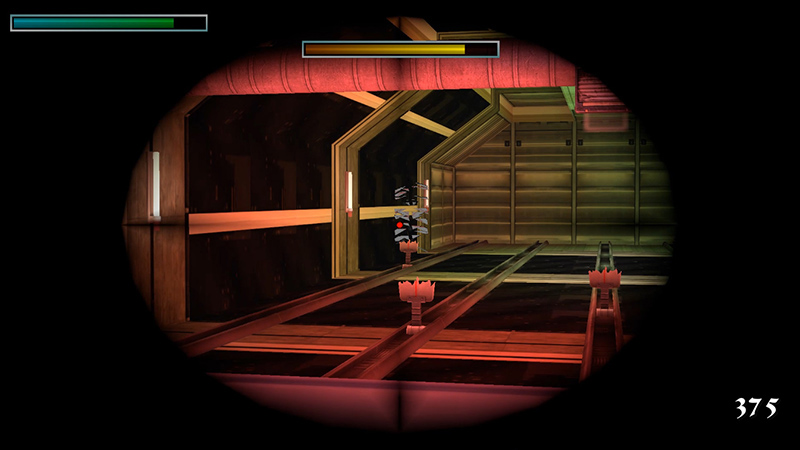
...far left...
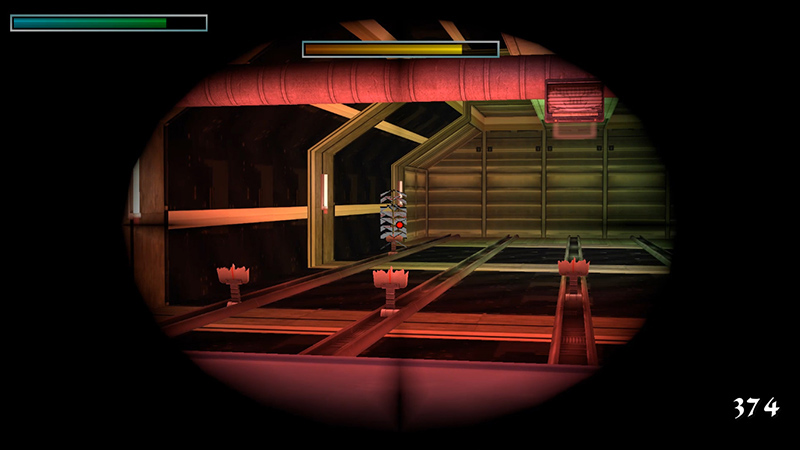
...far left again...

...far right.
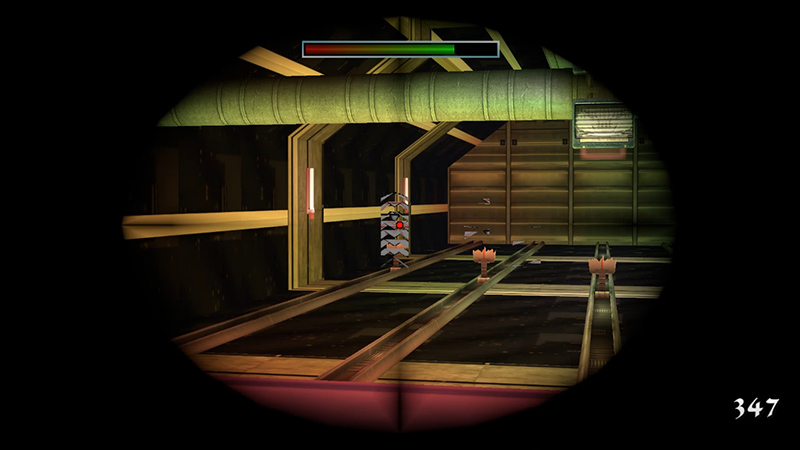
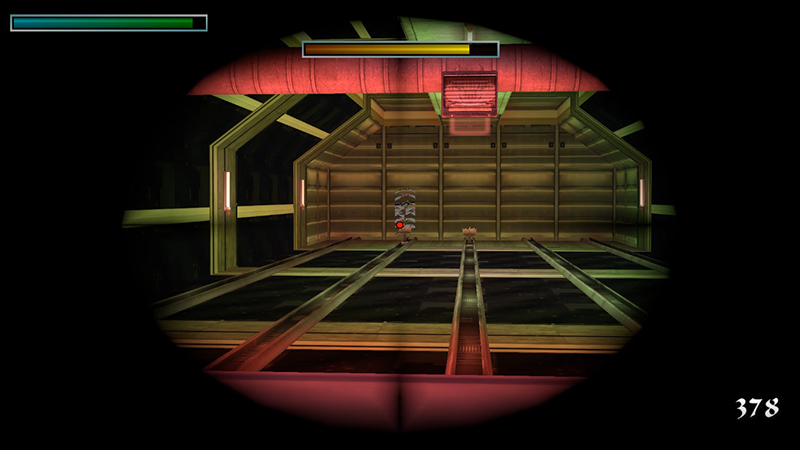
If you shoot the first seven targets before they reach the middle line, the last three pop up together. The center target is closest, but if you've just shot the far right target in the first group, it's probably easier to sweep to the left, shooting the right...
...middle...
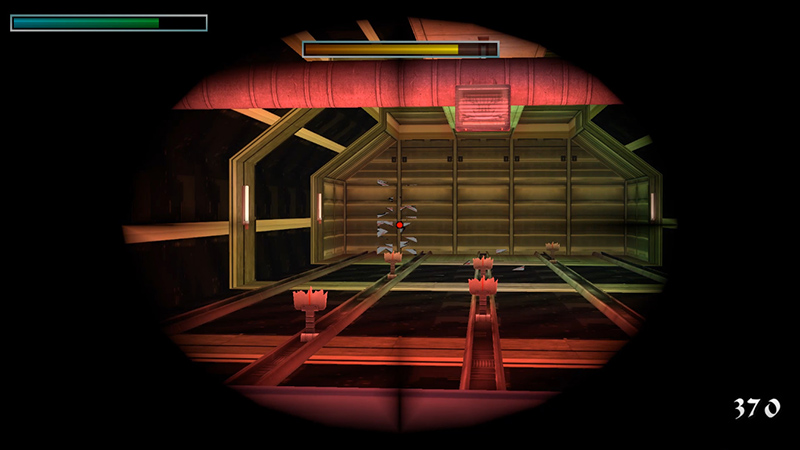
...then left targets in order.
If you don't see the last three targets, it means you made a mistake and need to reload and try again.
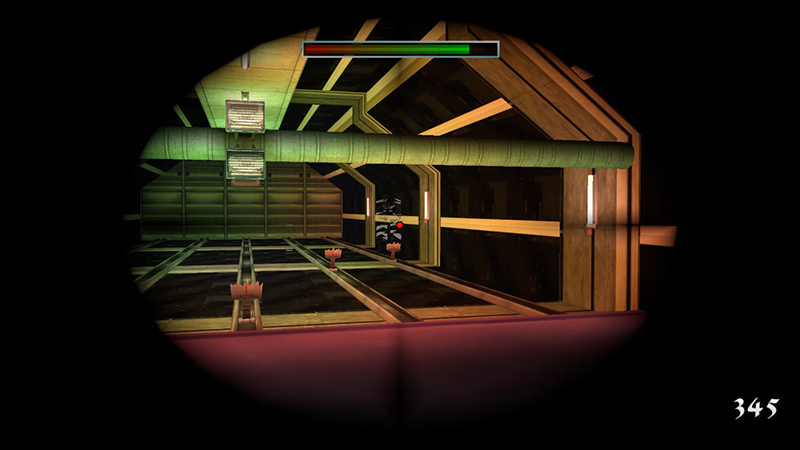
When you've destroyed all of the targets before they cross the middle line, the door opens so you can exit.
NOTES: If you're struggling here and have ammo to spare, you can use burst mode and just sweep across the targets. This burns ammo but gives you a greater chance to hit each target. Just be sure not to waste too many bullets, since you'll need them later in the level. If you just can't do it, feel free to download a Steam/GOG save file.
DARK MODE: I plan to add optional dark mode for these pages, but my current priority is updating the walkthroughs. Meanwhile, may I suggest a reputable dark mode browser extension, such as Dark Reader? (Download only from trusted sites, like darkreader.org or your browser's web store.)
Walkthrough text and diagrams copyright © Stellalune (email ). Feel free to copy or print this walkthrough for personal use. By all means, share it with friends, but please include this credit line so people can send me their feedback. No part of this walkthrough may be reproduced on another site without permission.