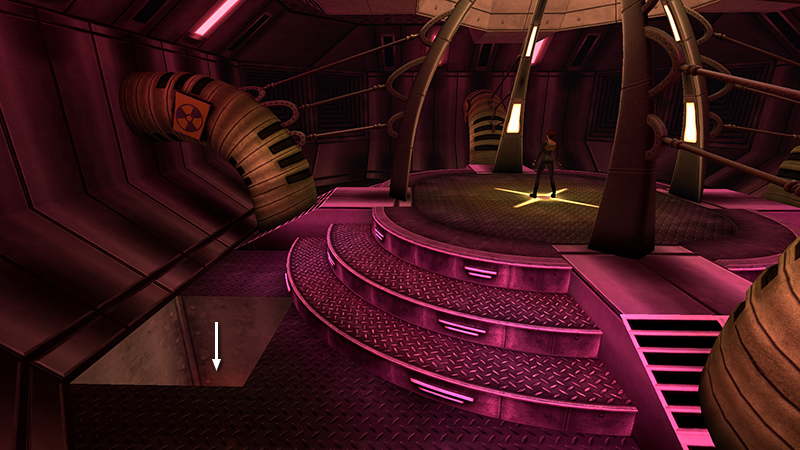
Escape with the Iris - Teleporter to Level Exit
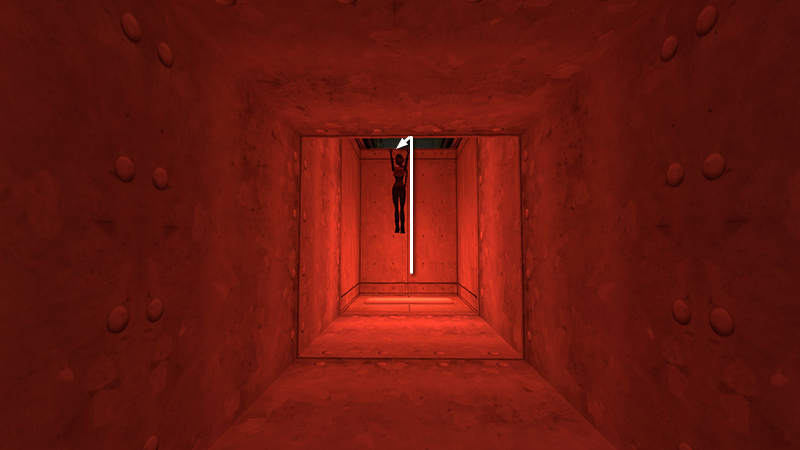
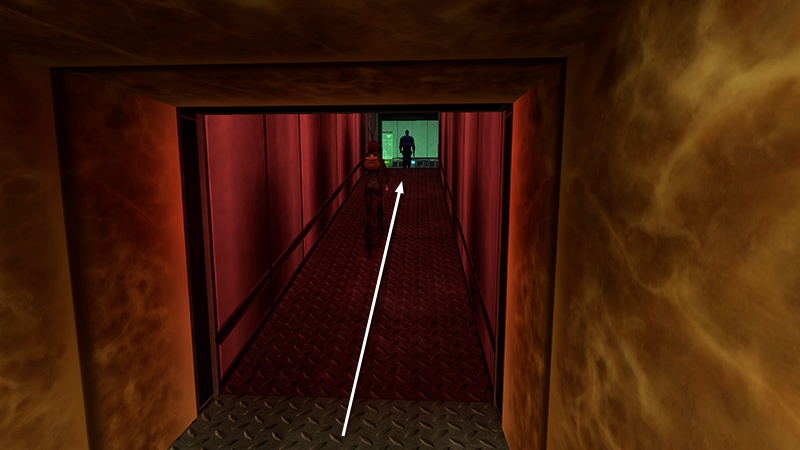
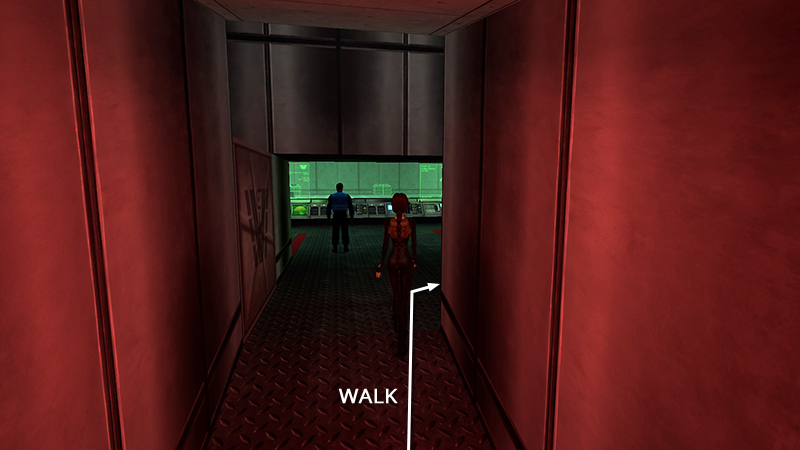
After activating the teleporter, as shown in the previous section, Lara ends up in this red-lit room. There's a hole in the floor behind Lara. Drop in...
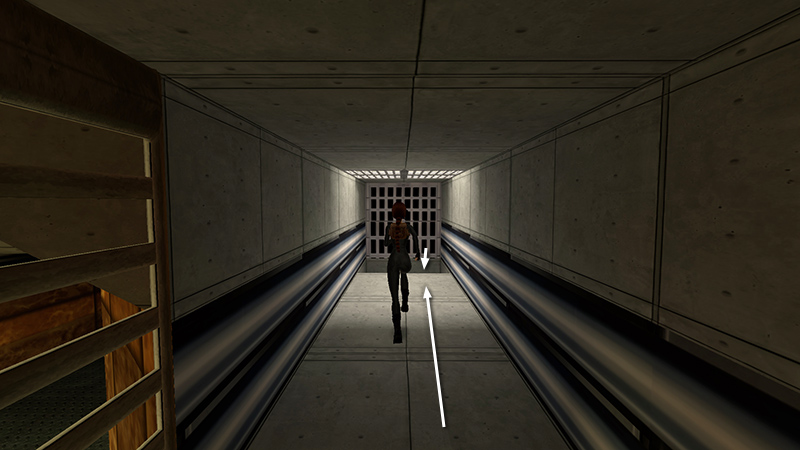
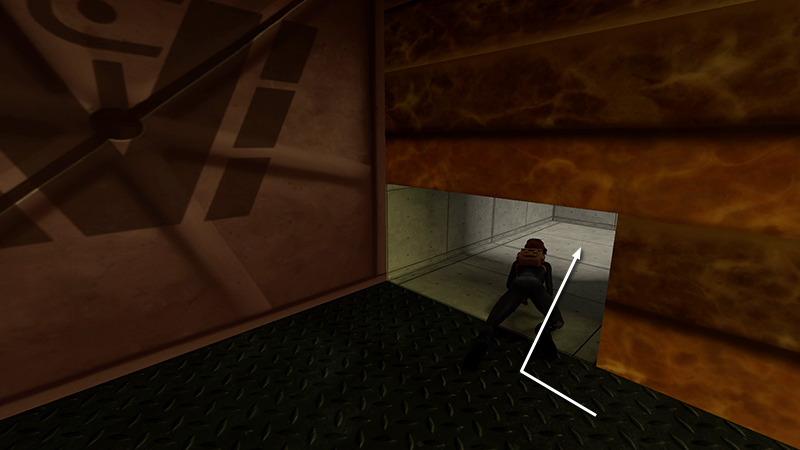
...and follow the passageway...
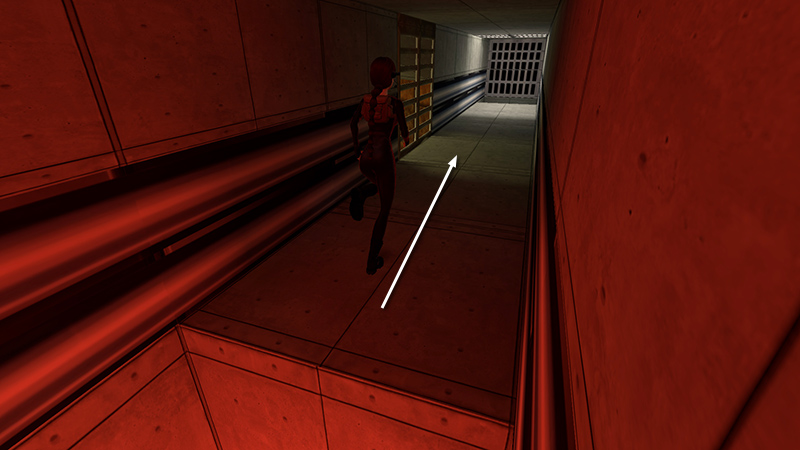
...to a vent overlooking another hallway.

Cutscene: Zip tells Lara to watch the guard to learn the keypad combination.
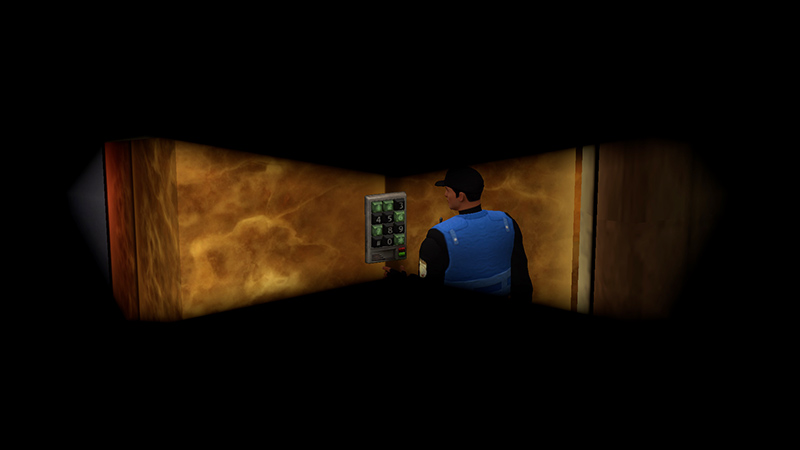
Equip the headset and zoom in on the keypad. Soon the guard will come by and enter the combination: 1672. (See the Equipment Notes in the previous level for headset controls.)
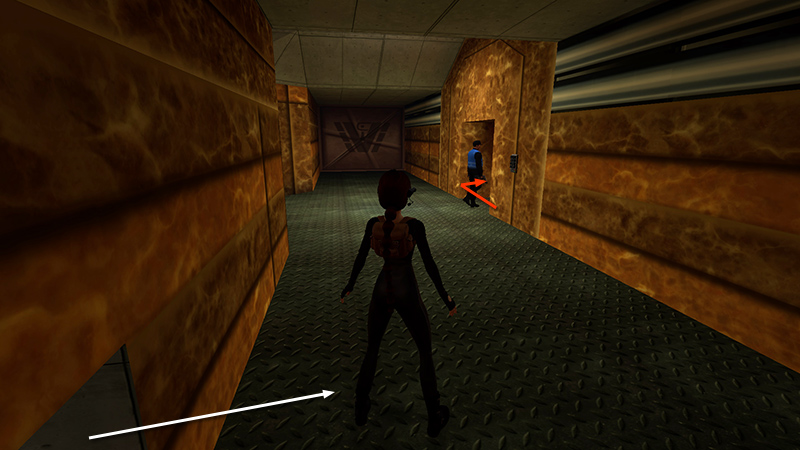
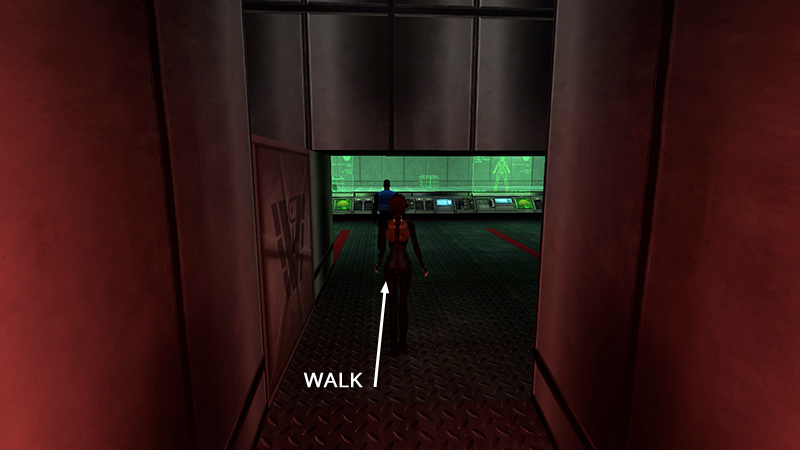
When you've got the code, continue to the end of the passageway and drop down near a crawlspace through which you can watch the hallway.
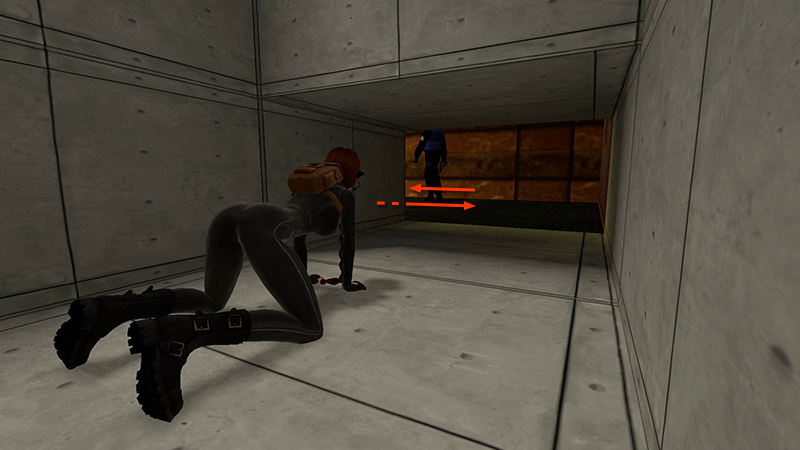
Wait for the guard to approach. When he heads back to the left, crawl out.
Wait for him to use the keypad and go through the locked door.
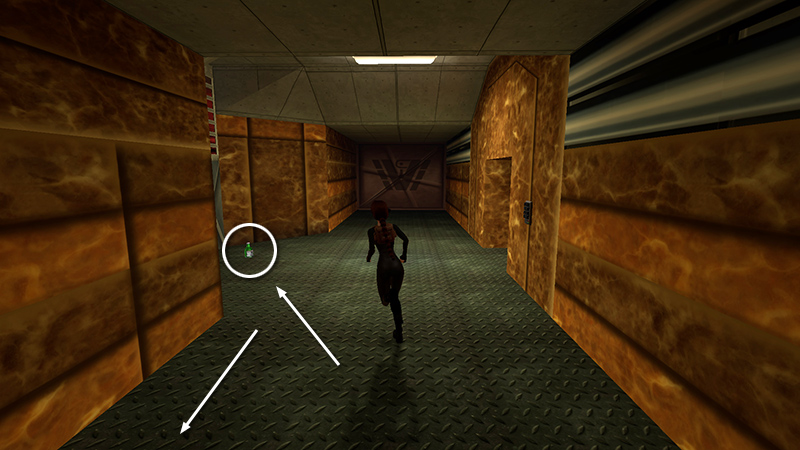
Run forward and pick up the BOTTLE OF CHLOROFORM (18) (217/239) on the floor opposite the door. Run back to the crawlspace...
...and hide once more.
NOTE: If you go quickly and carefully, it's possible to grab the chloroform, use the keypad, and run/sneak up on the guard (as shown below) all in one go, but it's much less nerve-racking if you return to the crawlspace. You can quick-save there if things are going well.
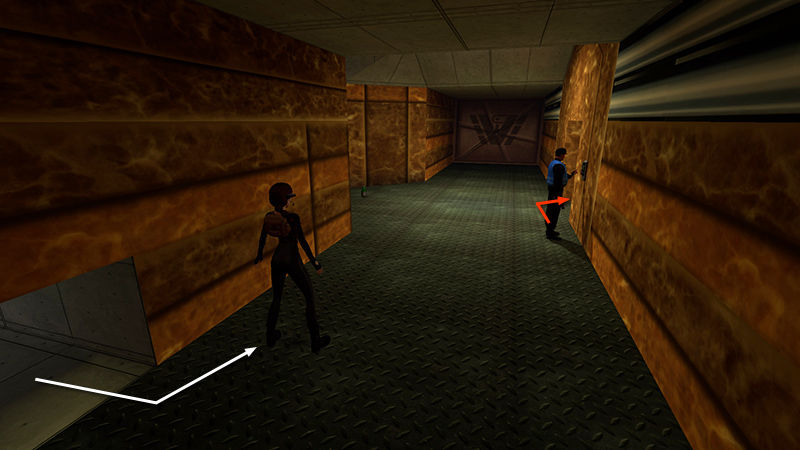
Wait for the guard to come around again. When he heads back toward the keypad...
...crawl out, but don't approach him. When he goes through the locked door...
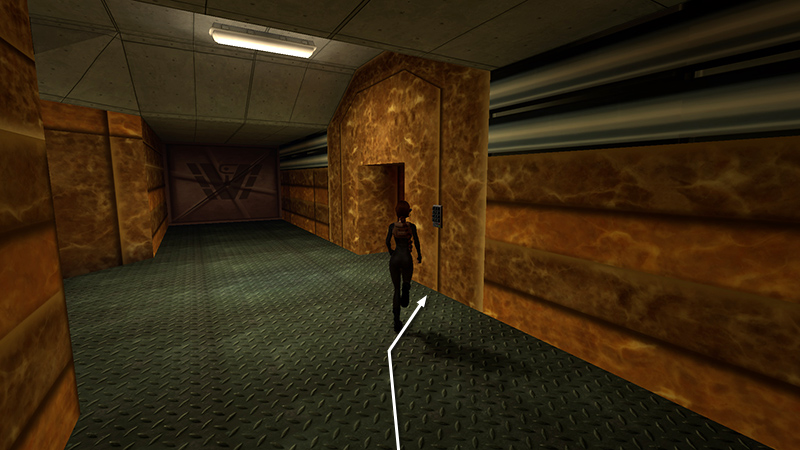
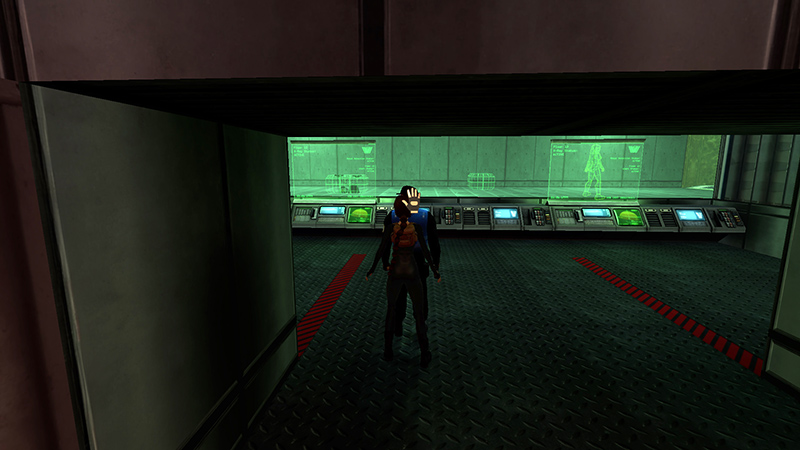
...run to the keypad...
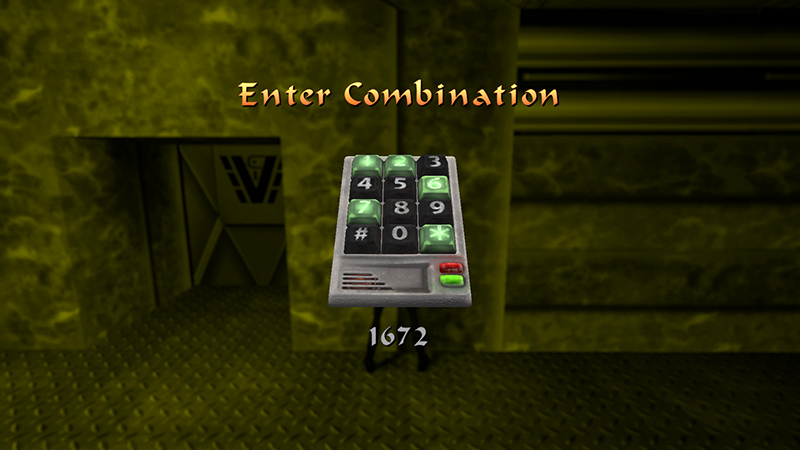
...and enter the combination.
Run up the ramp behind the guard and slow to a walk just before you reach the top. (You want to make sure he's standing still with his back toward Lara before you get too close.)
Walk up behind the guard before he can turn around.
As soon as you see the hand icon...

...open your Inventory, combine the CLOTH and CHLOROFORM...
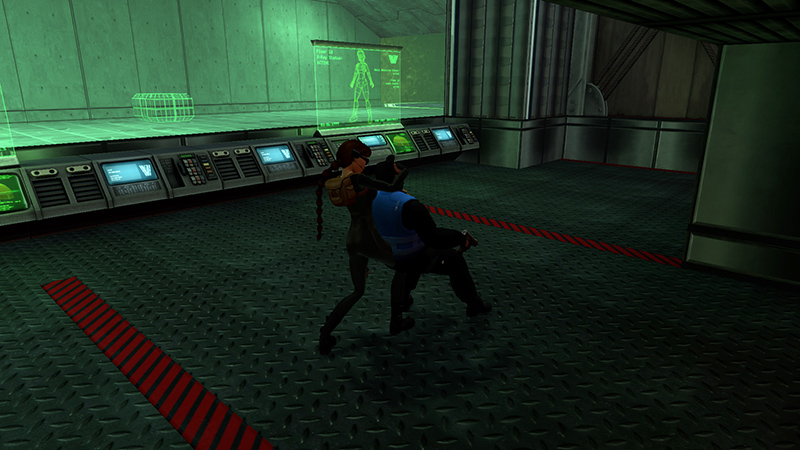
...and use them to subdue the guard. (Skip the next 3 screenshots and pick up the walkthrough below.)
- OR -
Alternatively, if you're having trouble sneaking up behind the guard, instead open the door with the keypad as described above. Then run about three-quarters of the way up the ramp. Slow to a walk...
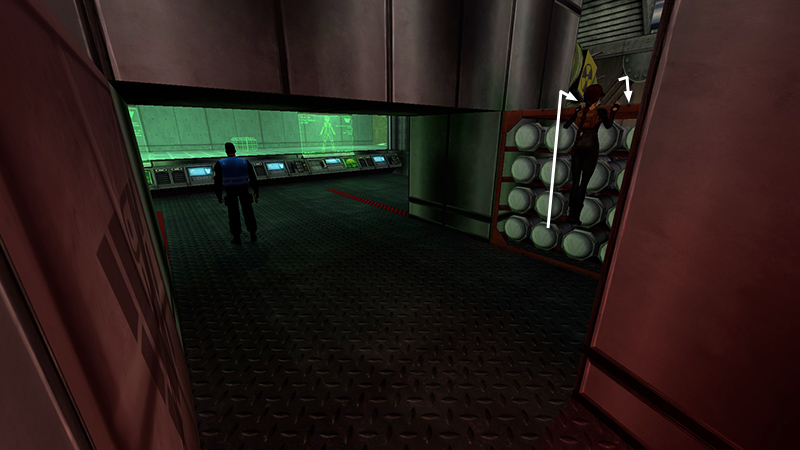
...and continue to the crate full of stacked cylinders, at the top of the ramp on the right. Climb over this crate...
...pick up the large medipack (19) (218/239), and wait here until the guard leaves again.
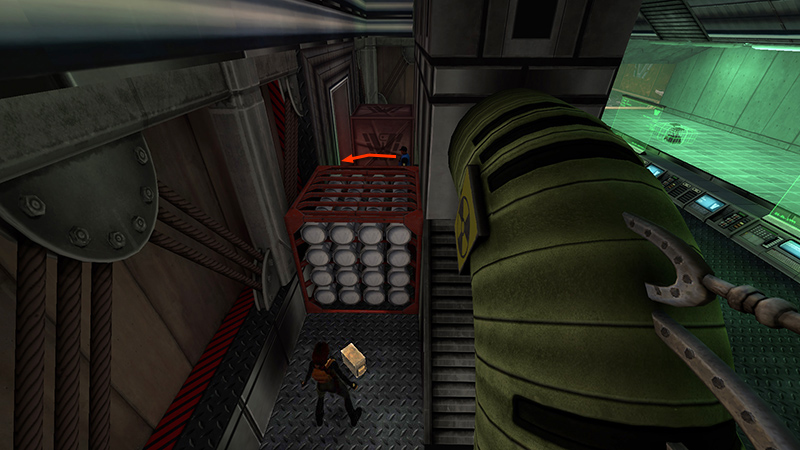
If you didn't use the alternative strategy described above, make sure to get the large medipack (19) (218/239) behind the crate with the stacked cylinders at the top of the ramp (on the left when facing down the slope).
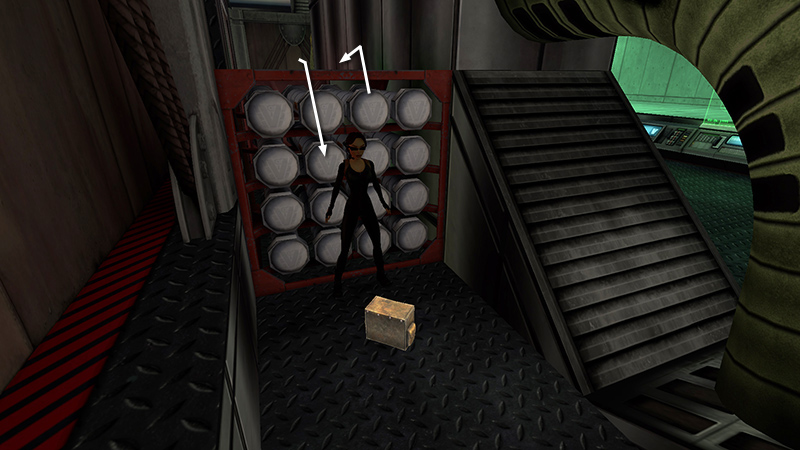
When you have it, climb back out.
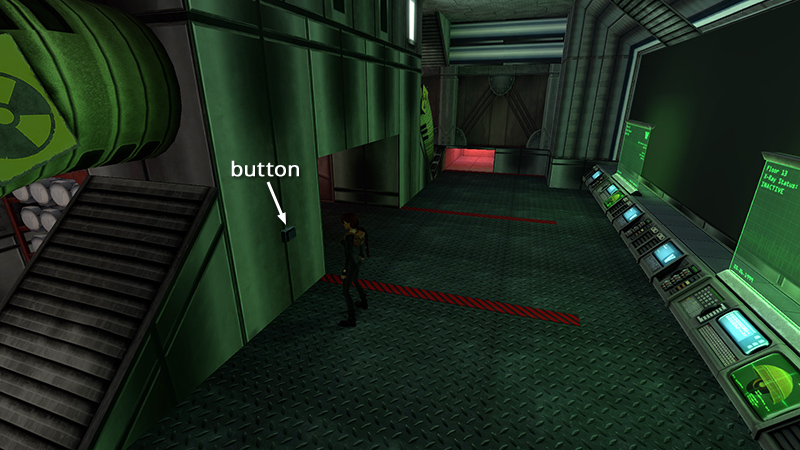
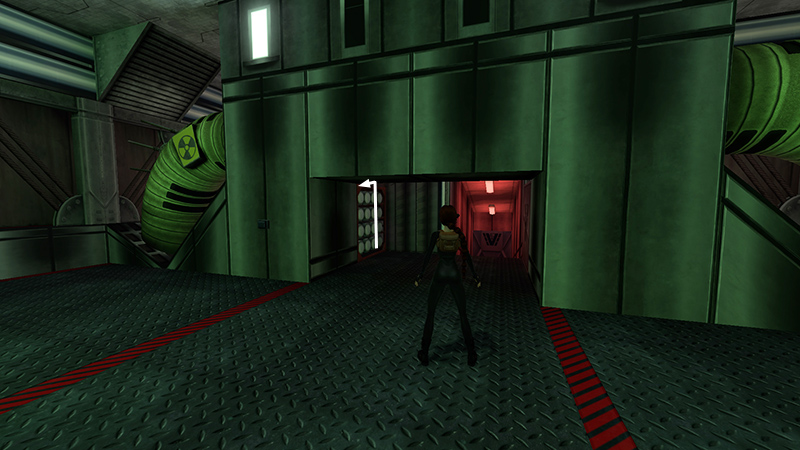
Then press the button just inside the room (also on the left when facing down the ramp). This deactivates the X-ray machine and opens a door barring the way to the next area.
DARK MODE: I plan to add optional dark mode for these pages, but my current priority is updating the walkthroughs. Meanwhile, may I suggest a reputable dark mode browser extension, such as Dark Reader? (Download only from trusted sites, like darkreader.org or your browser's web store.)
Walkthrough text and diagrams copyright © Stellalune (email ). Feel free to copy or print this walkthrough for personal use. By all means, share it with friends, but please include this credit line so people can send me their feedback. No part of this walkthrough may be reproduced on another site without permission.