The Colosseum - Gemstone Receptacle, Lava Pool, and
"Long Live the King!" Achievement/Trophy
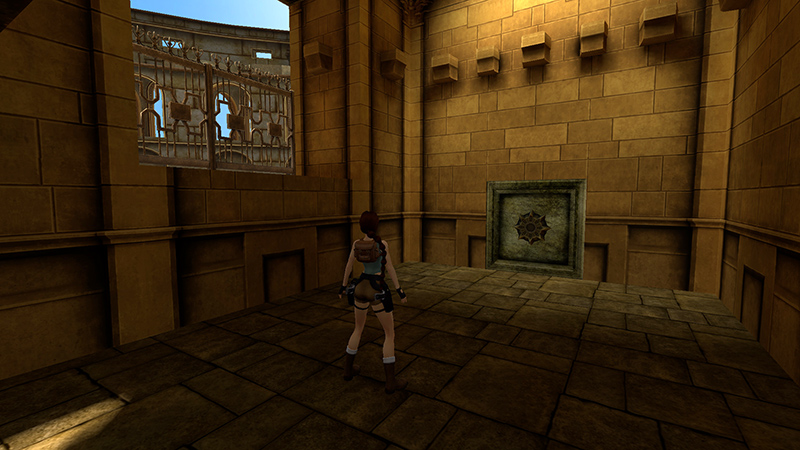
After obtaining SECRET #2, as shown in the previous section (or not), Lara enters a small room with a circular receptacle. If you like, you can climb onto the windowsill for a lovely view of the arena below. Then approach the circular receptacle and save the game.
NOTE: If you missed the first GEMSTONE PIECE, you can go back for it now. Details are in a footnote following the main walkthrough.
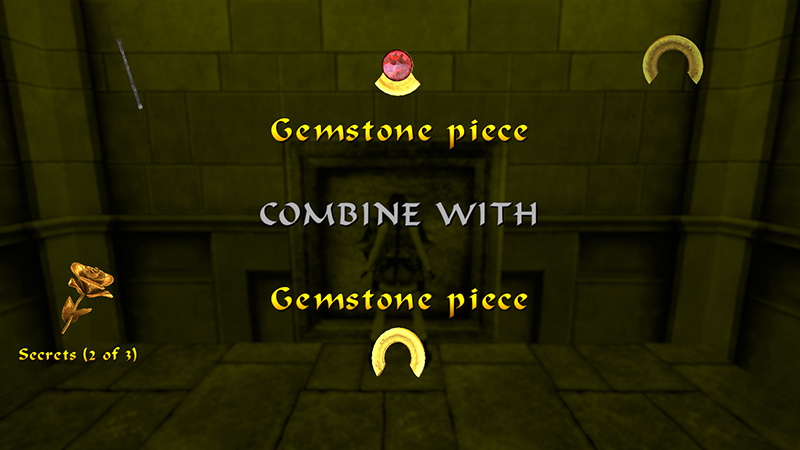
Open your Inventory and combine the two GEMSTONE PIECES (just like you did with the revolver and laser sight earlier). Then use the complete GEMSTONE in the receptacle.
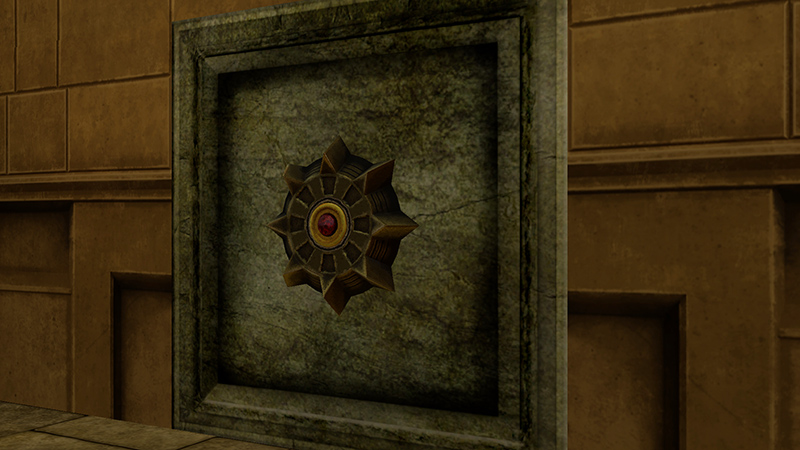
Cutscene: The mechanism turns and the floor begins to collapse.
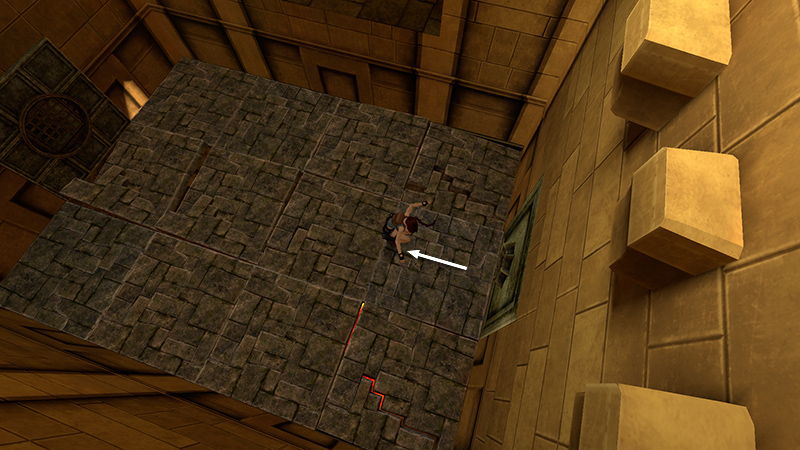
As soon as the camera shifts to show Lara from above, you're in control. Hop back once...
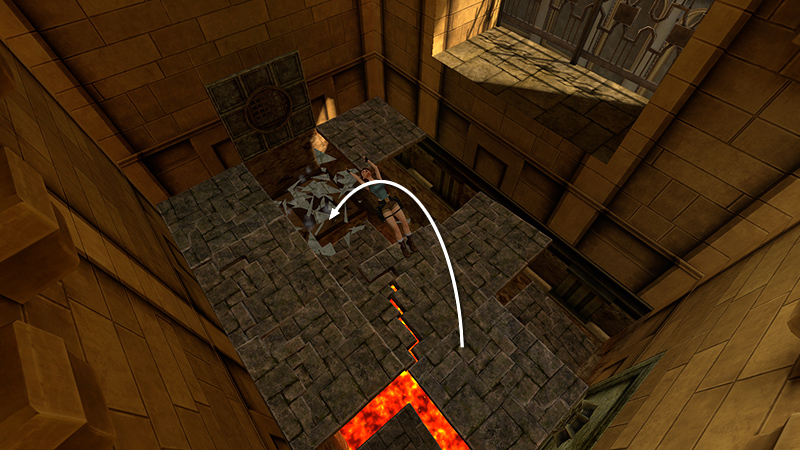
...then backflip to land on a small, solid ledge on the opposite side of the lava pit.
- OR -
Alternatively, roll...
...then then take a running jump...

...to land on the small, solid ledge, as the floor collapses around you.
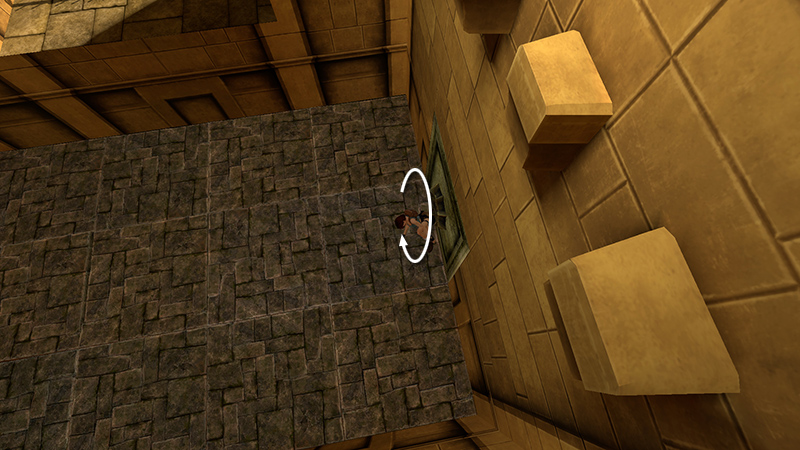
Take a running jump across the lava to the wide alcove below the gemstone receptacle.
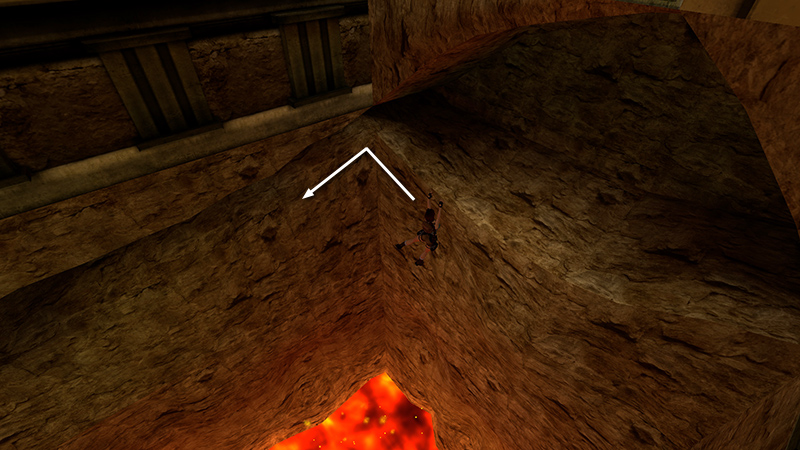
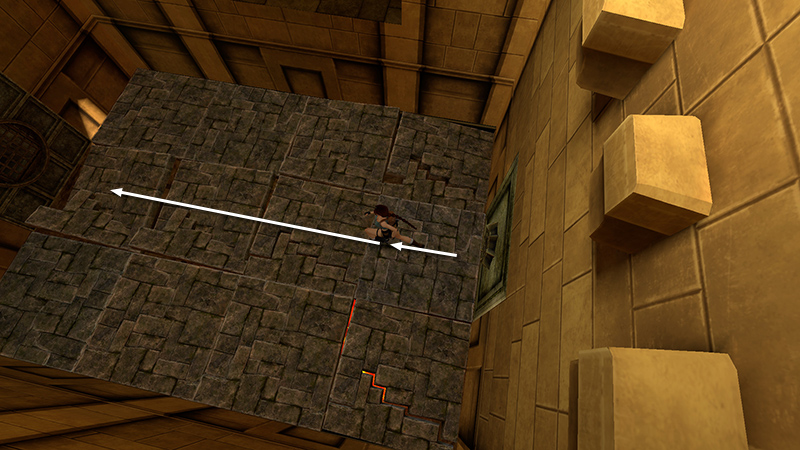
Drop back and grab the edge of the floor. Traverse to the left and around the corner.

Continue traversing along the horizontal crevice until you can drop down on the wide ledge on the other side of the pit.

Enter the small room beyond and climb onto the low block.
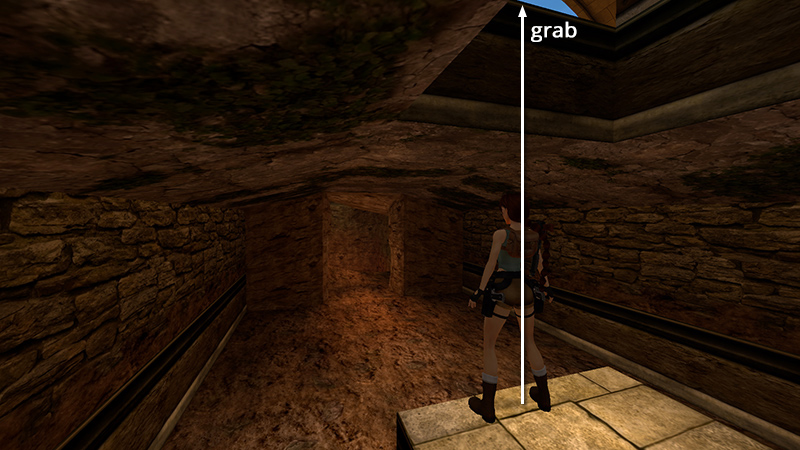
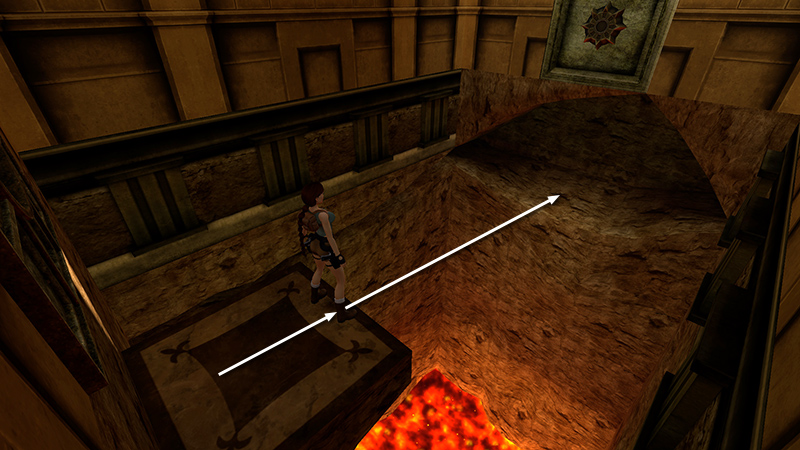
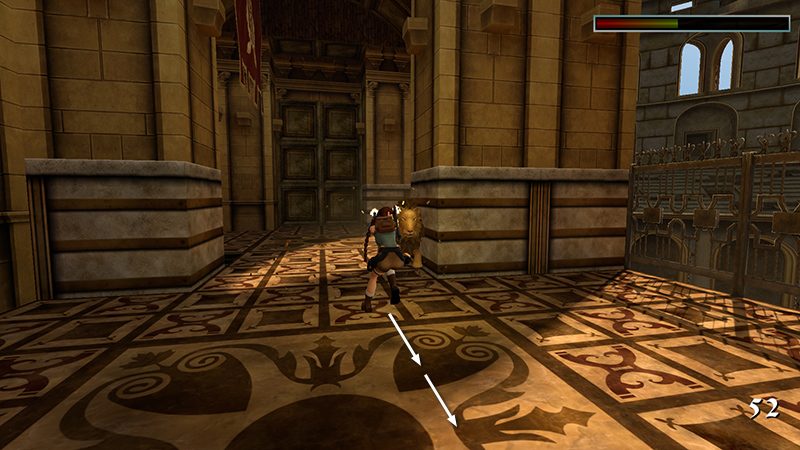
The fourth lion (7) (14/62) for the "Long Live the King!" achievement/trophy is waiting in the room above, along with his gladiator buddy (8) (15/62). They don't spawn until you actually climb up into the room. So, before climbing up, equip then stow the shotgun. (Keyboard hotkeys for shotgun and Uzis are 2 and 3, respectively.) Stand on the block facing the lava cavern, walk to the edge, then jump up to grab the opening.

Pull up and draw the shotgun as you turn right to face the oncoming enemies. The lion comes from ahead on the left. The gladiator, from the right. So you should be able to pop the gladiator twice with the shotgun as you hop backwards.
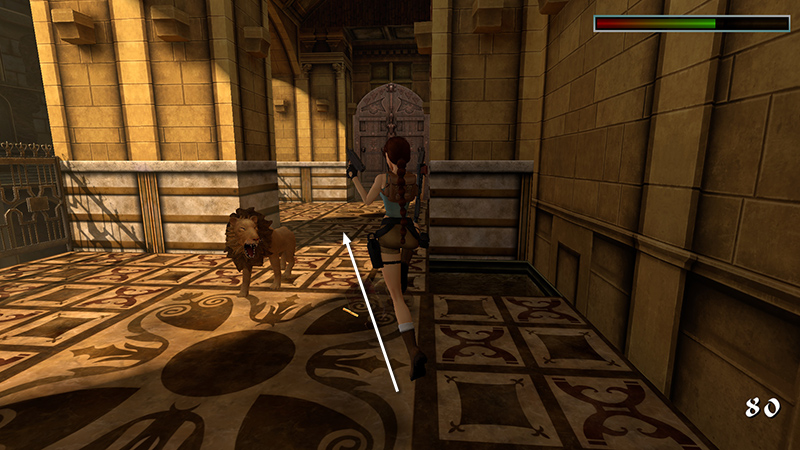
When the gladiator falls, switch to Uzis. Run/jump past the lion...
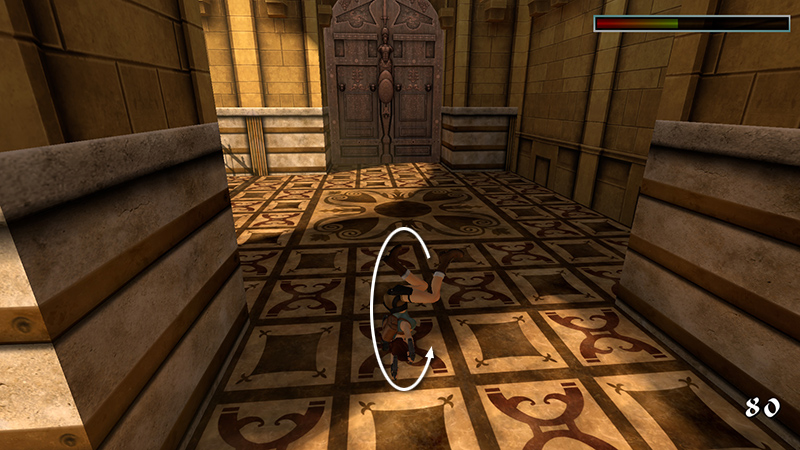
...roll...
...and start firing as you hop/backflip away to the other side of the room.

If you've killed the other 3 lions with Uzis as well, the "Long Live the King!" achievement/trophy should pop when this lion dies.
NOTES: As mentioned earlier, if "Long Live the King!" doesn't unlock for you, it may be due to using pistols to "soften up" the lions before killing them with Uzis. But most likely it's because you didn't climb down the ladder to kill the first two lions.
- OR -
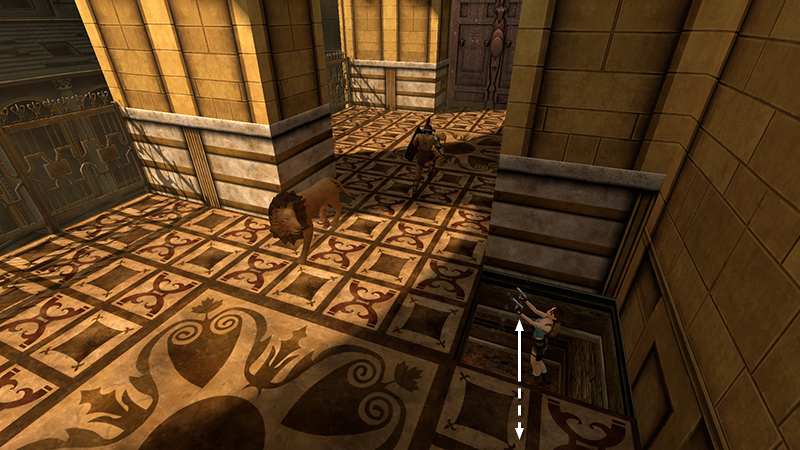
Alternatively, if you don't care about achievements, you can climb up to spawn the enemies. Then drop back into the hole and shoot them by jumping in place on the block while firing pistols. You may need to climb up once or twice to get their attention.
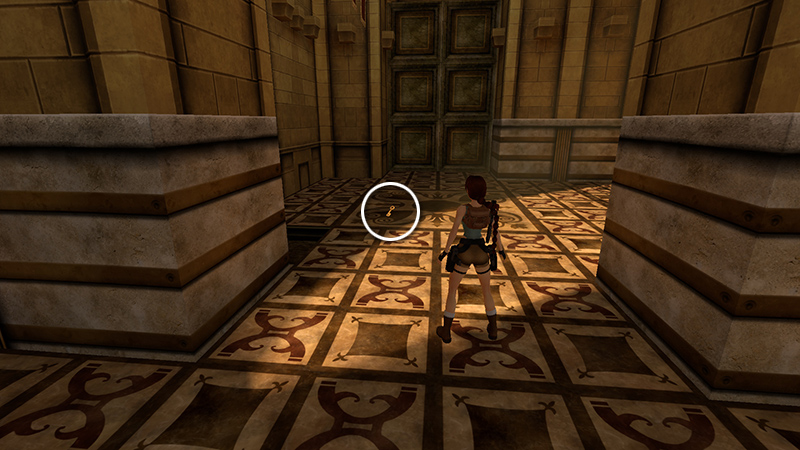
When the gladiator dies, he drops COLOSSEUM KEY 1 (9) (78/239). It's not hard to find if you're using modern graphics...

...but a little difficult to spot on the patterned floor with classic graphics enabled. Press F1 on keyboard or Start/Options/+ on Xbox/PS/Switch controller to toggle the graphics mode if necessary.
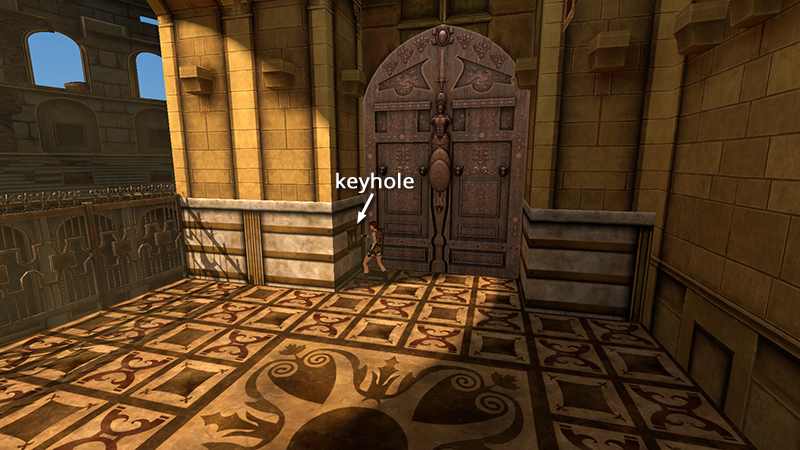
Use this key in the lock to the left of the double doors.

Cutscene: Another statue—this time with a hammer—comes to life in the next room.
Save the game as soon as the cutscene ends, especially if you're hunting achievements/trophies.
DARK MODE: I plan to add optional dark mode for these pages, but my current priority is updating the walkthroughs. Meanwhile, may I suggest a reputable dark mode browser extension, such as Dark Reader? (Download only from trusted sites, like darkreader.org or your browser's web store.)
Walkthrough text and diagrams copyright © Stellalune (email ). Feel free to copy or print this walkthrough for personal use. By all means, share it with friends, but please include this credit line so people can send me their feedback. No part of this walkthrough may be reproduced on another site without permission.