Underneath the Sphinx - Northeast Gate - Trapped Halls (part 2)
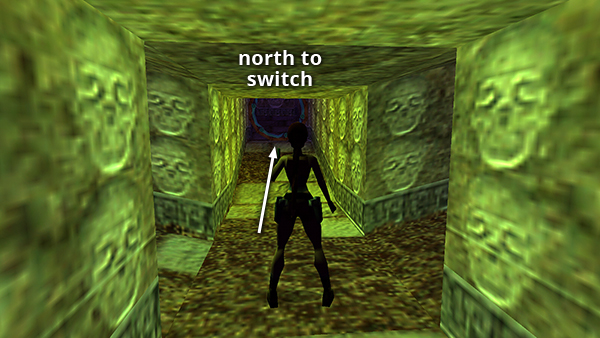
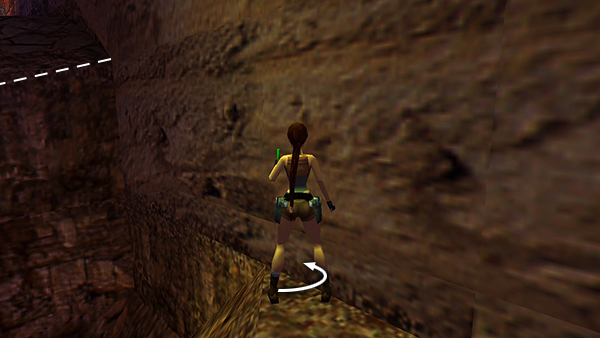
All three passageways converge again here. Follow the hallway to the north. It may be on your left, right, or straight ahead, depending on which path you took through the middle section. Pass through the circular blade trap. (Review the tips in the previous section if necessary.)
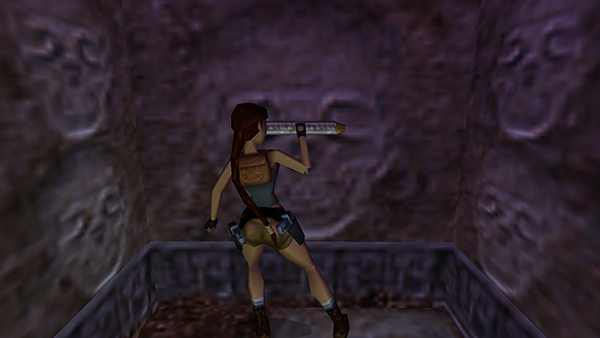
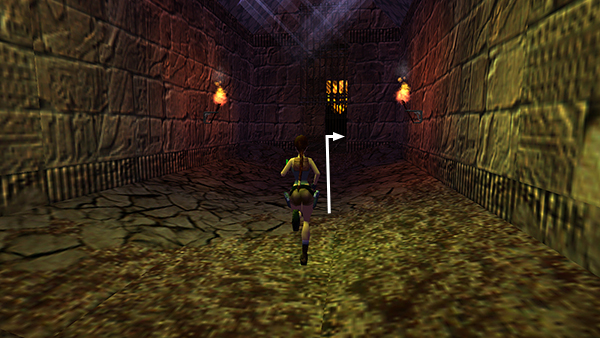
Use the switch to reopen the gate at the entrance to this side area and reset the hieroglyph puzzle.
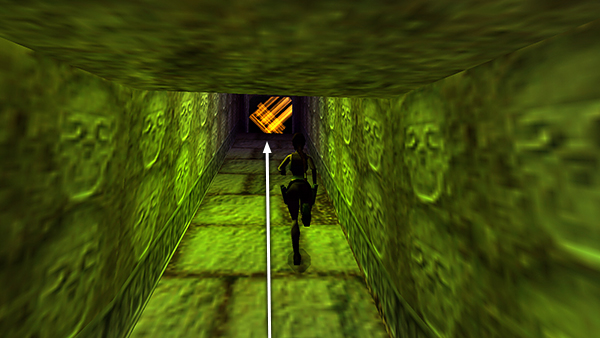
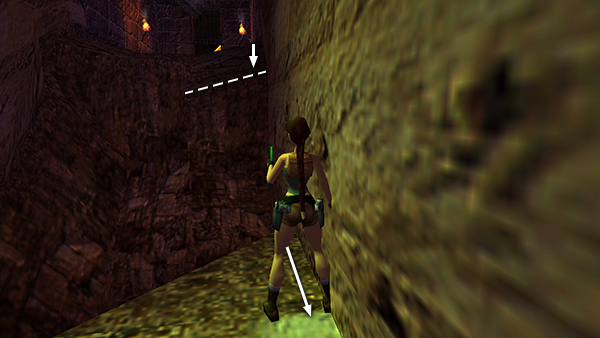
Return through the maze following whichever route you prefer. The traps are not disarmed after using the switch. So even if you go back the same way you came in, you'll still encounter the same hazards.
Follow the south ramp back up to the cave.
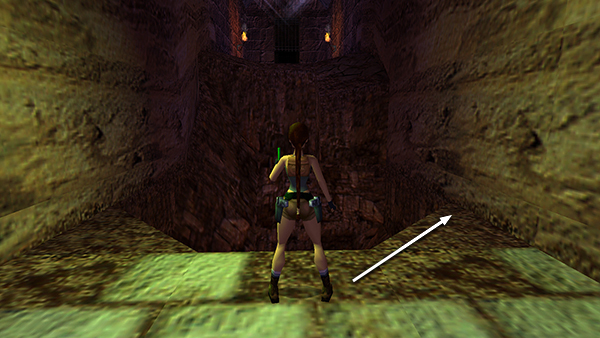
At the deep pit, save before trying this next tricky jump. Walk along the angled edge at the right side of the pit until Lara reaches the wall and can't go any farther.
She should now be standing at the point of the triangular floor texture. near where it meets the wall. Turn to face the angled block directly across the pit.
Hop back once and adjust Lara's position if necessary so she's facing the right side of the angled block.

Now take a running jump...

...to grab the block.
Pull up and return through the gate. Turn right to get back to the main area and the HIEROGLYPH PUZZLE. All that effort and no goodies...sigh!
Copyright © 1999- - Stellalune ( ). All rights reserved. Feel free to copy or print this walkthrough for personal use. By all means, share it with friends, but please include this credit line so people can send me their feedback. No part of this walkthrough may be reproduced on another site without permission. Follow this link for details about this site's advertising and privacy policy.