Underneath the Sphinx - West Gate and Puzzle Clues
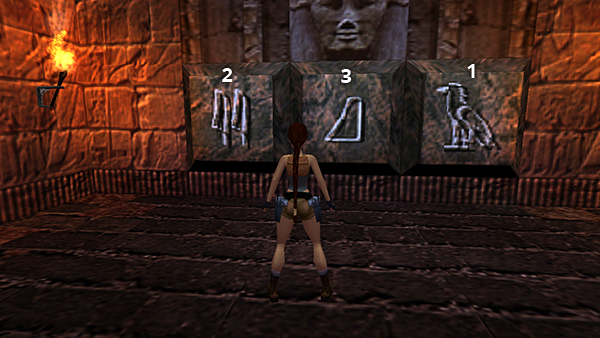
Press the tiles in the order bird, reeds, hill (right, left, middle).
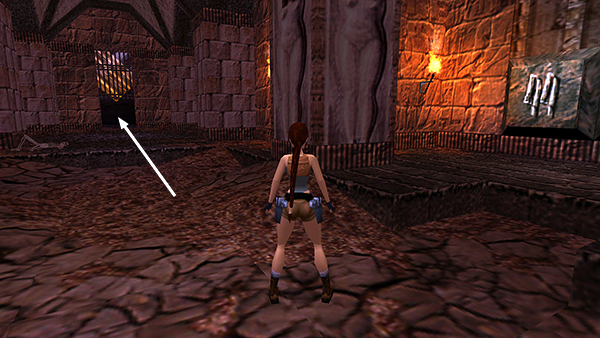
This opens the gate at the west end of the hall, beyond the skeleton. Go through.
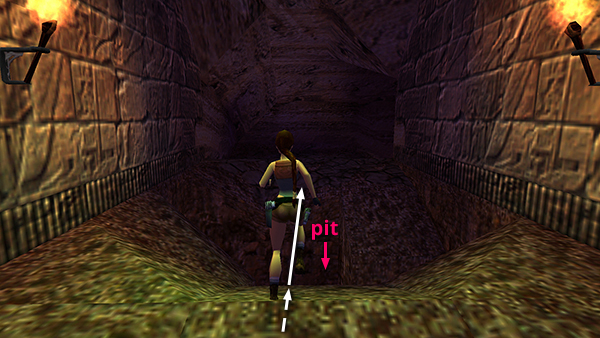
Take a running jump across the first deep pit near the middle.
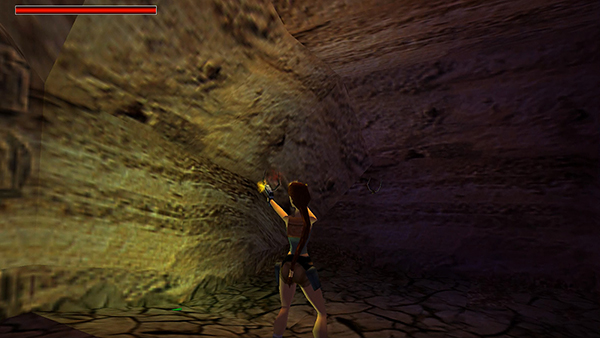
Kill a couple of bats.
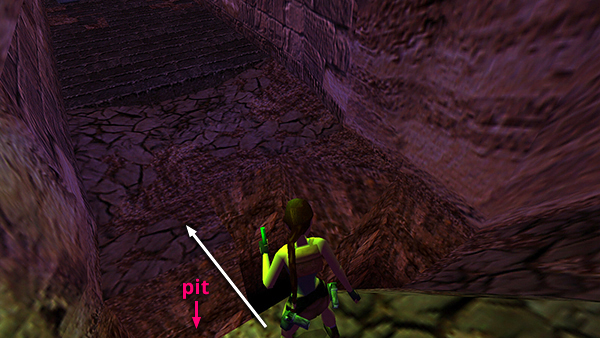
Then continue around the corner to a second deep pit. Jump across on the left side...
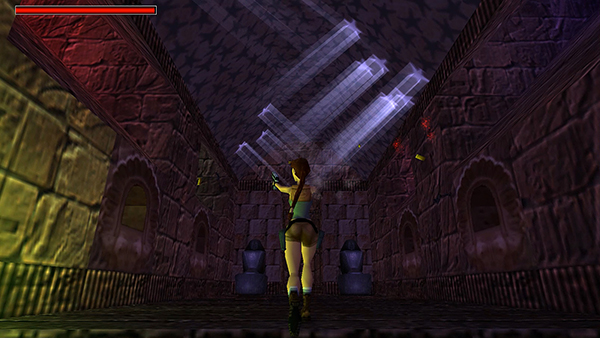
...and enter a small room with a pair of basalt statues and 2 more bats.
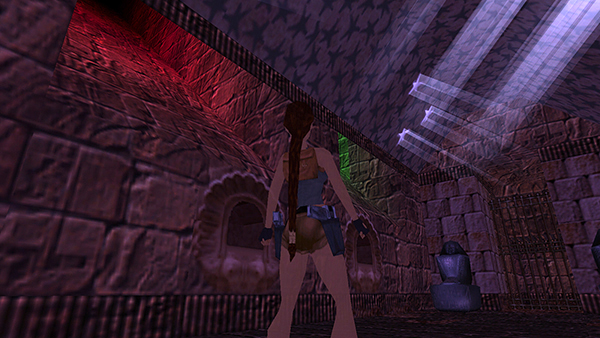
The statues don't move. The gate doesn't open yet. The clues you want are inside the chutes high on the side walls. Each chute is lit with a different color: red, green...
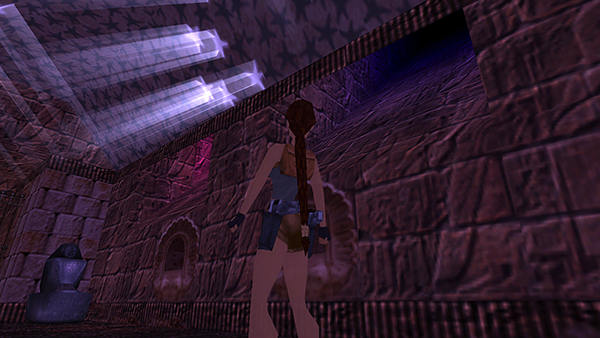
...blue, and purple.
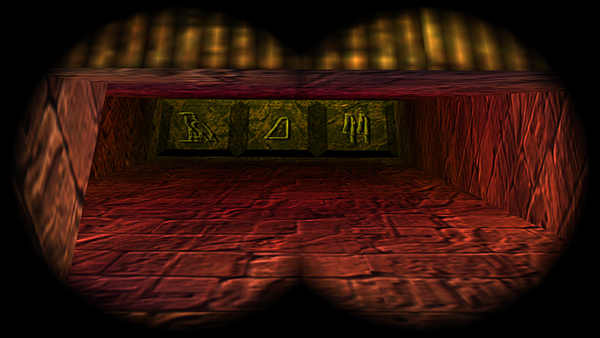
Select the BINOCULARS from your inventory, look up each chute, and press Action to activate the the light. Inside each chute you'll see an inscription showing a different combination of hieroglyphs corresponding to the puzzle tiles back in the other room. Red = bird, hill, reeds.
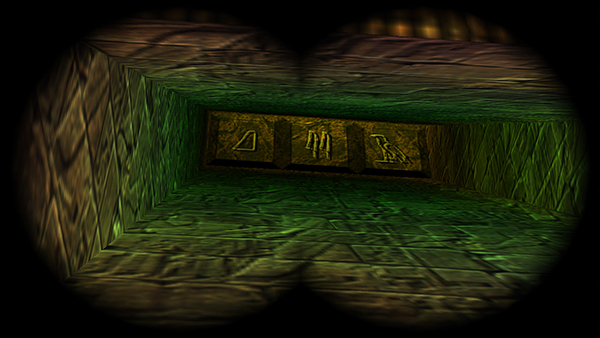
Green = hill, reeds, bird.
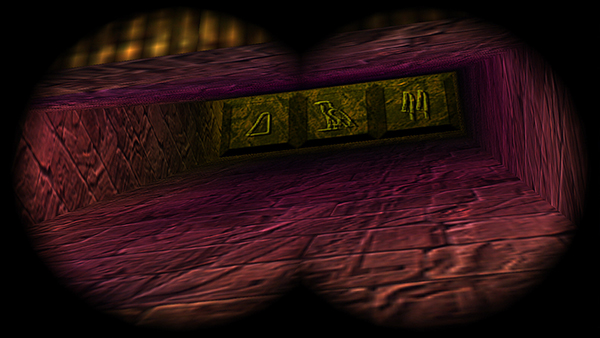
Purple = hill, bird, reeds.
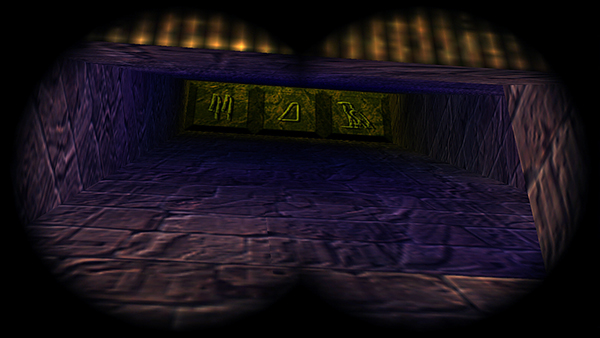
Blue = reeds, hill, bird. The table in the main walkthrough lists each possible combination of tiles and what it does. Use the Draw/Holster Weapons button to stow the binoculars when you're done.
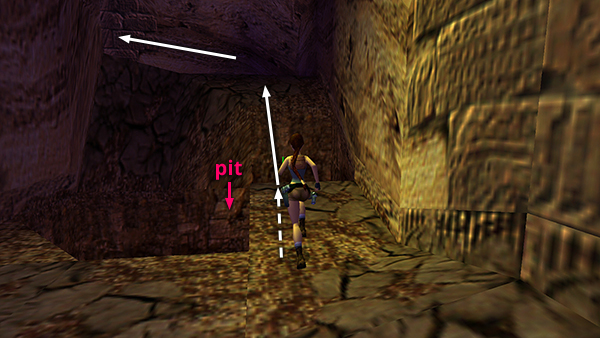
After examining the clues, backtrack through the rough corridor, jumping over the first pit along the right side...
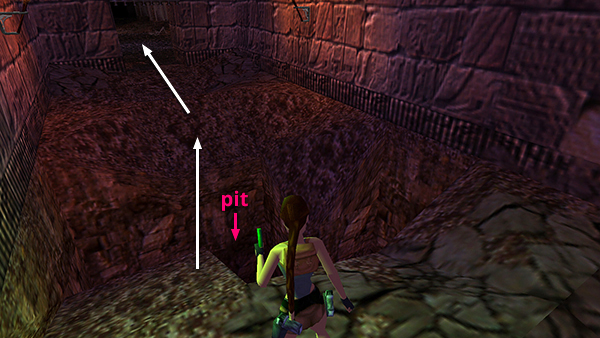
...and the second pit from left to middle. Return through the gate HIEROGLYPH PUZZLE. You can then explore the other areas in any order you like.
Copyright © 1999- - Stellalune ( ). All rights reserved. Feel free to copy or print this walkthrough for personal use. By all means, share it with friends, but please include this credit line so people can send me their feedback. No part of this walkthrough may be reproduced on another site without permission. Follow this link for details about this site's advertising and privacy policy.