Underneath the Sphinx - Water Maze (part 5)
Room #4 to Room #5
This sequence is indicated by the solid orange line on the diagram in the main walkthrough.
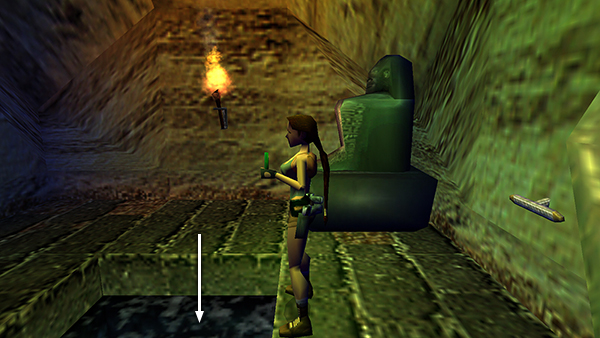
Face west (with the switch behind Lara).
Swim down and forward (past the reed symbols)
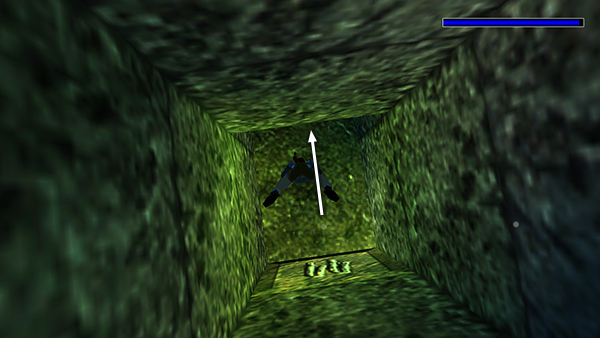
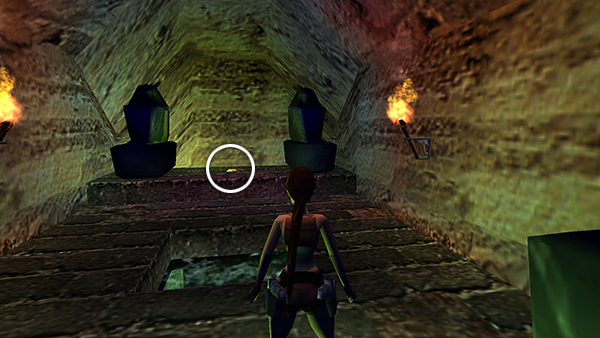
If you didn't get the small medipack in the alcove earlier, pick it up now. Then continue downward.
At the bottom of the vertical shaft, follow the passageway as it turns to the south.
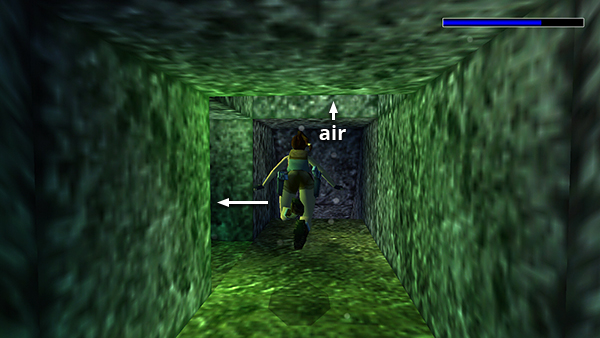
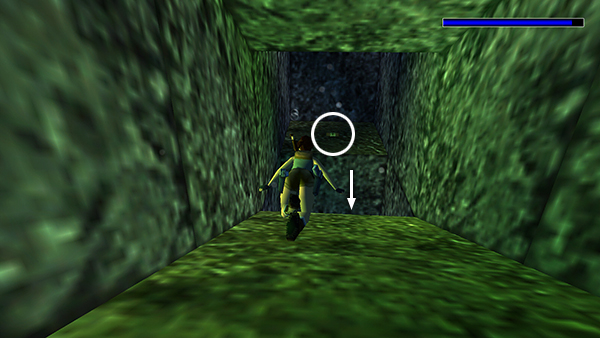
At the next intersection you can go up (to the room where you began the maze), forward (south), or left (east). Unless you're low on air, go left.
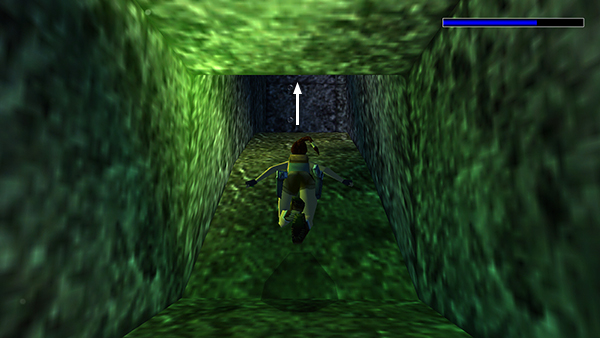
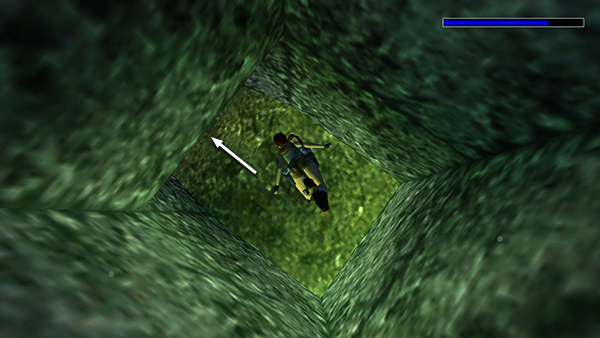
The tunnel slopes upward. At the next intersection you can go up or right (south). Go up.
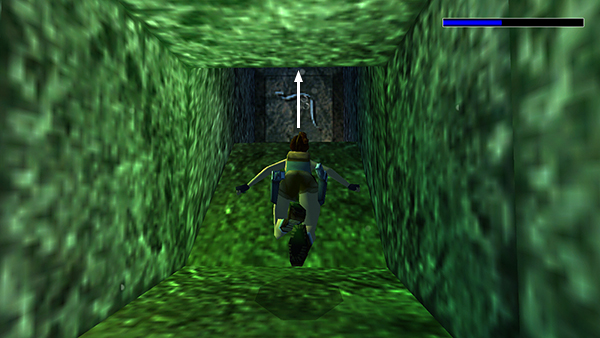
Follow the tunnel forward and upward through a few turns and past a snake symbol.
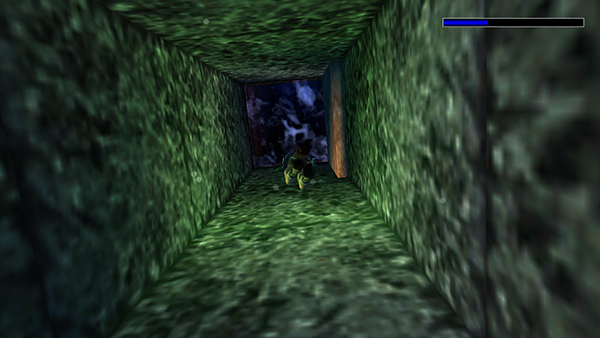
At the top of this shaft is ROOM #5.
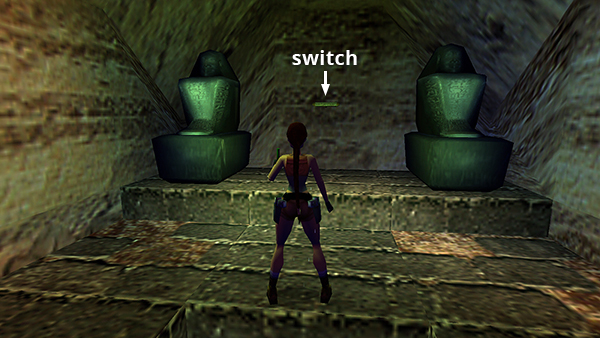
Climb out of the water, use the switch to open the gate back in the cave...
...and pick up the STONE OF ATUM on the opposite ledge.
Copyright © 1999- - Stellalune ( ). All rights reserved. Feel free to copy or print this walkthrough for personal use. By all means, share it with friends, but please include this credit line so people can send me their feedback. No part of this walkthrough may be reproduced on another site without permission. Follow this link for details about this site's advertising and privacy policy.