Tomb of Semerkhet - Secret #2
You must climb up and use the mechanism in the flame niche in order to proceed. After that, you can decide whether or not to go after the secret.
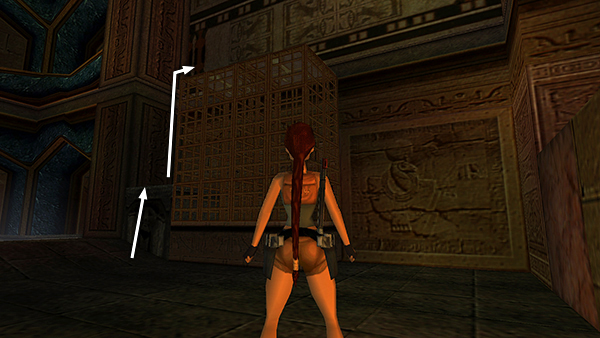
Climb onto the block next to the golden cage on the west side of the room (i.e., nearest the exit from the room with the 6 FLAME NICHES) and pull up onto the cage.
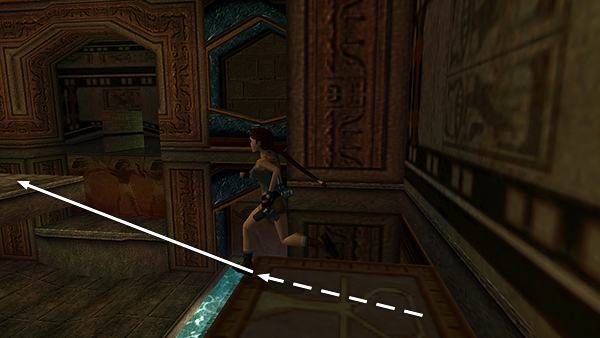
Take a running jump to the ledge on the right side of the central structure.
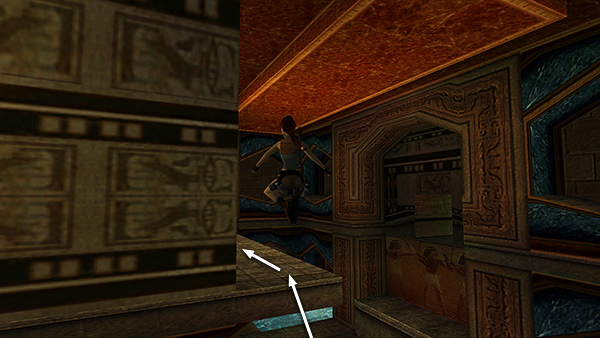
Follow this ledge forward.
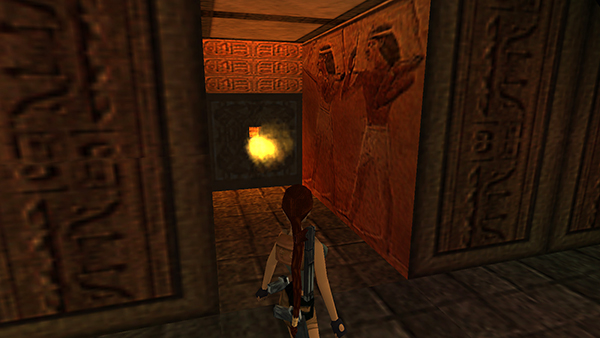
About halfway along, there's another flame niche in an alcove on the left.
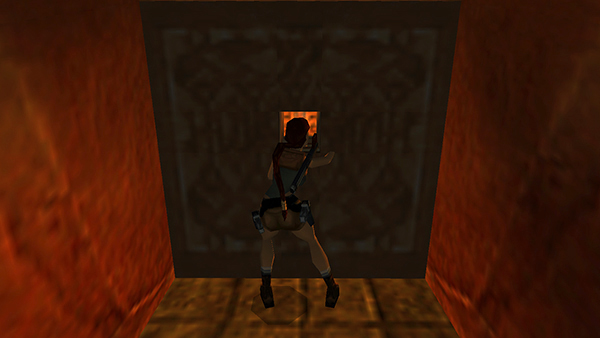
Wait for the flame to abate and use the mechanism inside...
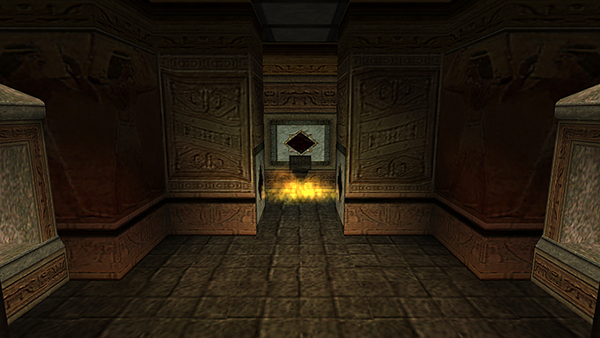
...to turn off some flames in the room below.
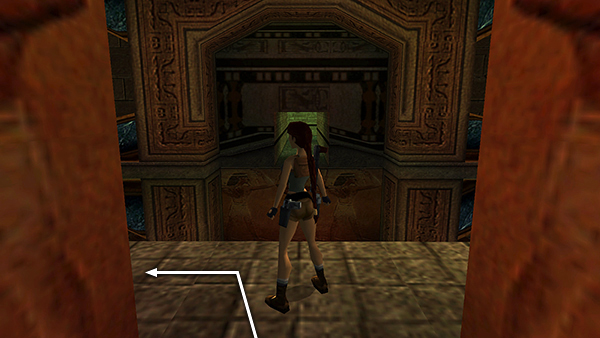
Before climbing down, you can go after a secret if you want to. Exit the alcove and follow the ledge to the left.
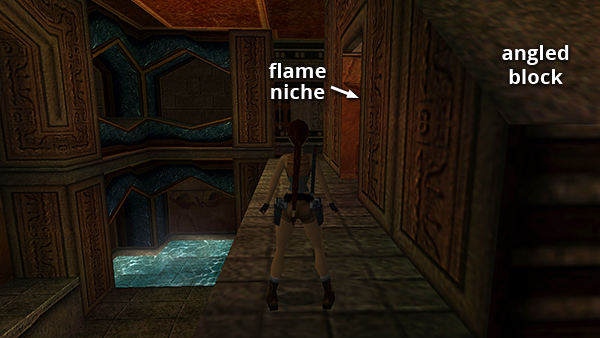
Turn around so the angled block is on Lara's right.
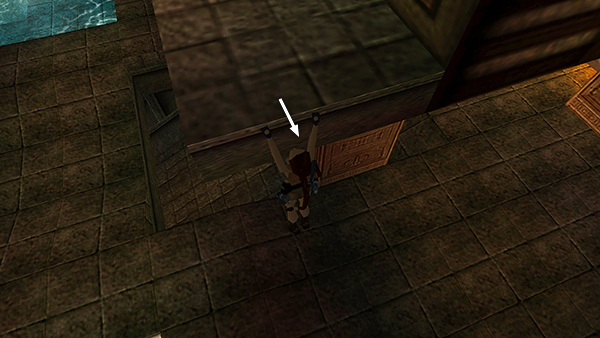
Drop back and grab the edge.
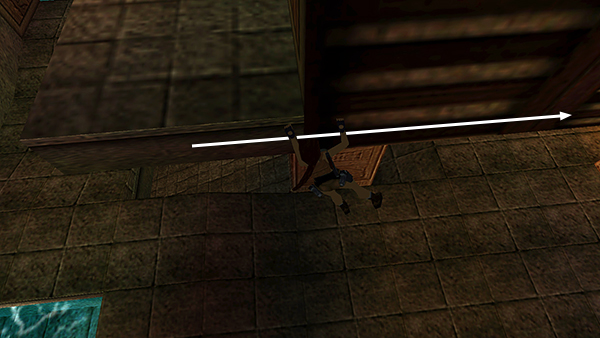
Traverse to the right and keep going, using the wooden slats like a ladder.
NOTE: If Lara refuses to traverse from the flat ledge onto the ladder, as shown above, try hanging from the long side of the ledge, just beyond the corner, then traverse around the corner and continue on. Or, stand at the left side of the ledge and side flip onto the angled block. Slide back, grab the edge, and start climbing. Or, if you raised both golden cages, jump over to the one near the east wall, turn around, and take a running jump back to the climbable wall.
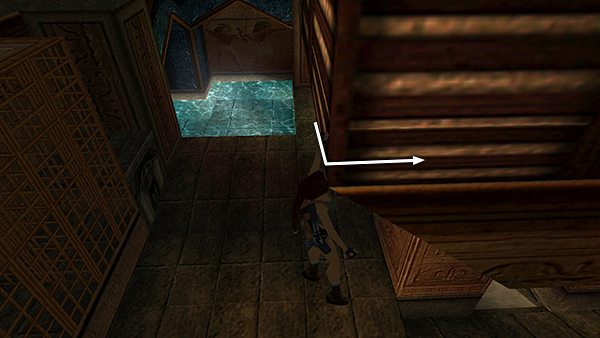
Keep climbing to the right, around the outside corner...
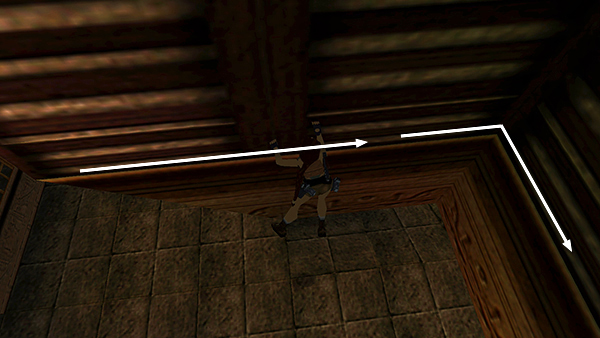
...then the inner corner...
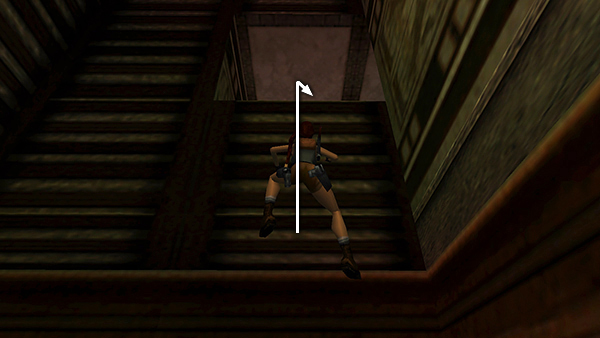
...then up to the alcove at the top right.
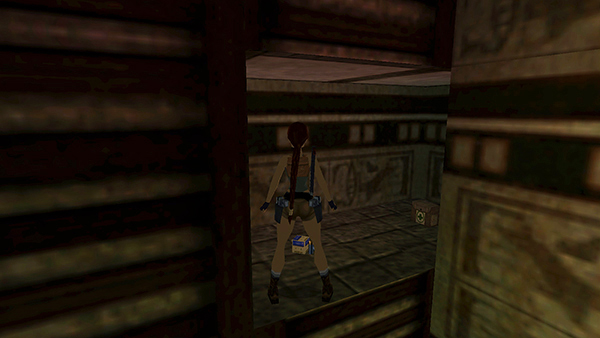
Inside is SECRET #2 (32/70), wideshot shells and a large medipack.
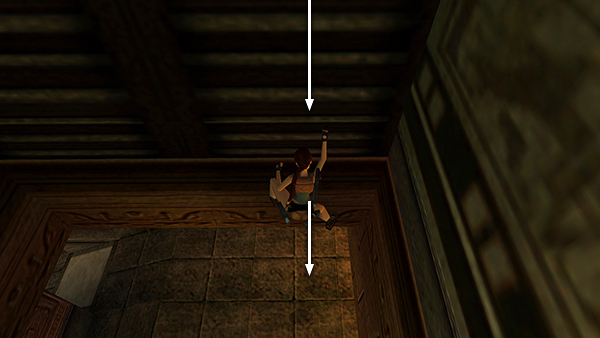
To avoid fall damage, climb down the ladder at least as far as the brown area below the slats before dropping to the floor.
Copyright © 1999- - Stellalune ( ). All rights reserved. Feel free to copy or print this walkthrough for personal use. By all means, share it with friends, but please include this credit line so people can send me their feedback. No part of this walkthrough may be reproduced on another site without permission. Follow this link for details about this site's advertising and privacy policy.