Tomb of Semerkhet - Room with Beetle Swarm and Niches
This sequence is also shown in a short video walkthrough.
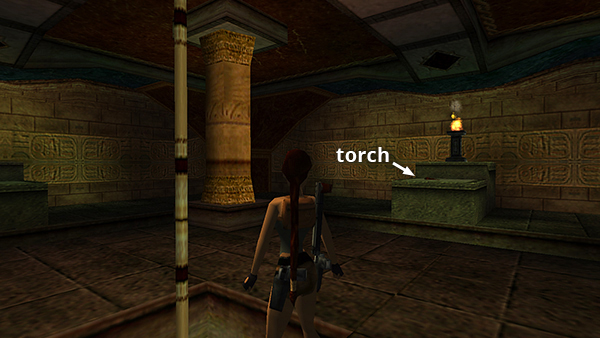
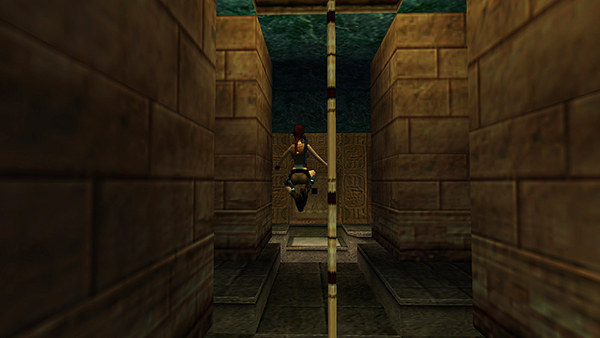
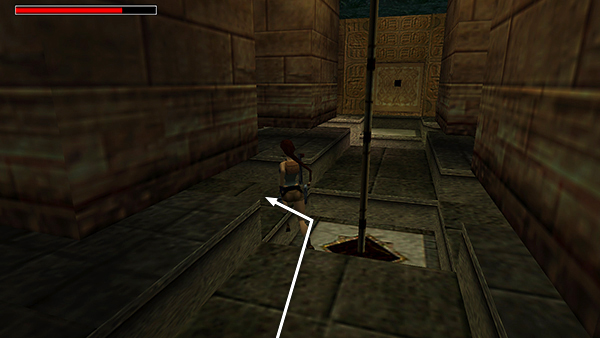
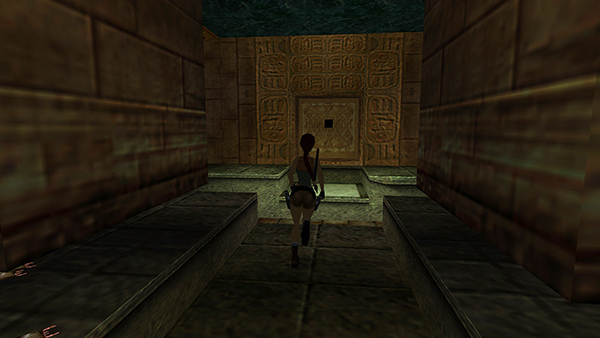
Save the game first, obviously. Position Lara on the south side of the opening surrounding the climbing pole, facing north. That is, the TORCH and brazier will be on Lara's right...
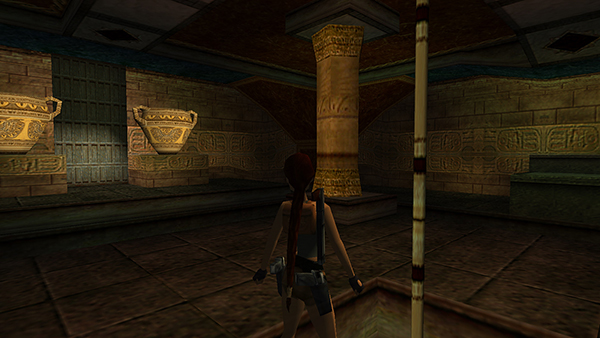
...and the closed door flanked by 2 ceramic vases on her left.

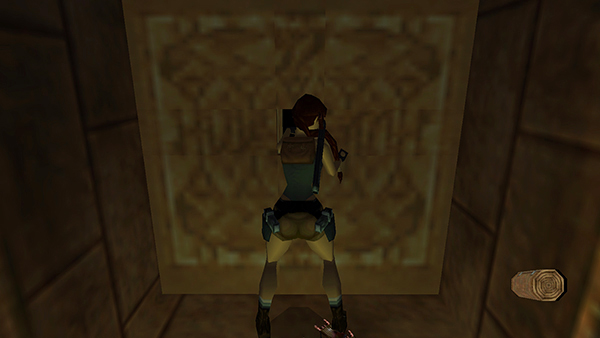
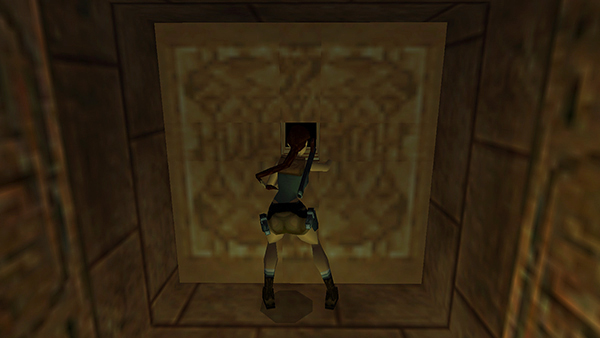
Jump or run off the edge and grab the pole.
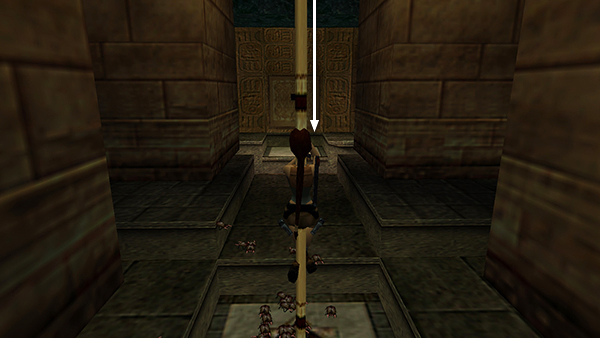
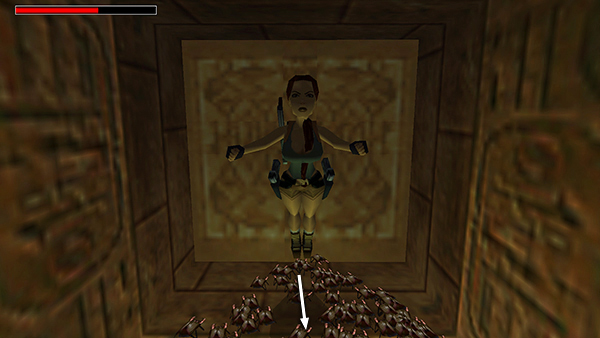
Slide almost to the bottom. Don't go all the way down or the beetles on the floor below will start biting. Hang onto the pole for a few moments to let the beetles gather.
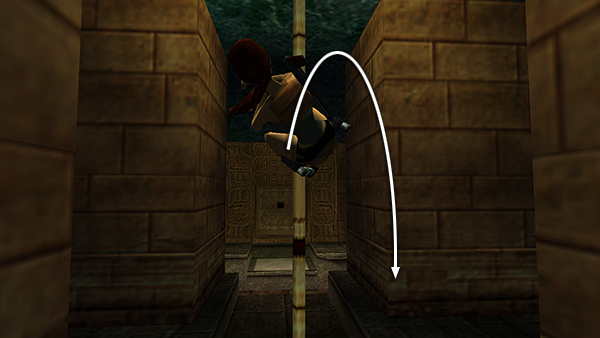
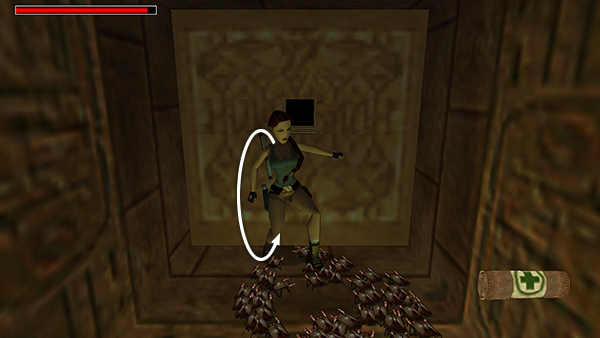
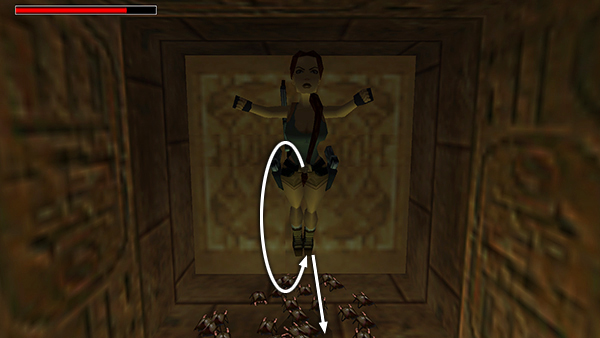
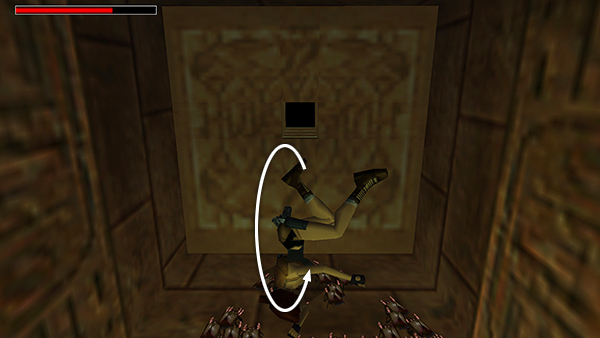
Then press Jump + Roll (or Jump + Up + Down on the keyboard) to jump off the pole, twist in the air, and land beyond the beetle swarm facing the other way (south).
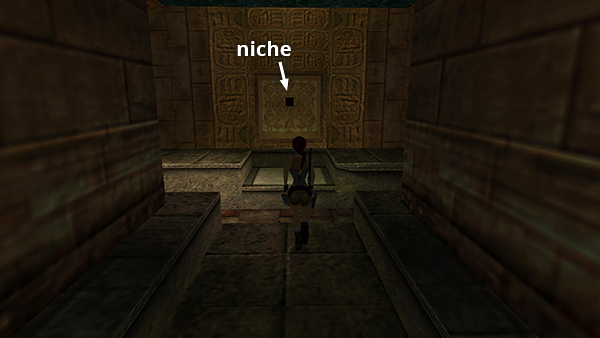
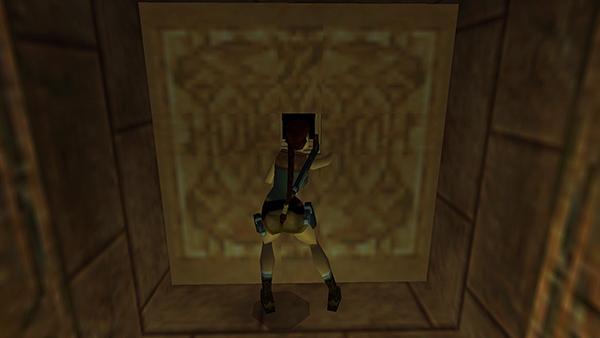
Run/jump to the rectangular niche directly ahead.
Quickly press Action to grab the small medipack inside.
Immediately roll...
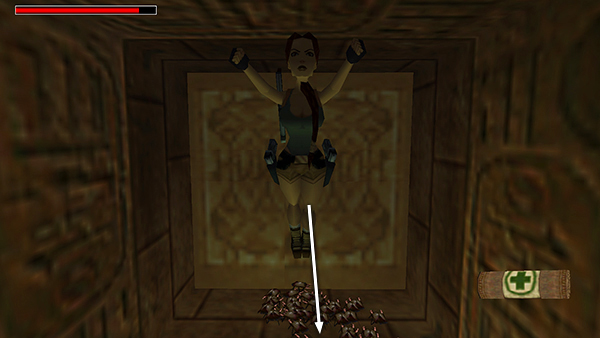
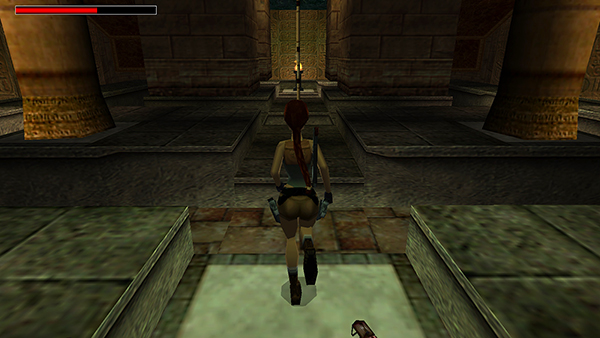
...and take a standing jump over the beetles as they begin to swarm around you.
Use a health pack if necessary, but don't break stride as you continue to run/jump across the room, veering just a little to the left or right to avoid the pole.
When you reach the second niche, in the north alcove, press Action to reach in and operate the mechanism inside. (This is one of two required to open the exit above.)
Roll and jump over the beetles again.
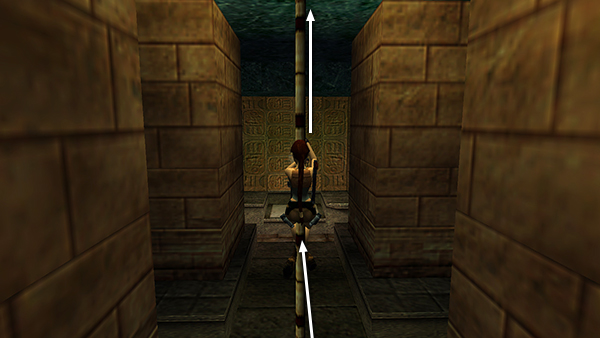
Run/jump just to the middle of the room.
Then turn left and continue taking running jumps...
...to reach the third niche, on the east wall.
Use the mechanism inside. (This is the second of the two mechanisms needed to open the exit.)
Then roll...
...jump over the beetles...
...run a few more steps...
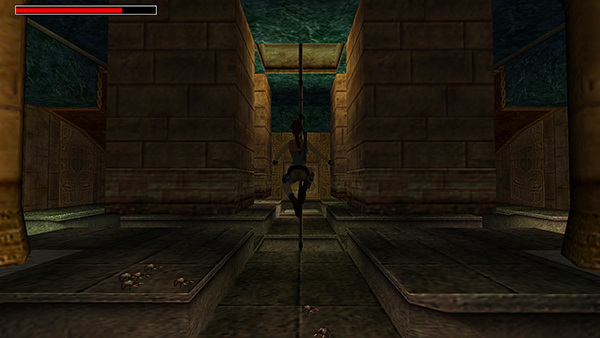
...and then jump forward and grab onto the pole. Now you're safe. Climb to the level above...
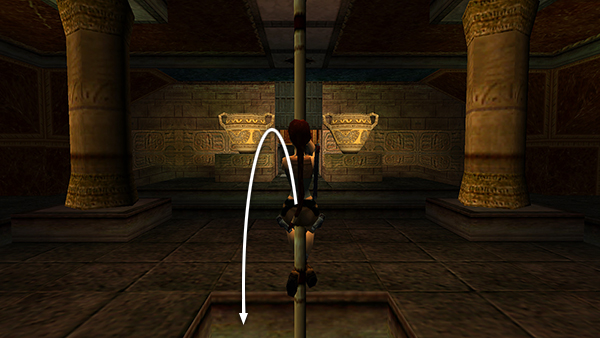
...and backflip off the pole.
Copyright © 1999- - Stellalune ( ). All rights reserved. Feel free to copy or print this walkthrough for personal use. By all means, share it with friends, but please include this credit line so people can send me their feedback. No part of this walkthrough may be reproduced on another site without permission. Follow this link for details about this site's advertising and privacy policy.