Tomb of Semerkhet - Second Cartouche Piece
After rope swinging across the large room to the ledge in the northwest corner and going through the crawlspace, as shown in the main walkthrough, you end up in this room.
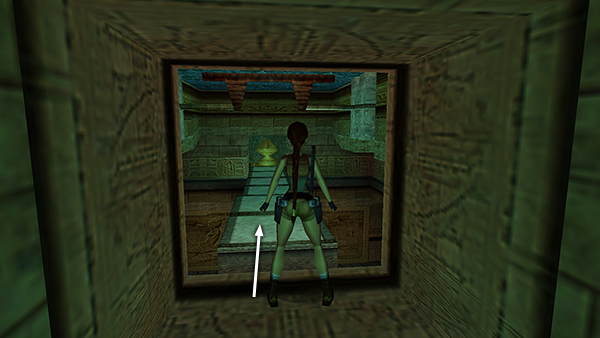
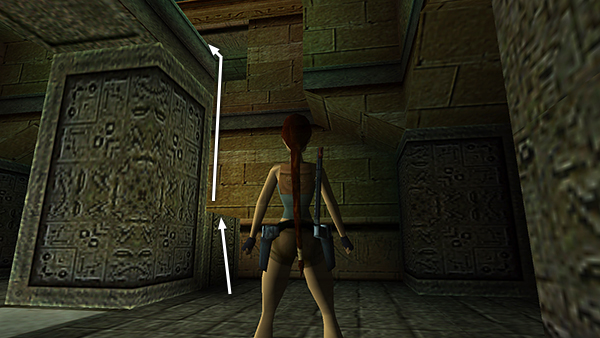
Jump from the doorway onto the elevated walkway.
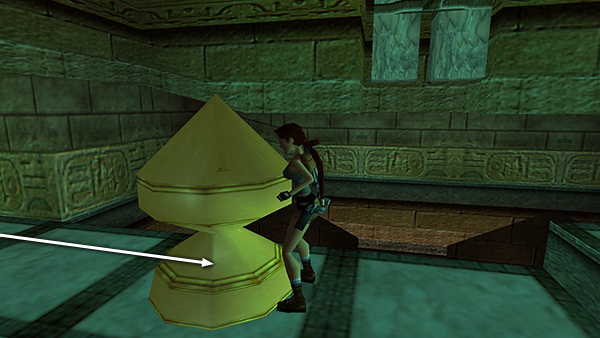
Pull the senet piece out of the alcove and along the walkway as far as it will go. (Veteran raiders should note that Lara can now do continuous pulling if you hold Action.)
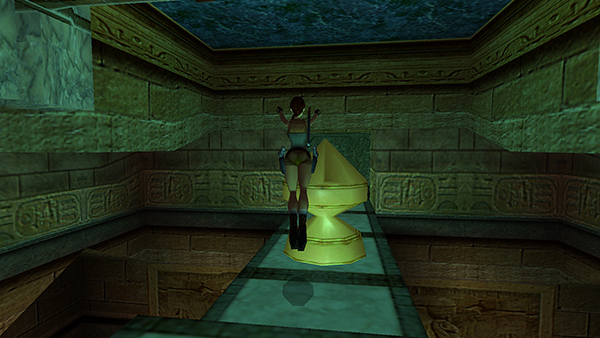
Then jump over it, aiming slightly to the left or right where its sides slope downward.
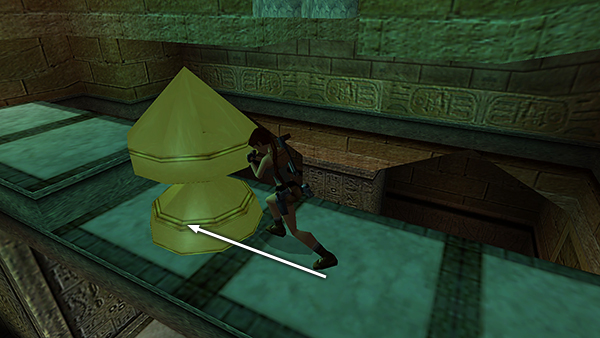
Now push it once more so it sits between the 2 huge hammers.
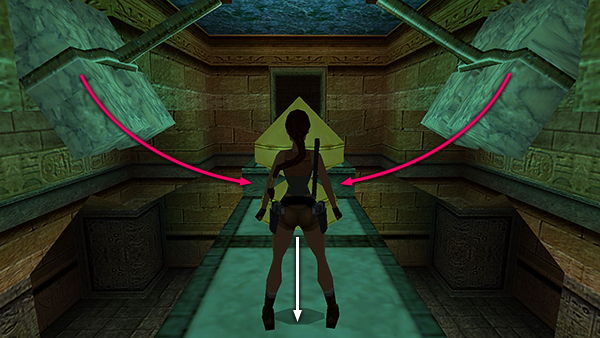
Immediately hop back to avoid taking damage as the hammers swing down, crushing the game piece.
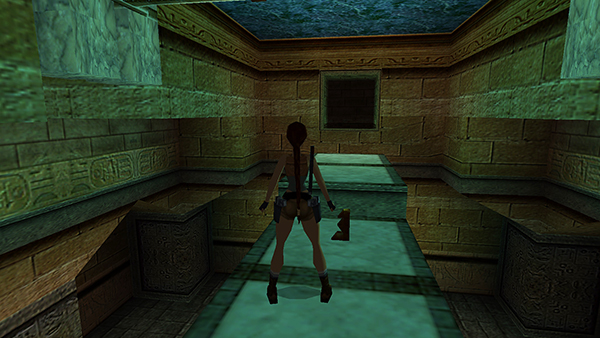
Take the SECOND CARTOUCHE PIECE. When you do, a door opens below.
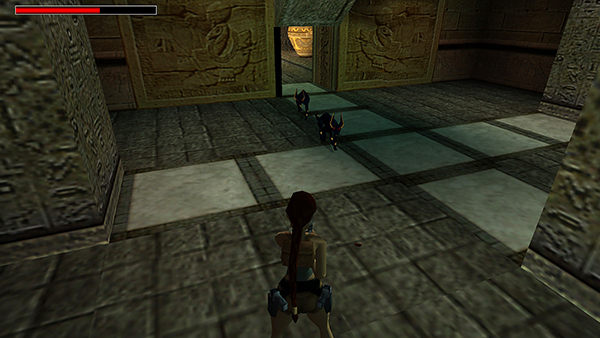
Drop down to the floor and kill the 2 jackals that emerge from the small side room.
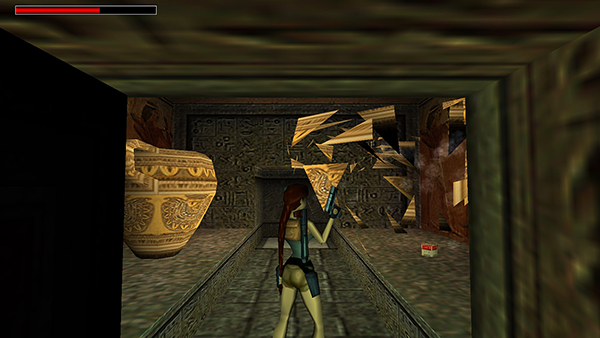
Then go inside adn shoot the jars to get shotgun shells and a small medipack.
Return to the far end of the room and climb back onto the walkway.
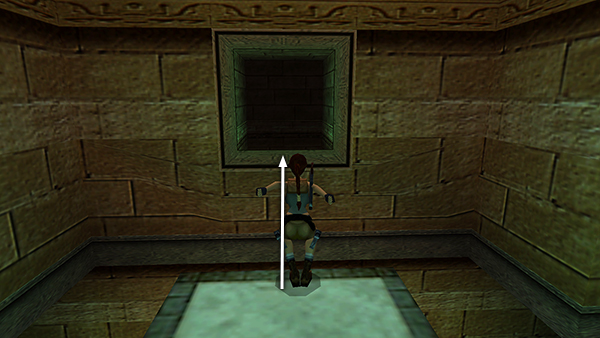
Then take a standing jump into the doorway, pressing Action to lower Lara's arc a bit so she doesn't bump her head. Return through the crawlspace to the ROOM WITH TWO DANGLING ROPES
Copyright © 1999- - Stellalune ( ). All rights reserved. Feel free to copy or print this walkthrough for personal use. By all means, share it with friends, but please include this credit line so people can send me their feedback. No part of this walkthrough may be reproduced on another site without permission. Follow this link for details about this site's advertising and privacy policy.