The Lost Library - Room with Brass Arches and Pipes
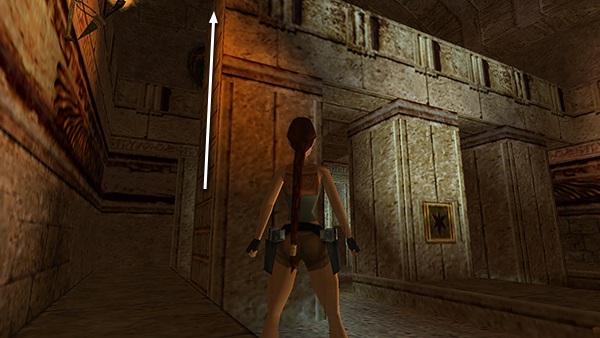
After taking the first GOLDEN STAR and obtaining secret #1, climb the ladder on the left side of the left of the three square columns (when facing the star receptacle).
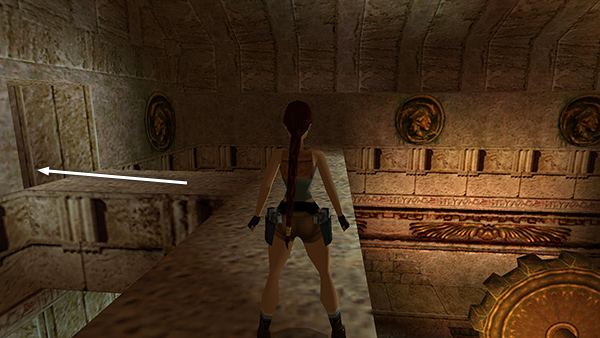
Go through the doorway on the left and down a short flight of stairs...
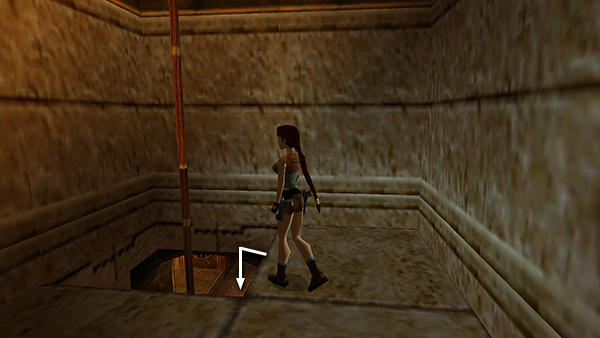
...to an opening with a climbing pole. Drop through the opening into the room below.
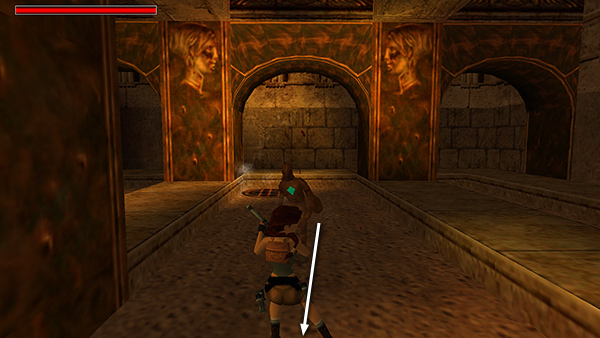
Two mechanical men emerge as you explore. Run forward to meet the first one, which comes from behind the archway in the far right (northwest) corner.
Back away while shooting at the blue gem in his chest, just as you did the first mechanical man. Again, wideshot shotgun ammo works well, but you can also use regular shotgun ammo, Uzis, or even pistols.
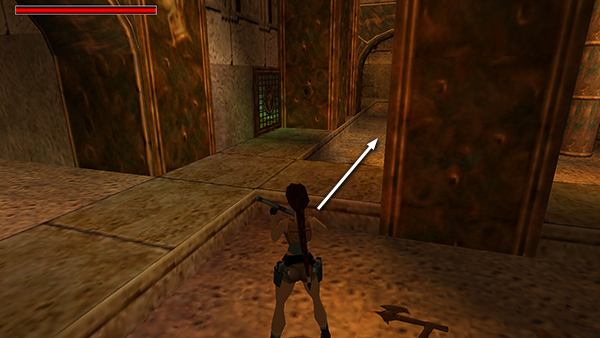
When he falls, go into the side passageway to the south.
The second mechanical man approaches from the right.
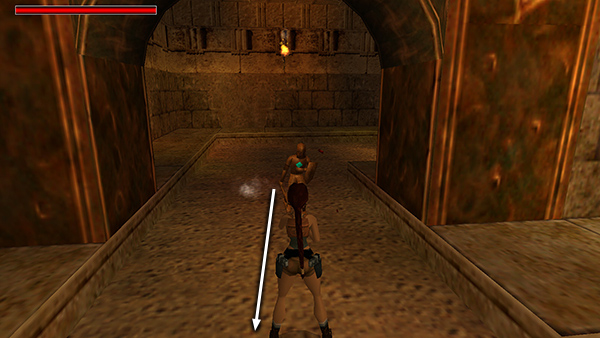
Again, hop back while firing at the blue gem in his chest to destroy him.
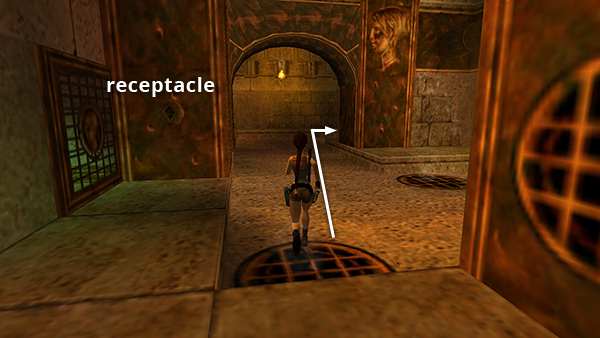
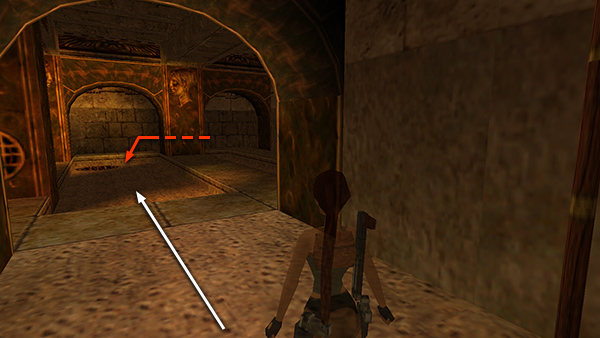
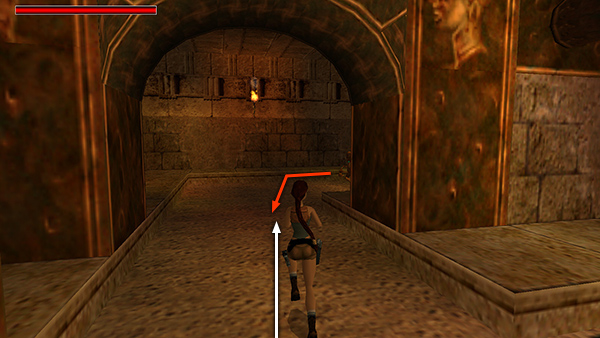
Notice the locked gate on the east wall with the receptacle next to it. The GOLDEN STAR won't fit, so you'll need to find something else to put there. Enter the room to the south, where the second mechanical man came from.
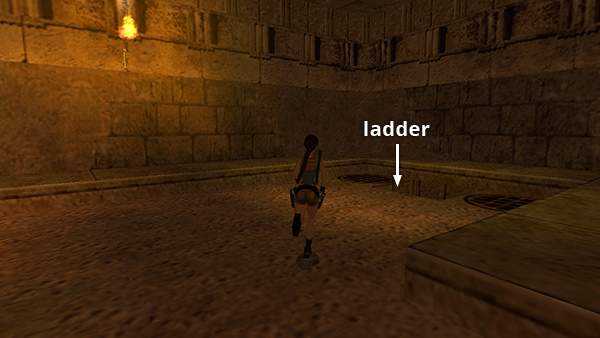
Climb down the ladder inside the opening in the floor.
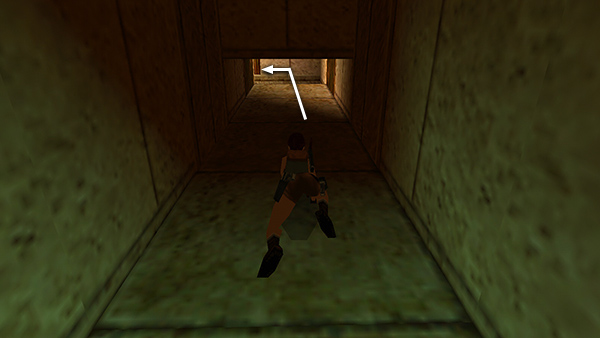
Go through the crawlspace and save the game before stepping out into the big room ahead. Don't overwrite this save until you have defeated the next enemy.
Copyright © 1999- - Stellalune ( ). All rights reserved. Feel free to copy or print this walkthrough for personal use. By all means, share it with friends, but please include this credit line so people can send me their feedback. No part of this walkthrough may be reproduced on another site without permission. Follow this link for details about this site's advertising and privacy policy.