The Lost Library - Planetarium
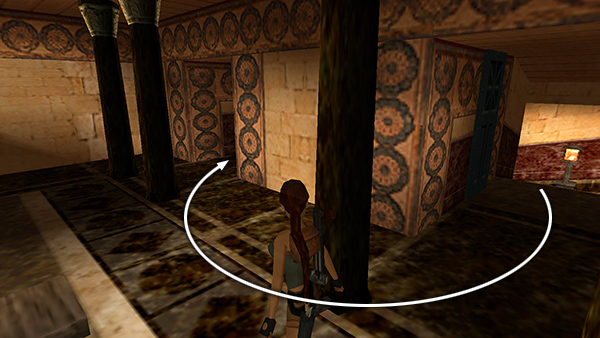
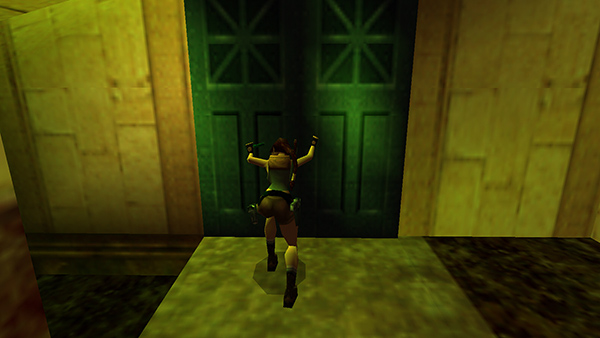
When you emerge from the middle door on the lower level, south side of the MAIN HALL, make a U-turn to the right and barge open the left door (the one marked D on the diagram in the main walkthrough).
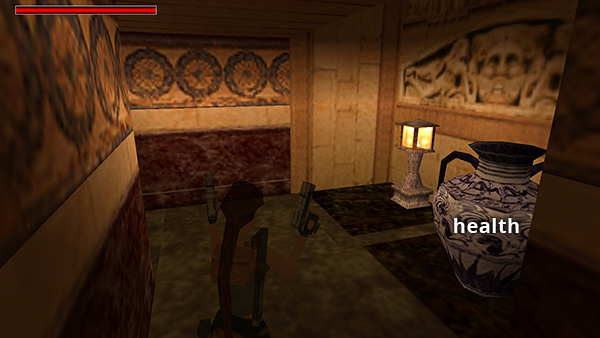
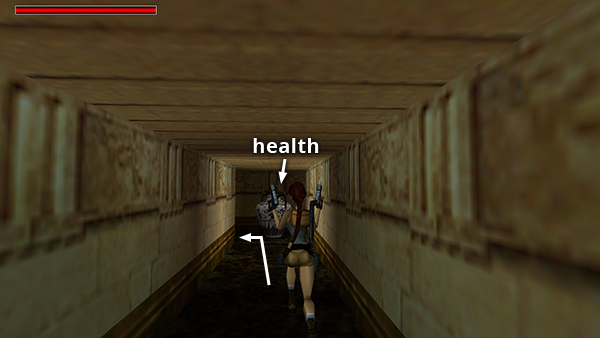
Shoot the ceramic vase in the hall to get a small medipack.
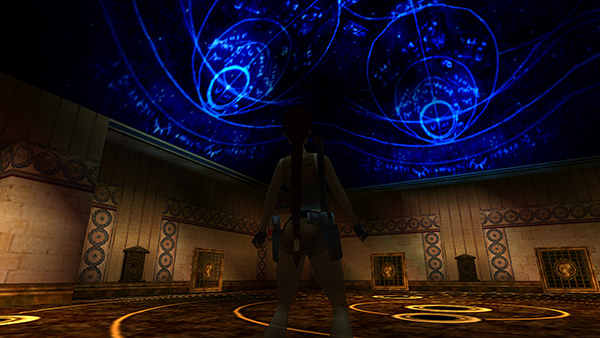
Follow the hall to a big room with an illuminated map of the heavens on the ceiling.
Just inside on the right is a globe with a blue band at its equator, representing the Earth.
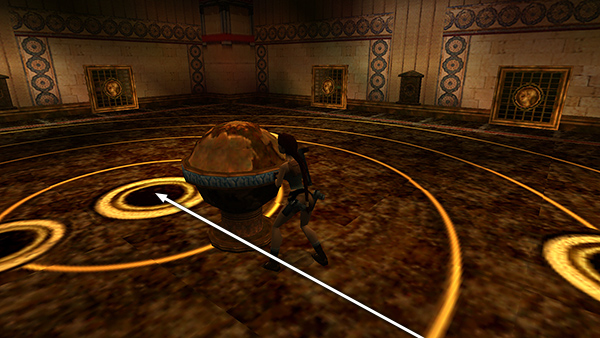
Grab it and push/pull it onto the gold circle in the middle of the concentric rings on the floor, since the Earth was at the center of the solar system in Ptolemaic Egypt.

A glowing white orb appears above the globe, showing that it's in the correct position.
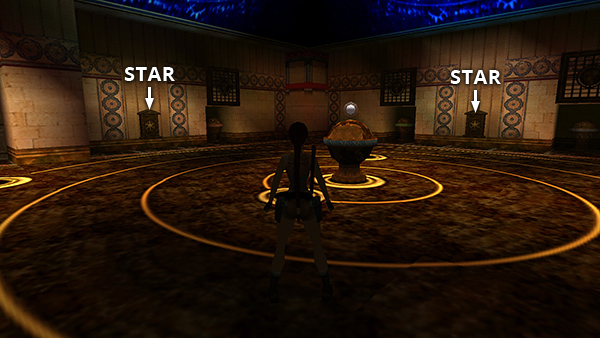
Place the 3 GOLDEN STARS you collected in the previous area into the star-shaped receptacles to open the four gates. Behind the gates are 4 more globes, each with a different colored band: pink for Mars in the north alcove, green for Venus and gray for the Moon in the two alcoves on the east wall...

...and gold for the Sun in the south alcove.
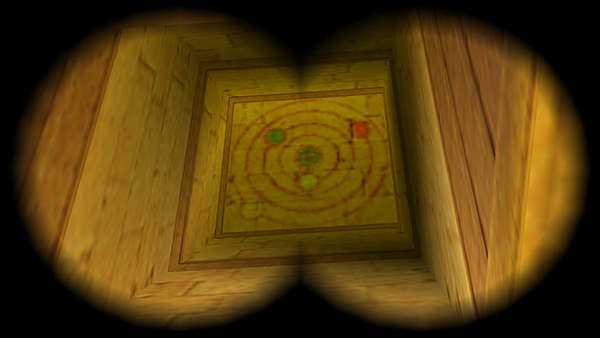
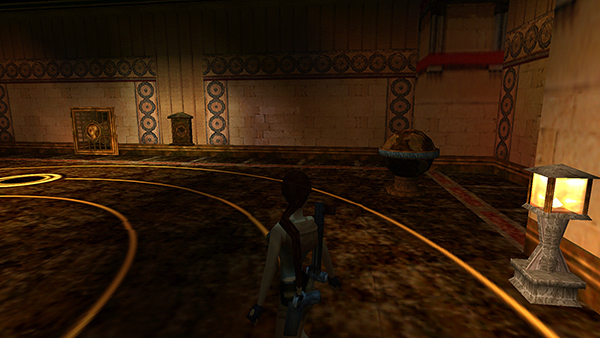
Now move the rest of the globes onto the correct circles within the diagram, following the the clue you found in the ROOM WITH THE SMALL POOL behind door D: gray = inner circle, green = second circle, pink = third circle, yellow = outer circle.
NOTE: The solution to the puzzle is based on ancient astronomy, which places Earth at the center of the solar system, with the sun and planets revolving around it, as shown in this historical model. So, assuming Earth is at the center of the puzzle, we place the globes as follows: Moon (gray globe, inner circle), Venus (green globe, second circle), Mercury (pink globe, third circle), Sun (yellow globe, outer circle).
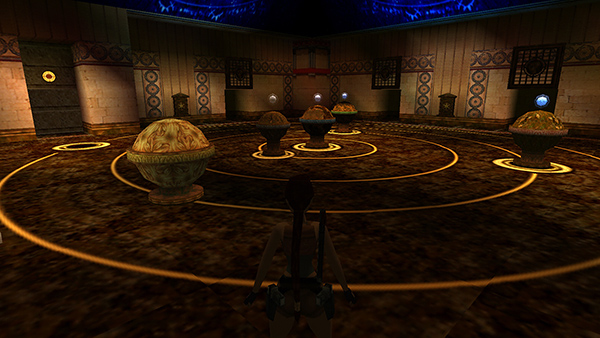
As you move each globe onto the correct circle, a glowing orb appears above it. Here, Lara has positioned all but the Sun in its proper place.
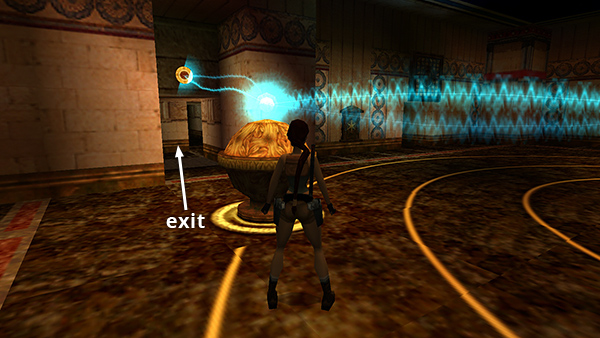
When all of the globes are positioned correctly, electricity shoots out of the golden disk on the north wall and crackles between the globes, and a door opens below the disk. Go through that door and follow the corridor to the next room...
...shooting 2 vases along the way to get a a large medipack...
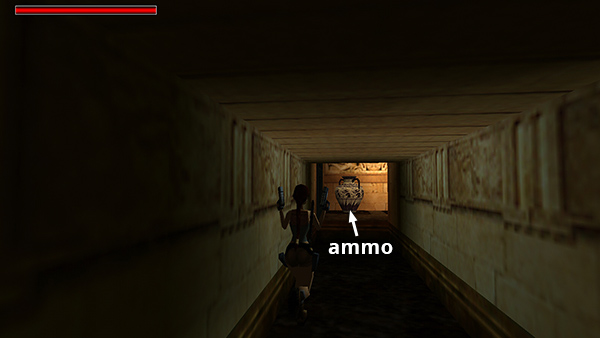
...and a box of wideshot shells.
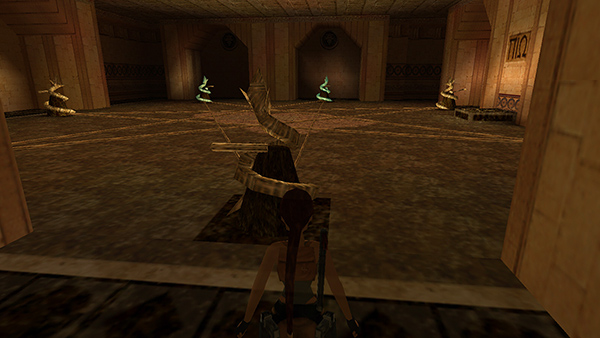
At the end of the corridor is the FIRE CIRCLE PUZZLE ROOM. This large room has a seven-pointed star inscribed on the floor and 7 serpent statues fitted with levers, one at each point of the star. If you've followed this walkthrough, you will not yet have found the clue to help solve this puzzle, but it is important that you enter the room briefly to trigger a musical cue and cause the puzzle clue to appear elsewhere.
Now backtrack along the hallway just as far as the blue door. Barge it open to emerge back in the MAIN HALL. (This is door C on the diagram in the main walkthrough.)
Copyright © 1999- - Stellalune ( ). All rights reserved. Feel free to copy or print this walkthrough for personal use. By all means, share it with friends, but please include this credit line so people can send me their feedback. No part of this walkthrough may be reproduced on another site without permission. Follow this link for details about this site's advertising and privacy policy.